1. Sarrera
This manual provides essential information for setting up, operating, and maintaining your Lenovo L24q-30 23.8-inch QHD monitor. The L24q-30 is designed to deliver a superior visual experience with its QHD (2560 x 1440) resolution, IPS panel, and >99% sRGB color gamut. It features AMD FreeSync technology, a 75Hz refresh rate, and a 4ms response time for smooth visuals. The monitor is TüV Eye Comfort certified, reducing blue light and flicker for extended viewing comfort. Connectivity options include HDMI 1.4 and DisplayPort 1.2, along with a 3.5mm audio output.
2. Segurtasun informazioa
Please read this section carefully before using your monitor to ensure safe and proper operation.
- Jarri beti monitoreak gainazal egonkor eta lau batean, eror ez dadin.
- Ziurtatu monitorearen inguruan behar bezala aireztatuta dagoela. Ez blokeatu aireztapen-irekidurak.
- Erabili monitorearekin batera datozen korronte-egokitzailea eta kableak soilik.
- Do not expose the monitor to rain or moisture to avoid electric shock.
- Deskonektatu monitorea korronte-hartunetik garbitu aurretik.
- Ez ukitu pantaila objektu zorrotzekin.
- If any unusual smoke, noise, or odor occurs, immediately unplug the monitor and contact customer support.
3. Paketearen edukia
Egiaztatu elementu guztiak zure paketean daudela:
- Lenovo L24q-30 Monitor
- Monitorearen Stand Base
- Monitorearen euskarriaren lepoa
- Elikatze-kablea
- HDMI kablea
- Quick Setup Guide / Warranty Card
4. Konfigurazioa
4.1 Monitorearen euskarria muntatzea
- Carefully remove the monitor from its packaging, placing it face down on a soft, clean cloth to protect the screen.
- Lotu euskarriaren lepoa monitorearen panelera fitxak lerrokatuz eta klik egin arte bultzatuz.
- Lotu euskarriaren oinarria euskarriaren lepoari. Finkatu oinarriaren azpialdean dagoen torloju harrapatuarekin.
- Gently lift the assembled monitor and place it upright on a stable surface.

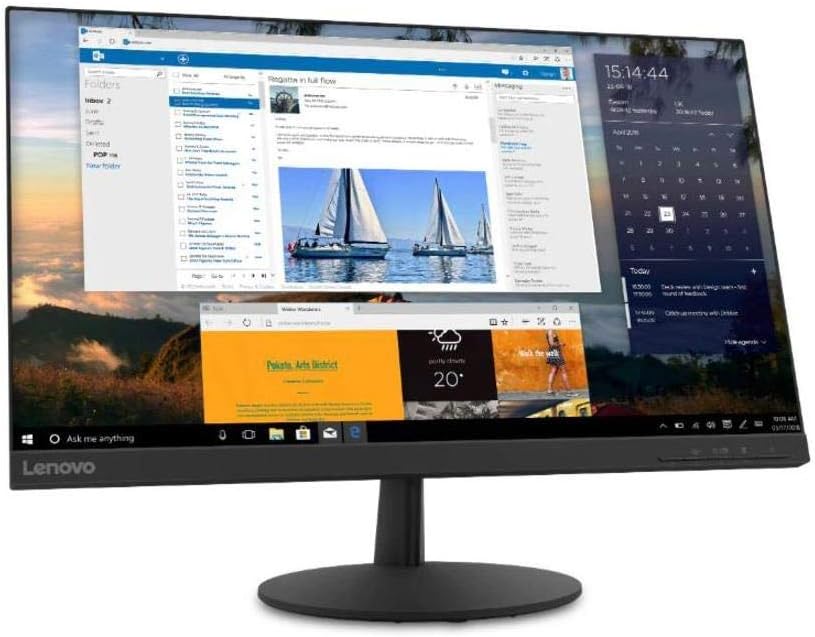
4.1. irudia: Aldea view of the monitor with the stand attached, showing its slim profile.
4.2 Konektatzeko kableak
Refer to the image below for port locations on the back of the monitor.
4.2. Irudia: Atzealdea view of the monitor, highlighting the power input, HDMI, DisplayPort, and audio output ports.
- Potentzia-konexioa: Connect the power cable to the monitor's power input port, then plug the other end into a grounded electrical outlet.
- Bideo-konexioa:
- For HDMI: Connect one end of the HDMI cable to the monitor's HDMI port and the other end to the HDMI output port on your computer.
- For DisplayPort: Connect one end of the DisplayPort cable to the monitor's DisplayPort and the other end to the DisplayPort output on your computer.
- Audio irteera (aukerakoa): If you wish to connect external speakers or headphones directly to the monitor, plug them into the 3.5mm audio out port.
4.3 Hasierako piztea
Press the power button located on the front or bottom bezel of the monitor. The power indicator light will illuminate. If no image appears, ensure all cables are securely connected and your computer is powered on.
5. Monitorea funtzionatzea
5.1 Pantailan bistaratze (OSD) kontrolak
The monitor features control buttons, typically located on the bottom right bezel, to access and navigate the On-Screen Display (OSD) menu. These buttons allow you to adjust various monitor settings.
- Pizteko botoia: Monitorea pizten edo itzaltzen du.
- Menuko botoia: OSD menua irekitzen du.
- Nabigazio botoiak (Gora/Behera/Ezkerra/Eskuina): Menu aukeretan nabigatzeko eta balioak doitzeko erabiltzen da.
- Sartu/Hautatu botoia: Hautaketa bat berresten du edo azpimenu batera sartzen da.
- Irten botoia: Exits the current menu or returns to the previous level.
5.2 Ezarpenak doitzea
To adjust monitor settings:
- Sakatu Menua botoia sakatu OSD irekitzeko.
- Use the navigation buttons to select a category (e.g., Picture, Color, Input).
- Sakatu Sartu / Aukeratu to enter the category.
- Use navigation buttons to adjust values (e.g., Brightness, Contrast, Color Temperature) or select sub-options.
- Sakatu Sartu / Aukeratu aldaketak baieztatzeko.
- Sakatu Irten OSD menutik irteteko.
5.3 Activating AMD FreeSync
To utilize AMD FreeSync technology, ensure your graphics card supports FreeSync and that it is enabled in your graphics card's control panel. Then, navigate to the OSD menu on your monitor, typically under a 'Gaming' or 'Display' section, and enable the FreeSync option.
5.4 Adjusting Refresh Rate
The monitor supports a 75Hz refresh rate. To set this, you may need to adjust the display settings within your operating system (e.g., Windows Display Settings or macOS System Preferences) after connecting the monitor. Select the highest available refresh rate for optimal performance.
6. Mantentzea
6.1 Monitorea garbitzea
- Pantaila: Garbitu pantaila astiro-astiro zapi leun eta pelusik gabeko batekin. Orbanik egoskorrak izanez gero, garbitu astiro-astiro.ampGarbitu zapia urarekin edo amoniakorik eta alkoholik gabeko pantaila-garbitzaile batekin. Ez ihinztatu garbitzailea zuzenean pantailan.
- Casing: Erabili zapi leun eta lehor bat monitorearen c garbitzeko.asing. Saihestu garbitzaile edo disolbatzaile urratzaileak.
- Deskonektatu beti monitorea garbitu aurretik.
6.2 Biltegiratzea
If storing the monitor for an extended period, disconnect all cables and pack it in its original packaging if possible. Store in a cool, dry place away from direct sunlight and extreme temperatures.
7. Arazoak
Monitorearekin arazoak badituzu, jo ezazu honako arazo eta irtenbide ohikoenei:
| Arazoa | Irtenbide posiblea |
|---|---|
| Argirik ez / Pizte-LEDa itzalita | Ensure the power cable is securely connected to both the monitor and the electrical outlet. Check the power outlet with another device. |
| No image / "No Signal" message | Verify the video cable (HDMI/DisplayPort) is securely connected to both the monitor and the computer. Ensure the correct input source is selected in the OSD menu. Check if the computer is powered on and not in sleep mode. |
| Irudia lausoa edo distortsionatua dago | Ensure the monitor's native resolution (2560x1440) is selected in your computer's display settings. Adjust brightness, contrast, and sharpness settings in the OSD menu. |
| Pantailak dir-dir egiten du | Check the video cable for damage or loose connections. Ensure the refresh rate is set correctly (75Hz). Disable FreeSync temporarily to see if it resolves the issue. |
| Koloreak okerrak dira | Adjust color settings (Color Temperature, Gamma) in the OSD menu. Reset color settings to factory defaults. |
8. Zehaztapenak
| Ezaugarri | Xehetasuna |
|---|---|
| Ereduaren izena | Lenovo L24q-30 |
| Pantailaren tamaina | 23.8 hazbete |
| Panel mota | IPS (plano barruko aldaketa) |
| Ebazpena | QHD (2560 x 1440) |
| Aspektu-erlazioa | 16:9 |
| Freskatze tasa | 75 Hz |
| Erantzun Denbora | 4 ms |
| Kolore gama | > %99 sRGB |
| Kontraste-erlazio dinamikoa | 3M:1 |
| Viewangelua | 178° (H/B) |
| Konektibitatea | 1x HDMI 1.4, 1x DisplayPort 1.2, 1x Audio Out (3.5mm) |
| VESA muntaiaren bateragarritasuna | 100 mm x 100 mm |
| Begien erosotasun ziurtagiria | TüV Rheinland Eye Comfort |
| Neurriak (euskarriarekin) | Approx. 21 x 38 x 49 inches (W x D x H) - Note: These dimensions may refer to packaging. Refer to product documentation for exact monitor dimensions. |
| Pisua (zutiluarekin) | Approx. 1 pound - Note: This weight appears to be incorrect for a monitor. Refer to product documentation for exact weight. |
| Kolorea | Beltza |
9. Bermea eta Laguntza
Bermeari buruzko informazio zehatza lortzeko, kontsultatu zure produktuaren paketean sartutako berme-txartela edo bisitatu Lenovoren laguntza ofiziala. webgunea. Bermeak erabilera-baldintza normaletan fabrikazio-akatsak estaltzen ditu.
For technical support, driver downloads, or service inquiries, please visit the Lenovo Support website or contact their customer service department. Have your monitor's model number (L24q-30) and serial number ready when contacting support.
Lenovo laguntza Webgunea: support.lenovo.com