1. Segurtasun-argibide garrantzitsuak
- Irakurri arretaz argibide guztiak aparatua erabili aurretik.
- Do not immerse the feeder base in water or any other liquid.
- Etxetresna hau barrualdean erabiltzeko bakarrik dago pentsatuta.
- Use only dry pet food with a kibble size between 2-15mm (0.08-0.6 inches). Do not use wet food.
- Keep the feeder out of reach of children and pets to prevent tampsendoak.
- Always unplug the feeder before cleaning or performing maintenance.
- Ensure the power adapter and cable are not damaged. If damaged, contact customer support.
- Replace the desiccant bag every two weeks to maintain food freshness.
2. Produktua amaitu daview
The PETLIBRO Automatic Pet Food Dispenser (Model PLAF006) is designed to provide scheduled meals for up to two pets. It features a 5-liter capacity, an adjustable meal splitter, and a dual power supply for reliable operation.

2.1. irudia: Aurrealdea view of the PETLIBRO Automatic Pet Food Dispenser with food in both bowls.
Ezaugarri nagusiak:
- Dual Pet Feeding: Equipped with an adjustable meal splitter and two stainless steel bowls to feed two pets simultaneously.
- Freskotasunaren kontserbazioa: Features a secure twist-lock lid, sealing strip, and a desiccant bag compartment to keep food fresh and crunchy.
- Elikadura programagarria: Allows setting 1-6 meals daily with up to 50 portions per meal (20ml each portion).
- Otordu Pertsonalizatuaren Deia: Record a 10-second voice message to call your pets, playable 0-5 times per meal.
- Elikadura bikoitza: Operates via a 5V USB adapter with a battery backup system (3 x D batteries, not included) for uninterrupted feeding during power outages.
- Arazoen aurkako diseinua: Includes a patented rotor and an infrared sensor to prevent food blockages.
- Easy Monitoring & Cleaning: Transparent window for food level monitoring and detachable components for easy cleaning.
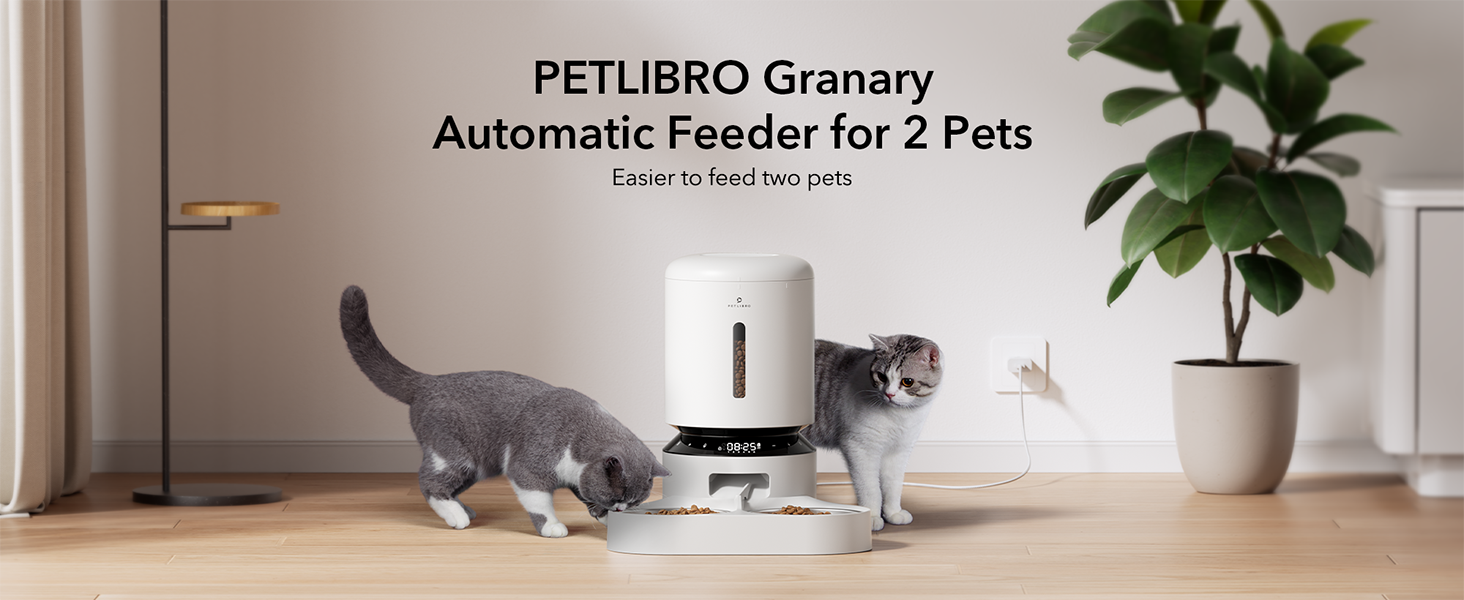
Figure 2.2: The PETLIBRO Granary Automatic Feeder designed for two pets.
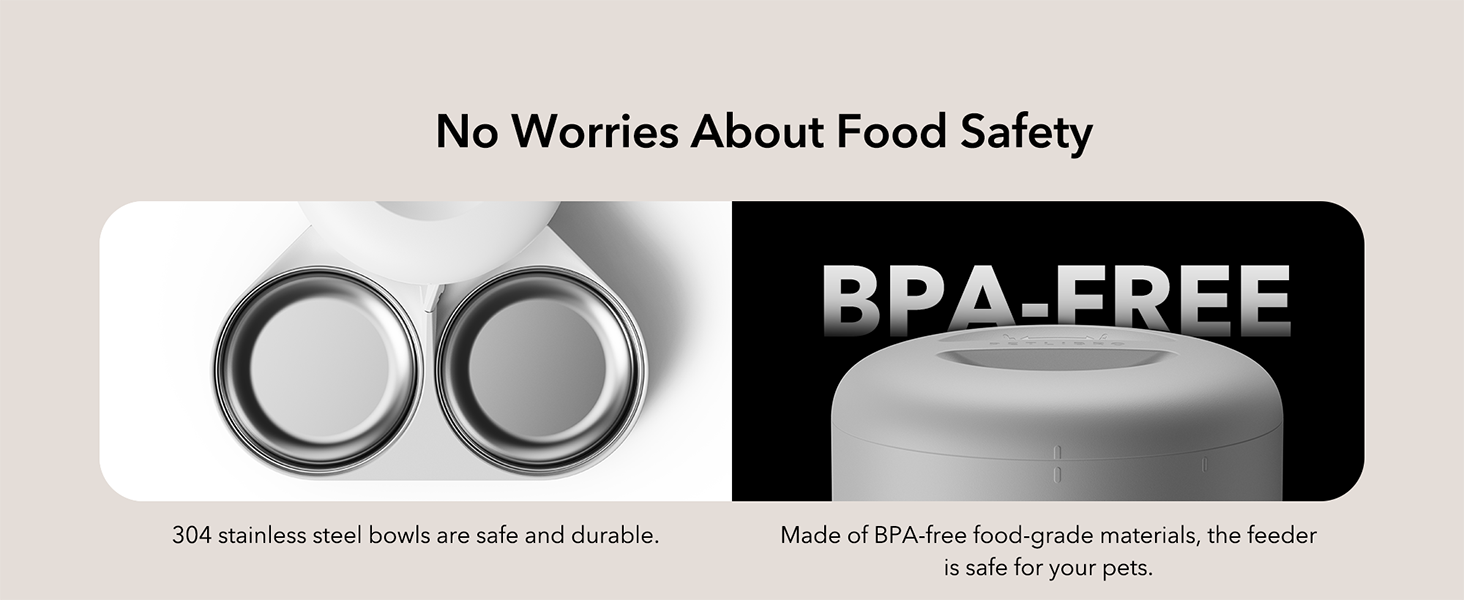
Figure 2.3: The feeder features 304 stainless steel bowls and BPA-free food-grade materials.
3. Konfigurazio gida
3.1 Desontziratzea eta muntatzea
- Kendu osagai guztiak ontzitik.
- Place the feeder base on a flat, stable surface.
- Insert the stainless steel bowls into the ABS food tray.
- Attach the food tray to the main feeder unit.
- Open the lid and place a desiccant bag into the designated compartment to maintain food freshness.
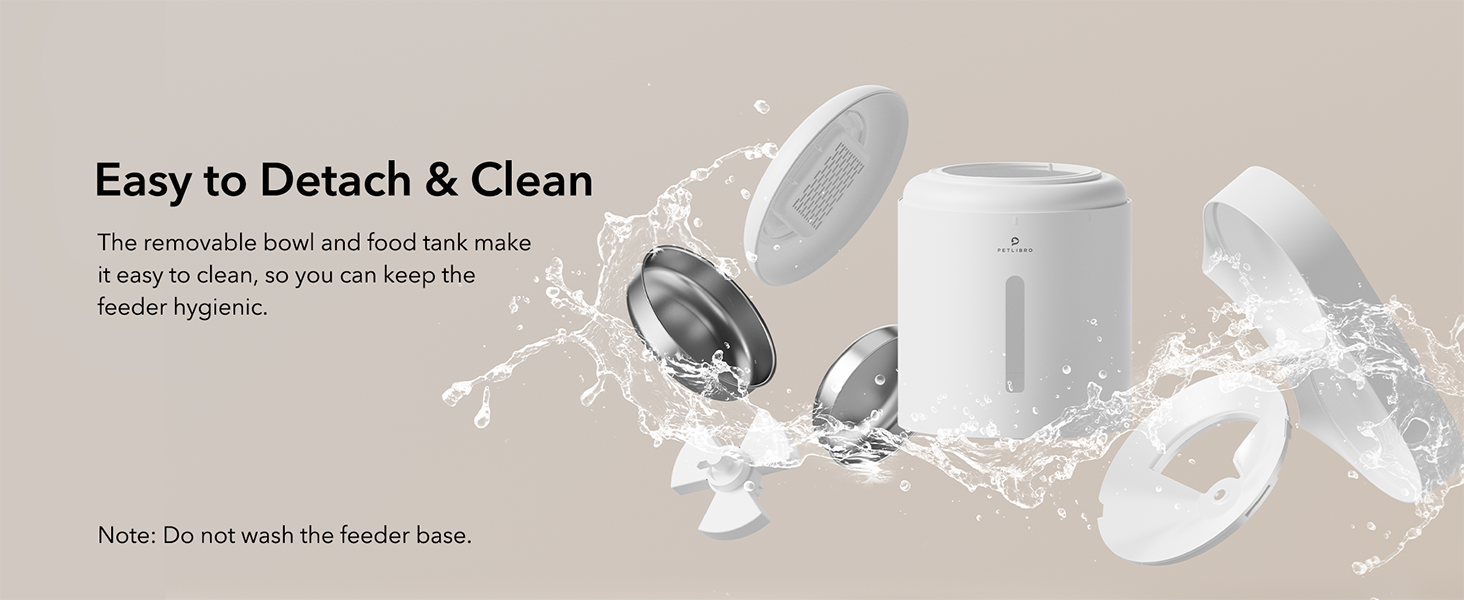
Figure 3.1: Detachable components for easy assembly and cleaning.
3.2 Elikatze iturria
The feeder can be powered by the included USB-C adapter or by D-cell batteries for backup.
- Potentzia nagusia: Connect the USB-C adapter to the feeder and plug it into a wall outlet.
- Bateria babeskopia: Botereagatiktage protection, install 3 D-cell alkaline batteries (not included) into the battery compartment at the bottom of the feeder.
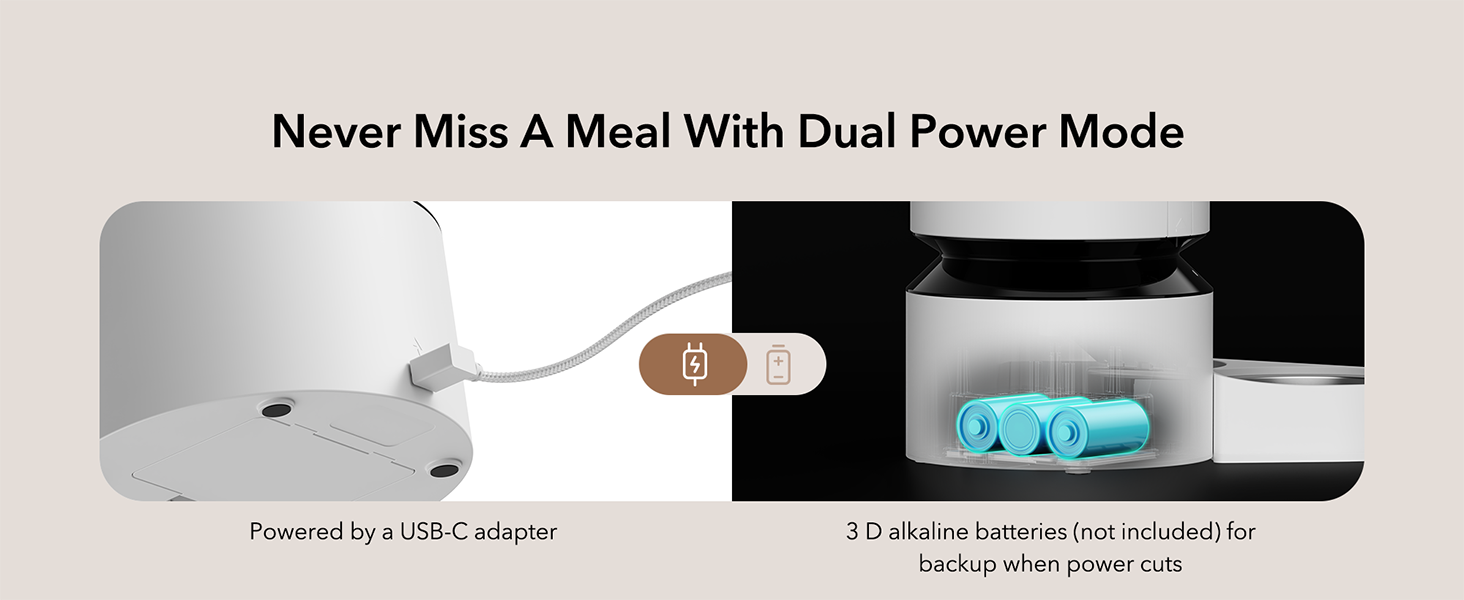
Figure 3.2: Dual power mode with USB-C adapter and D-battery backup.
3.3 Filling the Food Tank
- Open the top lid by twisting it counter-clockwise.
- Pour dry pet food into the food tank. Ensure the kibble size is between 2-15mm (0.08-0.6 inches).
- Close the lid by twisting it clockwise until it locks securely.
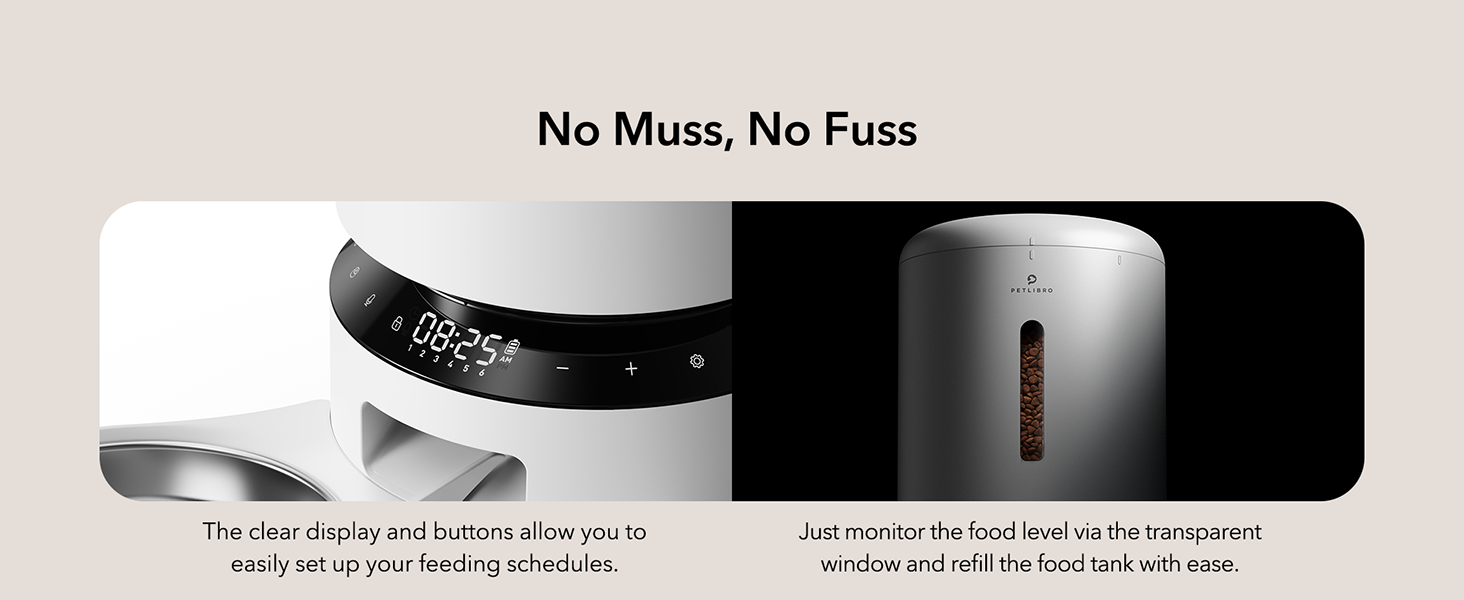
Figure 3.3: Transparent window allows easy monitoring of food level.
4. Funtzionamendu-argibideak
The feeder's functions are controlled via the intuitive LED panel.

Figure 4.1: The LED control panel for easy operation.
4.1 Setting Meal Times and Portions
- Press the 'Set' button to enter programming mode.
- Use the '+' and '-' buttons to adjust the current time. Press 'Set' to confirm.
- Proceed to set meal times (up to 6 meals per day) and the number of portions (1-50 portions, 20ml each) for each meal.
- Press 'Set' after each adjustment to confirm and move to the next setting.
- The feeder will automatically save settings after a period of inactivity or by pressing and holding the 'Set' button.
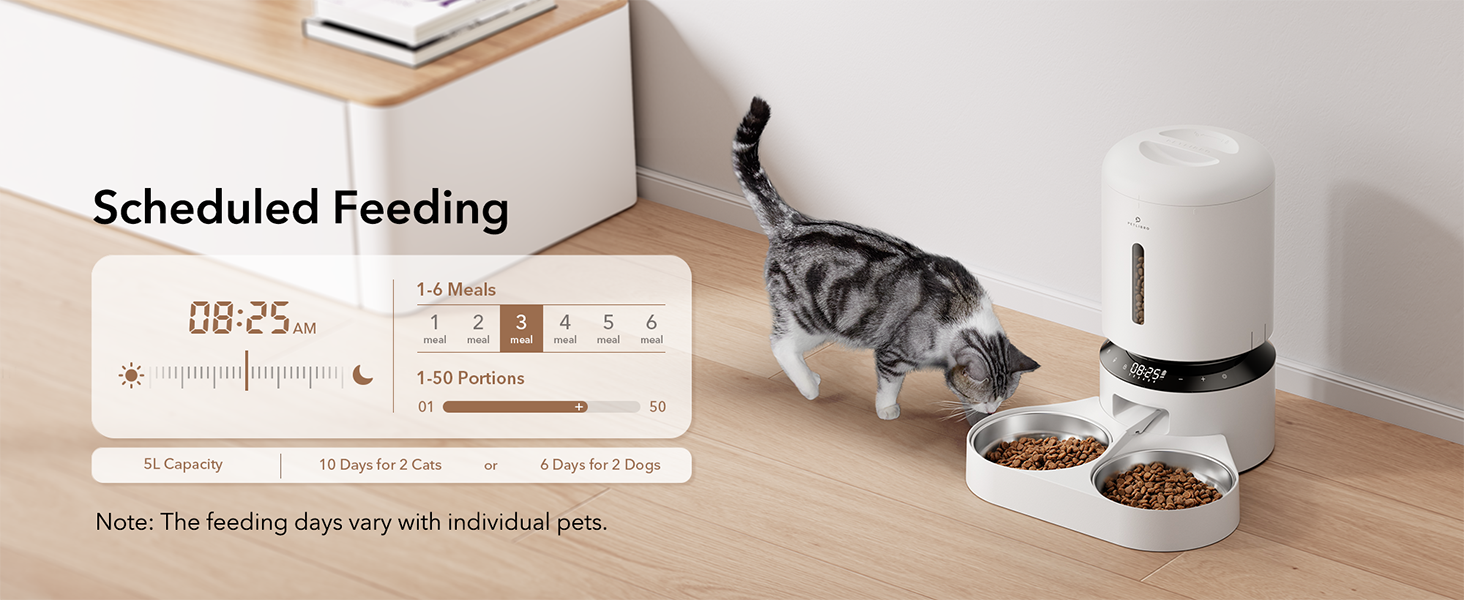
4.2. irudia: Adibample of scheduled feeding settings on the display.
4.2 Eskuzko elikadura
To dispense food manually, press the manual feed button (often indicated by a paw print or similar icon) on the control panel. Each press typically dispenses one portion, up to a maximum of 5 portions.
4.3 Recording a Meal Call
- Press and hold the 'Record' button (microphone icon) until you hear a beep.
- Record your 10-second message. Release the button when finished.
- To adjust how many times the message plays (0-5 times) per meal, refer to the programming instructions in section 4.1.
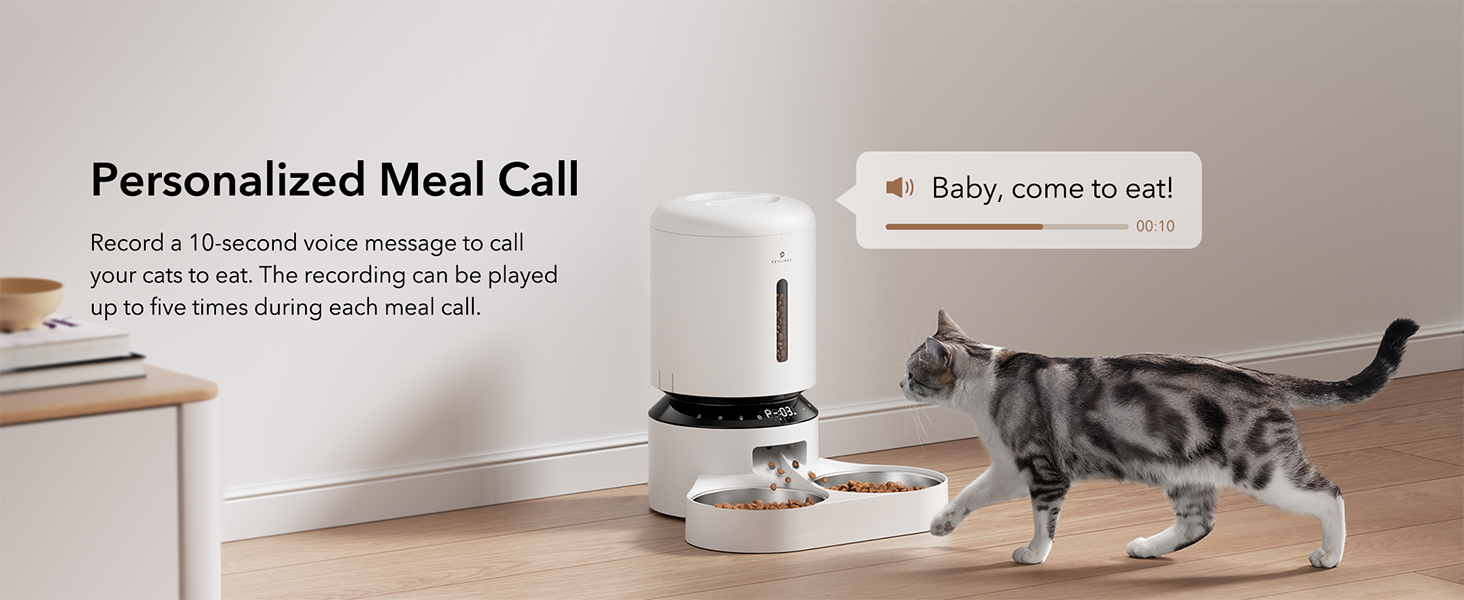
Figure 4.3: Personalized meal call feature to attract pets.
4.4 Adjusting the Meal Splitter
The unique movable meal splitter allows for even distribution or customized portions between the two bowls.
- Locate the meal splitter in the food outlet.
- Gently rotate the splitter to adjust the distribution.
- For even distribution, position the splitter centrally.
- To provide more food to one side, adjust the splitter towards the opposite side.
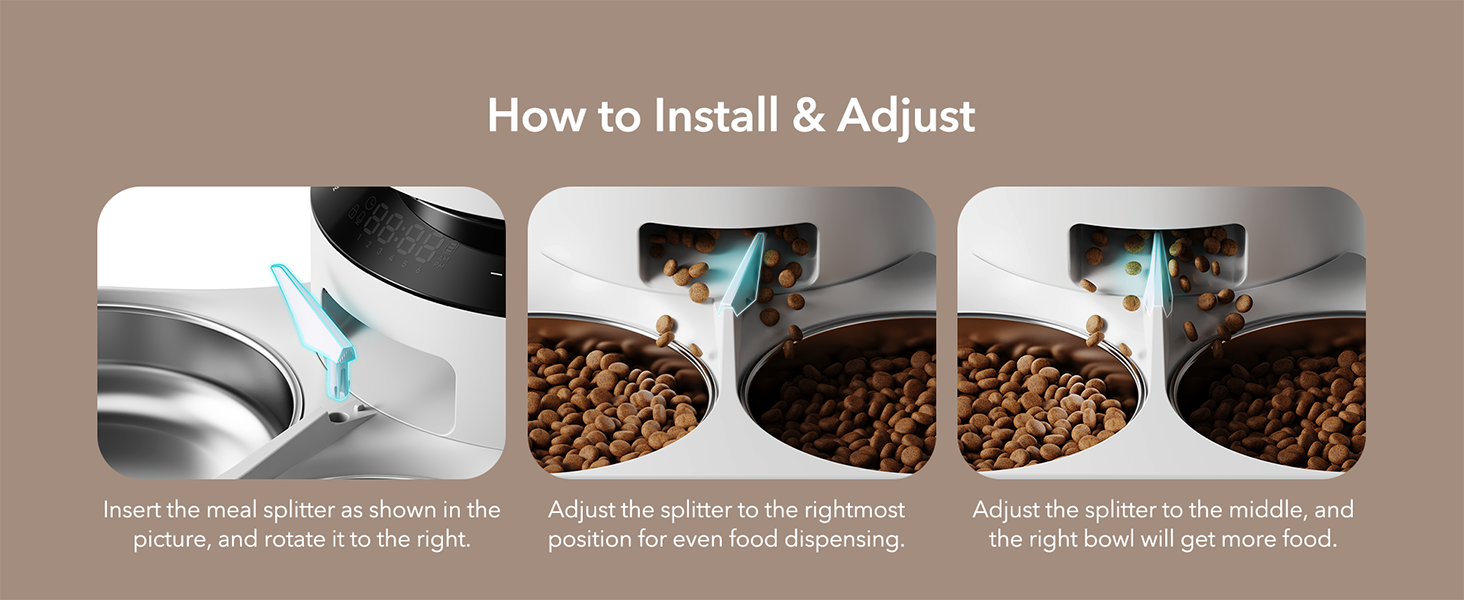
Figure 4.4: Visual guide for installing and adjusting the meal splitter.
5. Mantentzea
5.1 Elikagailua garbitzea
Regular cleaning ensures hygiene and proper functioning of the feeder.
- Unplug the feeder and remove any remaining food.
- Detach the food tank, lid, food tray, and stainless steel bowls.
- Wash the food tank, lid, food tray, and stainless steel bowls with mild soap and water. These parts are dishwasher safe.
- Wipe the feeder base with a soft, damp oihal. Do not wash the feeder base directly with water.
- Ziurtatu pieza guztiak guztiz lehortuta daudela berriro muntatu aurretik.

Figure 5.1: Detachable design allows for thorough cleaning of components.
5.2 Desikatzaile-poltsaren ordezkapena
The desiccant bag helps absorb moisture and keep pet food fresh. It is recommended to replace it every two weeks.
- Ireki elikagailuaren goiko estalkia.
- Remove the old desiccant bag from its compartment.
- Insert a new desiccant bag.
- Estalkia ondo itxi.

Figure 5.2: Desiccant bag compartment for maintaining food freshness.
6. Arazoak
If you encounter issues with your PETLIBRO Automatic Pet Food Dispenser, refer to the following common problems and solutions:
| Arazoa | Kausa posiblea | Irtenbidea |
|---|---|---|
| Elikagailuak ez du janaria banatzen. | Food tank empty; Food outlet blocked; Incorrect settings; Power issue. | Refill food tank. Check for blockages in the food outlet and clear them. Verify meal schedule and portion settings. Ensure power adapter is connected or batteries are installed correctly. |
| Food jamming. | Kibble size too large; Food too moist; Rotor obstruction. | Use dry kibble within the recommended size (2-15mm). Ensure food is dry. Check the rotor for any foreign objects and clean if necessary. |
| Elikagailua ez da pizten. | Power adapter disconnected; Batteries depleted or incorrectly installed. | Check if the power adapter is securely plugged in. Replace D batteries if depleted or ensure they are installed with correct polarity. |
| Meal call not playing. | No message recorded; Volume too low; Playback frequency set to 0. | Record a message (Section 4.3). Check volume settings. Adjust playback frequency in meal settings. |
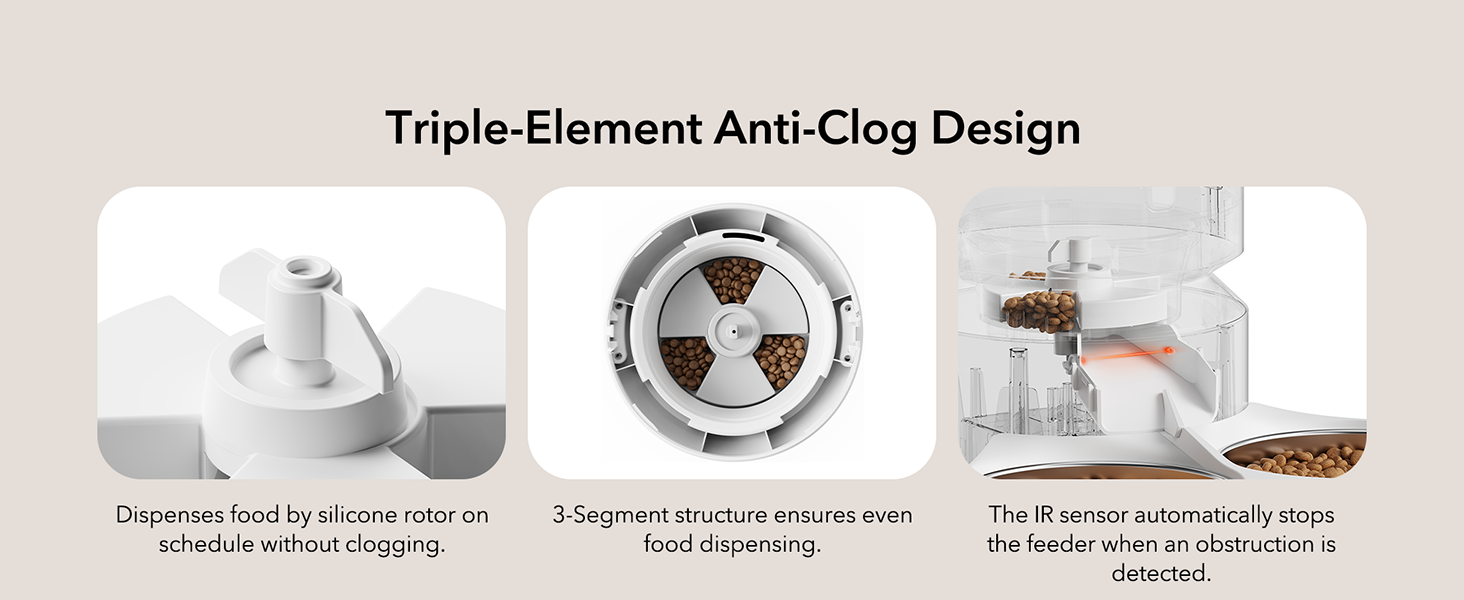
Figure 6.1: Triple-Element Anti-Clog Design helps prevent food jamming.
If the problem persists after trying these solutions, please contact PETLIBRO customer support.
7. Zehaztapenak
| Ezaugarri | Zehaztapena |
|---|---|
| Ereduaren izena | Granary Feeder Dual Tray |
| Modelo zenbakia | PLAF006 |
| Edukiera | 5 litro |
| Neurriak (LxWxH) | 14.17 x 10.16 x 7.72 hazbete |
| Elementuaren pisua | 5 kilo |
| Materiala | Stainless Steel (bowls), BPA-free plastic |
| Elikatze Hornidura | 5V USB Adapter (included), 3 x D Batteries (not included) |
| Kibble Tamaina | 2-15mm (0.08-0.6 inches) dry food |
| Eguneko otorduak | 1-6 otordu |
| Otordu bakoitzeko anoak | 1-50 portions (approx. 20ml per portion) |
| Dakarten osagaiak | USB egokigailua |
| Xede-espezieak | Katuak, Txakurrak, Animalia Txikiak |

Figure 7.1: Recommended kibble size and food types for optimal performance.

Figure 7.2: Recommended daily feeding portions table.
8. Bermea eta Laguntza
8.1 Bermearen informazioa
This PETLIBRO product comes with a 24 hilabeteko bermea erosketa-datatik aurrera. Gorde erosketaren egiaztagiria berme-erreklamazioetarako.
8.2 Bezeroarentzako laguntza
For any questions, technical assistance, or warranty claims, please contact PETLIBRO customer support through their official webproduktua erosi zen gunea edo dendaria.
You can visit the official PETLIBRO store for more information: PETLIBRO Store
9. Bideo baliabideak
No relevant official product videos with creator type 'Seller' were found in the provided data to embed in this manual.


