1. Sarrera
This manual provides detailed instructions for the installation, operation, and maintenance of your Vivotek IB9380-H 5MP IR Outdoor Network Bullet Camera. Please read this manual thoroughly before using the product to ensure proper setup and optimal performance. This camera is designed for outdoor security surveillance, offering high-resolution imaging and infrared capabilities for reliable monitoring.
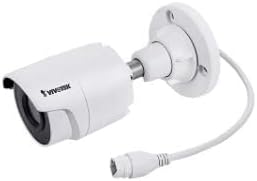
Image 1.1: Vivotek IB9380-H 5MP IR Outdoor Network Bullet Camera overview.
2. Segurtasun informazioa
- Energia iturria: Use only the specified AC/DC power adapter. Ensure the power supply is stable and meets the camera's requirements (3.5 watts).
- Instalazio-ingurunea: This camera is rated for outdoor use (IP9380). Avoid installing in locations with extreme temperatures, high humidity, or corrosive substances beyond its operating specifications.
- Manipulazioa: Do not drop or subject the camera to severe shock. Avoid touching the lens directly.
- Desmihiztatu: Ez saiatu kamera desmuntatzen edo aldatzen. Honek bermea baliogabetu eta kalteak eragin ditzake.
- Kableatzea: Ensure all cables are properly secured and protected from environmental damage or tampsendoak.
3. Paketearen edukia
Egiaztatu elementu guztiak paketean daudela:
- Vivotek IB9380-H 5MP IR Outdoor Network Bullet Camera
- Muntatzeko kita (torlojuak, hormako aingurak)
- Instalazio azkarraren gida
- Ethernet kablearentzako iragazgaitza den konektorea
4. Konfigurazioa
4.1. Instalazio fisikoa eta muntaketa
The Vivotek IB9380-H camera is designed for wall mount installation. Choose a suitable location that provides the desired field of view eta energia eta sare konexioen eskura dago.
- Prestatu Muntatzeko Azalera: Mark the drilling points on the wall using the mounting template (if provided) or by holding the camera's base against the surface.
- Zulatzeko zuloak: Drill pilot holes at the marked positions. Insert wall anchors if mounting on drywall or masonry.
- Seguru kamera: Attach the camera's mounting base to the wall using the provided screws. Ensure it is firmly secured.
- Egokitu Angelua: Askatu kameraren gorputzeko doikuntza-torlojuak nahi duzun posizioa ezartzeko. viewing angle. Tighten the screws once the angle is satisfactory.

Image 4.1: Camera dimensions and mounting diagram for installation planning.
4.2. Kable konexioa
Connect the necessary cables to the camera:
- Ethernet kablea: Connect a standard Ethernet cable (RJ45) to the camera's network port. Use the waterproof connector to protect the connection if exposed to weather.
- Sare elektrikoa Connect the power adapter to the camera's power input. Ensure the connection is secure.

Image 4.2: Close-up of an Ethernet cable connector, similar to what is used for the camera's network connection.
4.3. Hasierako piztea
Once all cables are connected, plug the power adapter into an electrical outlet. The camera will power on and initiate its startup sequence. Observe any indicator lights for status.
5. Funtzionamendu-argibideak
5.1. Network Configuration and Access
The Vivotek IB9380-H supports Wi-Fi connectivity. For initial setup, it is recommended to connect via Ethernet to configure network settings.
- Ezagutu kamera: Use the Vivotek IP Search utility or your network router's client list to find the camera's assigned IP address.
- Sarbidea Web Interfazea: Ireki a web browser and enter the camera's IP address. Log in using the default credentials (refer to the Quick Installation Guide for details).
- Konfiguratu Wi-Fia: Navigate to the network settings within the web interface. Select your Wi-Fi network, enter the password, and save the settings. Once configured, you may disconnect the Ethernet cable if desired.
5.2. Bizi View eta Grabaketa
After network setup, you can access the camera's live feed and configure recording options.
- Zuzenean View: -tik web interface or a compatible mobile application, select the camera to view bere zuzeneko jarioa.
- Grabaketa konfigurazioa: Configure recording schedules, continuous recording, or event-triggered recording (e.g., motion detection). Recordings can be stored on a network video recorder (NVR) or a local storage device if supported.
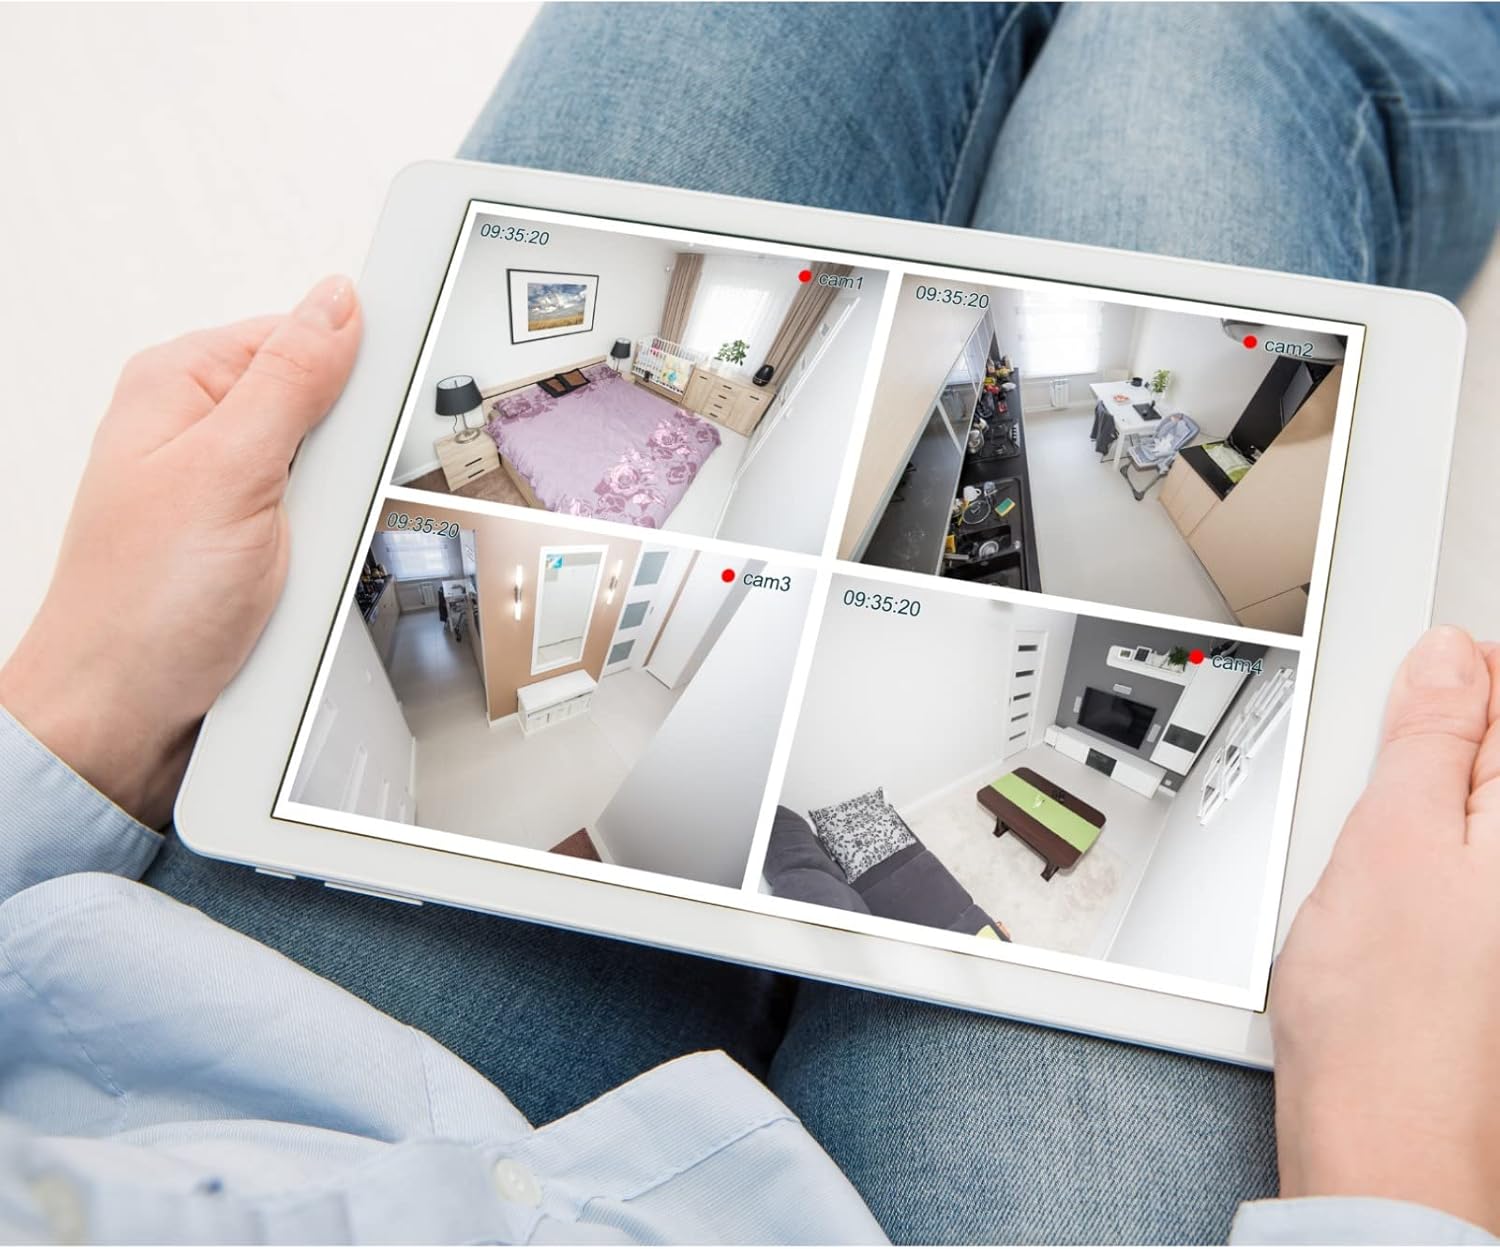
5.1 irudia: Adibideaample of a tablet displaying multiple camera feeds, illustrating remote monitoring capabilities.
5.3. Motion Detection Setup
The camera supports motion-only alerts.
- Access Alert Settings: In the camera's web interface, navigate to the event or alert settings section.
- Configure Motion Detection: Enable motion detection and define the detection zones and sensitivity levels.
- Ekintzak ezarri: Specify actions to be taken upon motion detection, such as recording, sending email notifications, or triggering alarms.
5.4. Gaueko Ikusmena
The camera features IR (Infrared) and Night Color low light technology for clear imaging in various lighting conditions. These features typically activate automatically based on ambient light levels.
6. Mantentzea
- Lentea garbitzea: Garbitu kameraren lentea oihal leun eta garbi batekin. Zikinkeria egoskorra izanez gero, erabili gainazal optikoetarako diseinatutako lenteak garbitzeko soluzio bat. Ez erabili garbitzaile urratzailerik.
- Firmware eguneraketak: Aldian-aldian egiaztatu Vivotek-a webfirmware eguneratzeetarako gunea. Firmwarea eguneratuta edukitzeak errendimendu optimoa, segurtasuna eta funtzio berrietarako sarbidea bermatzen ditu.
- Ingurumen-kontrola: Regularly inspect the camera and its mounting for any signs of wear, damage, or loose connections, especially after severe weather conditions.
- Potentzia-zikloa: If the camera experiences minor issues, try power cycling it by disconnecting and reconnecting the power supply.
7. Arazoak
| Arazoa | Kausa posiblea | Irtenbidea |
|---|---|---|
| Botererik ez | Power adapter unplugged or faulty; power outlet issue. | Check power connections. Test the outlet with another device. Try a different power adapter if available. |
| Ez dago bideo-jariorik | Network connection issue; incorrect IP address; camera not configured. | Verify network cable connection or Wi-Fi settings. Confirm camera's IP address. Ensure camera is properly configured in your viewing softwarea. |
| Irudiaren kalitate eskasa | Lente zikina; argitasun gutxiko baldintzak; bereizmen ezarpen okerrak. | Clean the camera lens. Ensure sufficient lighting or verify night vision is active. Check video resolution settings in the camera's interface. |
| Mugimendu-detekzioa ez dabil | Motion detection disabled; incorrect sensitivity; detection zones not set. | Enable motion detection in settings. Adjust sensitivity and define detection zones. |
8. Zehaztapenak
| Ezaugarri | Xehetasuna |
|---|---|
| Eredua | IB9380-H |
| Ebazpen finko eraginkorra | 5 MP |
| Bideo Harrapaketa Ebazpena | 1080p |
| Fotograma-tasa | 20 fps |
| Argi gutxiko teknologia | Gau Kolorea |
| Forma-faktorea | Bala |
| Barruko/Kanpoko erabilera | Kanpoan |
| Muntatze Mota | Hormako Muntaia |
| Haririk gabeko komunikazioa | Wi-Fi |
| Konektibitate-protokoloa | Wi-Fi |
| Energia iturria | AC/DC |
| Wattage | 3.5 watt |
| Alerta mota | Mugimendua bakarrik |
| Kontrol-metodoa | Urrunekoa |
| Neurriak (L x W x H) | 3.59 x 3.59 x 6.96 hazbete |
| Nazioarteko Babesteko Balorazioa | IP9380 |
| UPC | 655255870887, 681541834035 |
9. Bermearen informazioa
This Vivotek product is covered by a manufacturer's limited warranty. Please refer to the warranty card included in your package or visit the official Vivotek website for detailed terms and conditions regarding warranty coverage, duration, and claims procedures. Keep your proof of purchase for warranty service.
10. Bezeroarentzako arreta
For technical assistance, troubleshooting beyond this manual, or warranty inquiries, please contact Vivotek customer support. You can typically find contact information (phone, email, support portal) on the official Vivotek webgunean edo zure produktuarekin batera emandako dokumentazioan.
Sareko baliabideak: www.vivotek.com


