1. Sarrera
Eskerrik asko erosketagatik.asing the DOOMAY Digital Alarm Clock. This compact and versatile alarm clock is designed for convenience and readability, featuring an adjustable LCD display, snooze function, weekend mode, and temperature display. This manual will guide you through the setup, operation, and maintenance of your new alarm clock to ensure optimal performance.
2. Segurtasun informazioa
- Mantendu gailua uretatik eta hezetasun handiko inguruneetatik urrun.
- Saihestu erlojua eguzki-argiaren edo tenperatura altuen eraginpean jartzea.
- Ez saiatu gailua zeuk desmuntatzen edo konpontzen. Jo ezazu langile kualifikatuengana zerbitzurako.
- Erabili zehaztutako bateria mota soilik (2 x AAA bateria).
- Kendu bateriak gailua denbora luzez erabiliko ez bada, isuriak saihesteko.
- Mantendu bateriak haurren eskura.
3. Paketearen edukia
- DOOMAY Digital Alarm Clock (1 unit)
- AAA Batteries (2 units)
- Erabiltzailearen eskuliburua (dokumentu hau)
4. Produktua amaitu daview
Familiarize yourself with the components and controls of your DOOMAY Digital Alarm Clock.
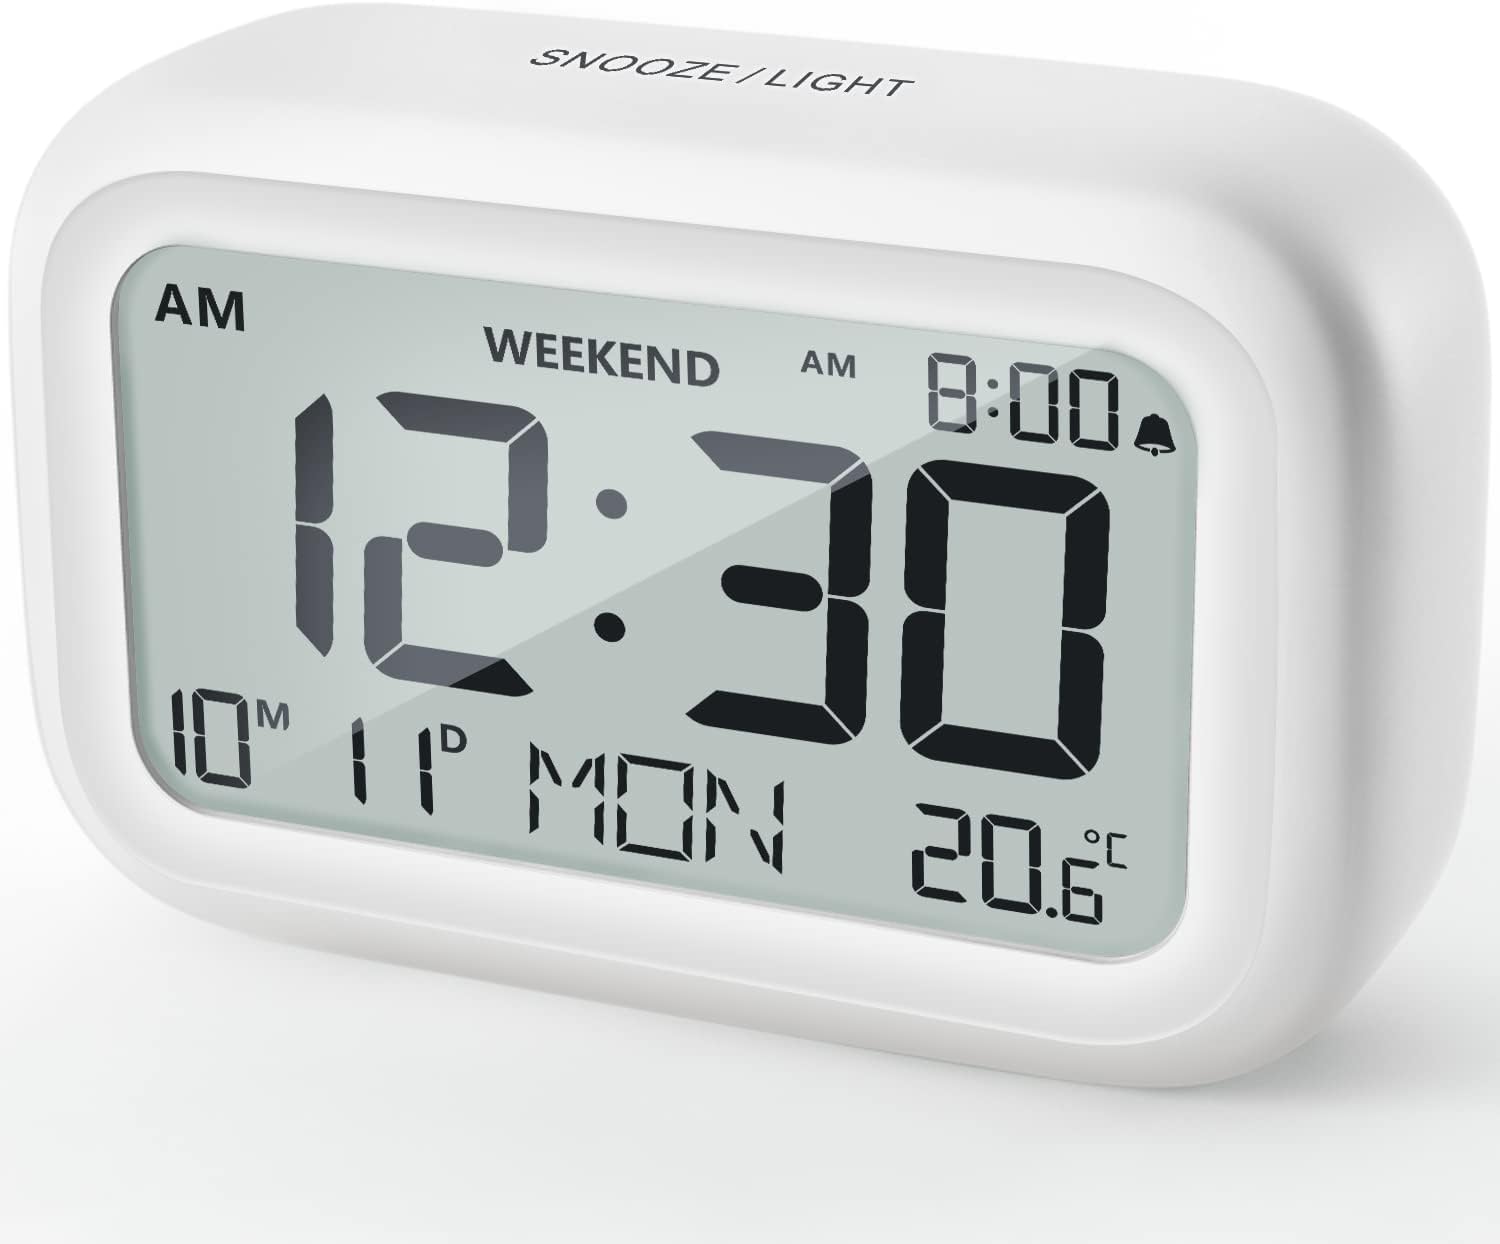
4.1. irudia: Aurrealdea View of the Alarm Clock
This image displays the front of the DOOMAY Digital Alarm Clock, highlighting its large, clear LCD screen. The screen shows the current time (12:30), AM indicator, day of the week (MON), date (10th month, 11th day), and indoor temperature (20.6°C). The top of the clock has a "SNOOZE/LIGHT" button.

4.2. irudia: Ezaugarri nagusiakview
This diagram illustrates the main functionalities of the alarm clock: 12/24H time display, calendar, alarm setting, adjustable volume, snooze function, backlight, weekend mode, and temperature display. The clock itself is shown on a wooden table, displaying 7:00 AM, Friday, and 28.8 degrees.

Figure 4.3: Back Panel Controls
This image shows the rear of the alarm clock, detailing the various control buttons and the battery compartment. Buttons are clearly labeled for: 12/24H time format, Alarm setting, Weekend mode, Date setting, Minus (-) for decreasing values, Plus (+) for increasing values, and °C/°F for temperature unit selection. The battery compartment is visible, designed for two AAA batteries.
Kontrolak eta pantaila:
- LCD pantaila: Shows time, date, day of week, AM/PM indicator, alarm status, and temperature.
- SNOOZE/LIGHT Button (Top): Activates snooze function during alarm; illuminates backlight for 5 seconds.
- 12/24H Button (Back): Toggles between 12-hour and 24-hour time formats.
- ALARM Button (Back): Alarma ezartzeko moduan sartzen da.
- WEEKEND Button (Back): Activates/deactivates weekend mode.
- DATE Button (Back): Enters date setting mode.
- MINUS (-) Button (Back): Decreases values during setting; adjusts alarm volume.
- PLUS (+) Button (Back): Increases values during setting; adjusts alarm volume.
- °C/°F Button (Back): Celsius eta Fahrenheit tenperatura unitateen artean txandakatzen du.
5. Konfigurazioa
5.1 Bateriaren instalazioa
- Ireki erlojuaren atzealdean dagoen bateriaren konpartimentuaren estalkia.
- Sartu bi (2) AAA pila, polaritate zuzena ziurtatuz (+ eta -).
- Itxi bateriaren konpartimenduaren estalkia ondo.
- The display will light up, and the clock will be ready for initial setup. A low battery symbol will appear when batteries need replacement. If the display shows "8888" flashing, it's also an indication to change batteries.
5.2 Hasierako ordua eta data ezartzea
- Ezarri ordua:
- Sakatu 12/24H button to switch between 12-hour (with AM/PM) and 24-hour formats.
- Eduki sakatuta 12/24H botoia 3 segundoz sakatu ordua ezartzeko moduan sartzeko. Orduko digituak keinuka hasiko dira.
- Erabili + or - ordua doitzeko botoiak.
- Sakatu 12/24H botoia berriro sakatu ordua berresteko eta minutuen ezarpenera joateko. Minutuen digituak keinuka hasiko dira.
- Erabili + or - minutuak doitzeko botoiak.
- Sakatu 12/24H button one more time to exit time setting.
- Ezarri data:
- Eduki sakatuta DATA button for 3 seconds to enter date setting mode. The year digits will flash.
- Erabili + or - urtea doitzeko botoiak.
- Sakatu DATA button again to confirm the year and move to month setting.
- Adjust the month using + or -.
- Sakatu DATA again to move to day setting.
- Adjust the day using + or -.
- Sakatu DATA one more time to exit date setting. The day of the week will automatically adjust.
6. Funtzionamendu-argibideak
6.1 Alarma ezartzea
- Eduki sakatuta ALARMA botoia 3 segundoz. Alarmaren orduko digituak keinuka hasiko dira.
- Erabili + or - botoiak nahi duzun alarmaren ordua ezartzeko.
- Sakatu ALARMA button again to confirm the hour and move to minute setting. The alarm minute digits will flash.
- Erabili + or - botoiak nahi duzun alarmaren minutua ezartzeko.
- Sakatu ALARMA button one more time to exit alarm setting. The alarm icon (bell symbol) will appear on the display, indicating the alarm is active.
- To turn the alarm ON/OFF, simply press the ALARMA button once. The bell icon will appear/disappear.
6.2 Snooze funtzioa
When the alarm sounds, gently tap the large SNOOZE / ARGIA button on the top of the clock. The alarm will pause for 9 minutes and then sound again. This can be repeated multiple times.

Figure 6.1: Activating Snooze
This image demonstrates how to activate the snooze function by touching the top of the alarm clock. The text highlights that this action provides an additional 9 minutes of sleep after the alarm sounds.
To completely turn off the alarm after it sounds (without snoozing), press any button on the back of the clock.
6.3 Weekend Mode
The weekend mode allows the alarm to sound only from Monday to Friday, preventing it from ringing on Saturday and Sunday.

Figure 6.2: Weekend Mode Activated
This image shows the alarm clock display with the "WEEKEND" indicator prominently displayed, signifying that the weekend mode is active. The accompanying text clarifies that in this mode, the alarm will only sound from Monday to Friday, ensuring undisturbed weekends.
- To activate Weekend Mode, press the ASTEBURUA button once. The "WEEKEND" indicator will appear on the display.
- To deactivate Weekend Mode, press the ASTEBURUA button again. The "WEEKEND" indicator will disappear.
6.4 Adjustable Alarm Volume
The alarm clock offers two volume levels: Low (70 dB) and High (85 dB).

Figure 6.3: Alarm Volume Levels
This image visually represents the two available alarm volume settings: L01 (85 dB) for a louder alarm and L02 (70 dB) for a softer alarm. The alarm clock is shown in a bedroom setting, emphasizing its use as a bedside device.
- Ordua bistaratzeko modu normalean zaudela, sakatu tekla + or - buttons to cycle between the two alarm volume levels. The current volume level will be briefly displayed.
6.5 Atzeko argiztapen funtzioa
To illuminate the display in low light conditions, simply tap the SNOOZE / ARGIA button on the top of the clock. The backlight will activate for approximately 5 seconds, providing clear visibility of the time and other information.
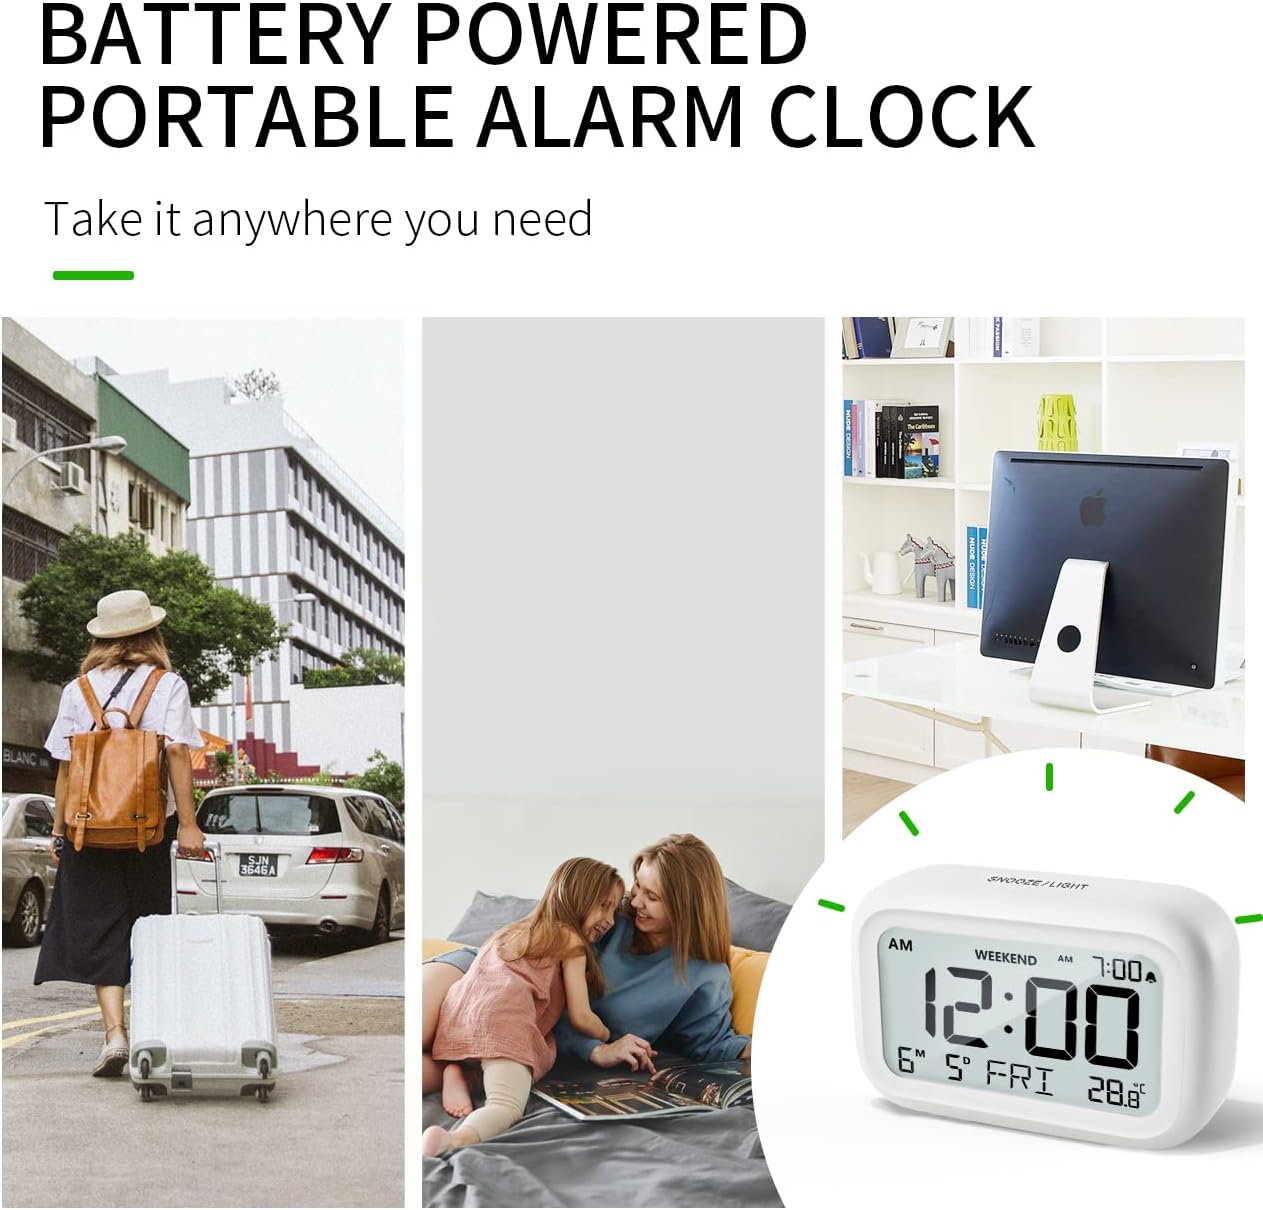
Figure 6.4: Backlight in Action
This image provides a side-by-side comparison of the alarm clock's display. On the left, the clock is shown in a well-lit environment. On the right, the same clock is shown in a dark setting with its 5-second backlight activated, demonstrating how the display becomes clearly visible at night.
6.6 Tenperatura bistaratzea
The clock displays the indoor temperature. You can switch between Celsius (°C) and Fahrenheit (°F) units.
- To change the temperature unit, press the ° C / ° F erlojuaren atzealdean dagoen botoia.
7. Mantentzea
7.1 Garbiketa
Garbitu erlojua zapi leun eta lehor batekin. Ez erabili garbitzaile edo disolbatzaile urratzailerik, gainazala kaltetu baitezakete.
7.2 Bateria ordezkatzea
When the low battery indicator appears on the display, or if the display shows "8888" flashing, it is time to replace the batteries. Follow the steps in Section 5.1 Battery Installation to replace the two AAA batteries.
8. Arazoak
| Arazoa | Kausa posiblea | Irtenbidea |
|---|---|---|
| Pantaila hutsik edo ilun dago. | Pilak agortuta daude edo gaizki instalatuta daude. | Ordeztu bateriak AAA bateria berriekin, polaritate zuzena ziurtatuz. |
| Alarmak ez du jotzen. | Alarm is not activated, or Weekend Mode is ON. | Ensure the alarm icon is displayed. Check if Weekend Mode is active and deactivate if necessary. |
| Atzerapen funtzioa ez dabil. | Not tapping the SNOOZE/LIGHT button correctly. | Ensure a firm, brief tap on the top SNOOZE/LIGHT button when the alarm is sounding. |
| Ordua/data okerra da. | Not set correctly or batteries were removed. | Refer to Section 5.2 Initial Time and Date Setting to re-set. |
9. Zehaztapenak
| Ezaugarri | Xehetasuna |
|---|---|
| Modelo zenbakia | 5293Erresuma Batua |
| Marka | DOOMAY |
| Neurriak (L x W x H) | 10.9 x 3.81 x 6.9 cm (4.29 x 1.5 x 2.72 hazbete) |
| Pisua | 127.01 gramo (0.28 lb) |
| Materiala | Akrilonitrilo Butadieno Estirenoa (ABS) |
| Energia iturria | 2 x AAA bateria (barne) |
| Bistaratzeko mota | LCD digitala |
| Alarma-bolumen mailak | Low (70 dB), High (85 dB) |
| Errepikatzeko iraupena | 9 minutu |
| Atzeko argiaren iraupena | 5 segundo |
| Tenperatura Unitateak | Celsius (°C) / Fahrenheit (°F) |
10. Bermea eta Laguntza
DOOMAY products are designed for reliability and performance. For any questions, technical support, or warranty claims, please contact your retailer or visit the official DOOMAY website for assistance. Please retain your proof of purchase for warranty purposes.
For further information, you may visit the brand's Amazon store page: DOOMAY Store on Amazon


