1. Sarrera
Thank you for choosing the Prechen 19.5-inch 1600x900 LED Monitor. This monitor is designed to provide a high-quality visual experience for various applications, including office work, multimedia, and gaming. Featuring a 1600x900 resolution TN panel, 60Hz refresh rate, and built-in speakers, it offers a versatile display solution. This manual provides detailed instructions for setup, operation, maintenance, and troubleshooting to ensure optimal performance and longevity of your device.

1. irudia: Aurrealdea view of the Prechen 19.5-inch LED Monitor.
2. Segurtasun informazio garrantzitsua
Please read all safety warnings and instructions carefully before using this monitor to prevent damage or injury.
- Ez jarri monitoreari euri edo hezetasun eraginpean suteak edo deskarga elektrikoak saihesteko.
- Ez ireki monitorearen casing. Ez dago erabiltzaileak konpondu beharreko piezarik barruan. Konponketa guztiak zerbitzu-langile kualifikatuei eskatu.
- Jarri monitoreak gainazal egonkor eta lau batean, eror ez dadin.
- Ziurtatu monitorearen inguruan behar bezala aireztatuta dagoela. Ez blokeatu aireztapen-irekidurak.
- Erabili monitorearekin batera datorren korronte-egokitzailea soilik.
- Deskonektatu entxufea entxufetik monitoreak denbora luzez erabiliko ez badu.
- Avoid placing the monitor near heat sources such as radiators, heat registers, stoves, or other products (including ampberoa sortzen duten argitzaileak).
3. Paketearen edukia
Mesedez, egiaztatu paketearen edukia elementu guztiak daudela eta kalterik ez dutela ziurtatzeko:
- Prechen 19.5-inch LED Monitor
- Elikatze-moldagailua
- HDMI kablea
- Erabiltzailearen eskuliburua

Figure 2: Included accessories: Monitor, Power Adapter, HDMI Cable, and User Manual.
4. Konfigurazio gida
4.1 Standa muntatzea
- Kontu handiz atera monitorearen eta euskarriaren osagaiak paketetik.
- Attach the stand base to the stand neck, securing it with the provided screw (if applicable).
- Align the assembled stand with the mounting slot on the back of the monitor and gently push until it clicks into place or secure with screws as per the stand design.
4.2 Monitorea konektatzea
The monitor supports both HDMI and VGA connections.
- Potentzia-konexioa: Konektatu korronte-egokitzailea monitorearen DC IN atakara, eta ondoren entxufe batera.
- Bideo konexioa (HDMI): Connect one end of the HDMI cable to the HDMI port on your computer or device, and the other end to the HDMI port on the monitor.
- Bideo konexioa (VGA): Connect one end of the VGA cable to the VGA port on your computer or device, and the other end to the VGA port on the monitor.
- Audio konexioa: If using a VGA connection and external speakers, connect an audio cable from your computer's audio output to the monitor's audio input port. The built-in speakers will function automatically with HDMI.

Figure 3: Monitor back panel with input ports and control buttons.

Figure 4: Multiple connection options for the monitor.
5. Funtzionamendu-argibideak
5.1 Piztu/Itzaltzea
Sakatu monitorearen atzealdean dagoen pizteko botoia pizteko edo itzaltzeko. Pizteko adierazlearen argia piztuko da monitorearen piztuta dagoenean.
5.2 OSD menua erabiltzea
The On-Screen Display (OSD) menu allows you to adjust various monitor settings. The control buttons are located on the back of the monitor (refer to Figure 3).
- MENUA: Sakatu OSD menua irekitzeko.
- UP/DOWN (Volume Up/Down): Erabili menuko aukeretan nabigatzeko edo balioak doitzeko.
- ENTER (Switch): Press to confirm a selection or enter a sub-menu.
- EXIT (Return): Sakatu uneko menutik irteteko edo aurreko mailara itzultzeko.
5.3 Pantailaren ezarpenak doitzea
Navigate the OSD menu to adjust settings such as:
- Distira/Kontrastea: Doitu pantailaren luminantzia eta kontrastea orokorra.
- Kolore ezarpenak: Modify color temperature, RGB levels, or select preset color modes.
- Sarrera hautatzea: Aldatu eskuz HDMI eta VGA sarrera-iturrien artean.
- Aspektu-erlazioa: Choose between 16:9 (widescreen) or 4:3 (standard) display modes.
- Zorrotasuna: Adjust the clarity of the image.
5.4 Audio ezarpenak
The monitor features two built-in speakers. You can adjust the volume using the OSD menu or the dedicated volume buttons on the back of the monitor.
6. Mantentzea eta Zainketa
Zaintza eta mantentze egokiak zure monitorearen bizitza luzatuko du.
- Pantaila garbitzea: Garbitu pantaila astiro-astiro zapi leun eta pelusik gabeko batekin. Orba egoskorrak kentzeko, garbituampen the cloth slightly with water or a non-ammonia, non-alcohol based screen cleaner. Never spray cleaner directly onto the screen.
- C garbiketaasing: Erabili zapi leun eta lehor bat monitorearen c garbitzeko.asing. Saihestu garbitzaile edo disolbatzaile urratzaileak erabiltzea.
- Biltegiratzea: Monitorea denbora luzez gordetzen baduzu, deskonektatu korrontetik eta gorde leku fresko eta lehor batean, hobe jatorrizko ontzian.
7. Arazoak
If you encounter problems with your monitor, please refer to the following table for common issues and solutions.
| Arazoa | Kausa posiblea | Irtenbidea |
|---|---|---|
| Botererik ez | Power cable not connected; Power outlet faulty; Monitor off. | Ensure power cable is securely connected. Try a different power outlet. Press the power button on the monitor. |
| Seinalerik ez | Video cable not connected; Incorrect input source selected; Computer not outputting signal. | Check HDMI/VGA cable connection. Select the correct input source via the OSD menu. Ensure your computer is on and outputting video. |
| Bozgorailu integratuetatik ez dago soinurik | Volume too low/muted; Incorrect audio output selected on PC; Audio cable not connected (for VGA). | Increase monitor volume. Check PC audio settings to ensure monitor is selected as output. For VGA, ensure audio cable is connected. |
| Irudia lausoa edo distortsionatua dago | Bereizmen okerra; Kablearen arazoa. | Set your computer's display resolution to 1600x900. Try a different video cable. |
8. Produktuaren zehaztapenak
| Ezaugarri | Zehaztapena |
|---|---|
| Marka | Prechen |
| Pantailaren tamaina | 19.5 hazbete |
| Bistaratzeko mota | LED |
| Gehienezko pantailaren bereizmena | 1600 x 900 |
| Freskatze tasa | 60 Hz |
| Erantzun Denbora | 5 milisegundo |
| Aspektu-erlazioa | 16:9 |
| Konektibitate Teknologia | hdmi, vga |
| Ezaugarri bereziak | Bozgorailu integratuak |
| VESA muntaiaren bateragarritasuna | 100 x 100 mm |
9. VESA muntaketa
The Prechen monitor supports VESA standard mounting (100 x 100 mm), allowing you to mount it on a wall or an articulating arm for flexible viewing options. This feature makes the monitor lightweight and easy to install in various setups.
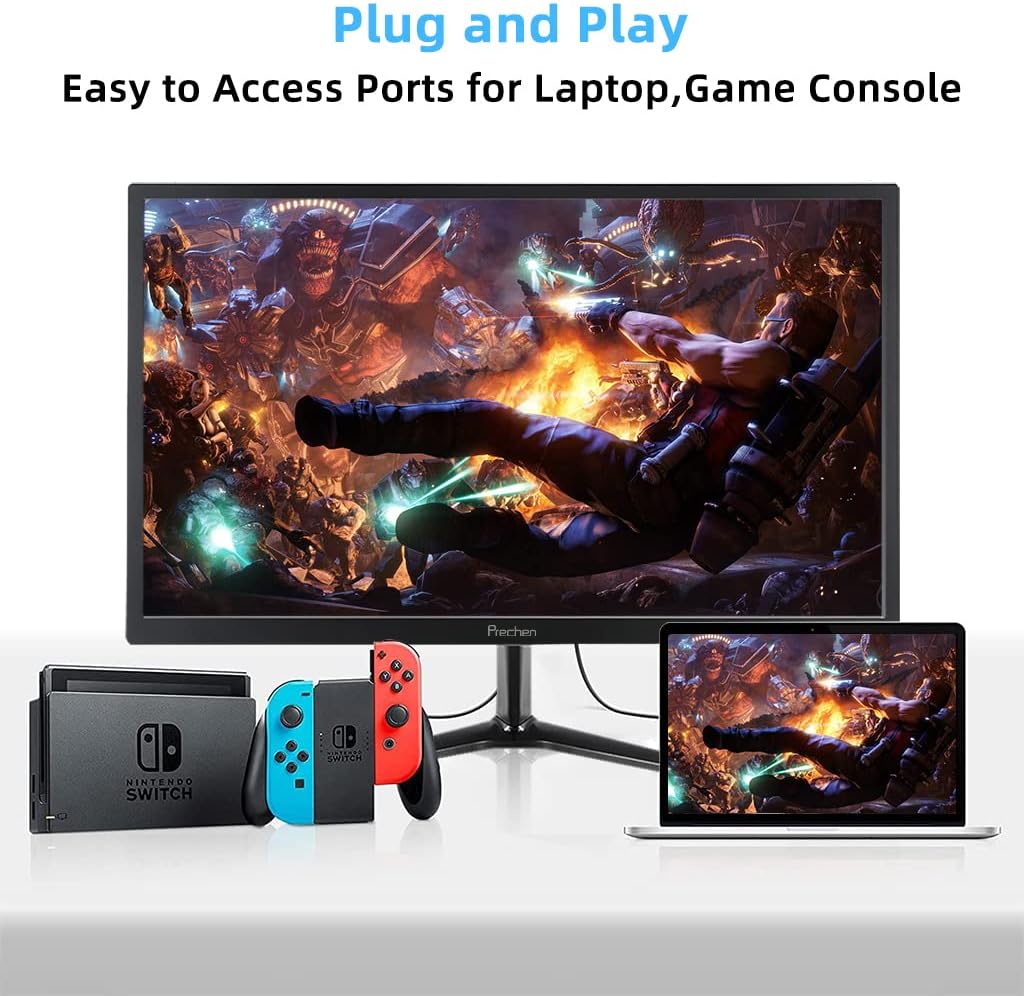
Figure 5: VESA mount dimensions on the monitor back.

6. irudia: Adibample of VESA mounting with an articulating arm.
10. Bermea eta Laguntza
Each Prechen product is covered by a one-year warranty from the date of purchase, which includes a one-month refund and exchange policy. This warranty covers manufacturing defects and issues arising from normal use.
For any questions, technical support, or warranty claims, please contact Prechen customer service. Please have your product model and purchase information ready when contacting support.
Contact information for customer service can typically be found on the product packaging or the official Prechen webgunea.


