1. Sarrera
This manual provides essential information for the safe and efficient use of your Philips 329P1H 32-inch 4K UHD LCD Monitor. This monitor features a 32-inch 4K UHD (3840 x 2160) display, an integrated USB-C docking station with power delivery, a pop-up webcam with Windows Hello™ facial recognition, and various eye-care technologies. Please read this manual thoroughly before operating the device.
2. Segurtasun informazioa
Monitoreari kalterik edo zeure buruari lesiorik ez egiteko, jarraitu segurtasun neurri hauek:
- Ez jarri monitoreari euri edo hezetasun eraginpean.
- Ez ireki monitorearen casing. Konponketa guztiak langile kualifikatuen esku utzi.
- Ziurtatu aireztapen egokia monitorearen inguruan.
- Erabili monitorearekin batera datorren korronte-egokitzailea soilik.
- Saihestu monitorea eguzki-argia zuzenean edo bero iturrietatik gertu jartzea.
- Garbitu pantaila zapi leun eta lihorik gabeko batekin. Ez erabili garbitzaile likidorik zuzenean pantailan.
3. Paketearen edukia
Information regarding the exact contents of the product package is not available. Typically, a monitor package includes:
- Philips 329P1H Monitor
- Elikatze-kablea
- USB-C kablea
- HDMI kablea (eskualdearen arabera alda daiteke)
- Hasierako gida azkarra
4. Konfigurazioa
4.1 Konfigurazio fisikoa
Carefully remove the monitor and its components from the packaging. Assemble the stand according to the instructions provided in the Quick Start Guide. Place the monitor on a stable, level surface.
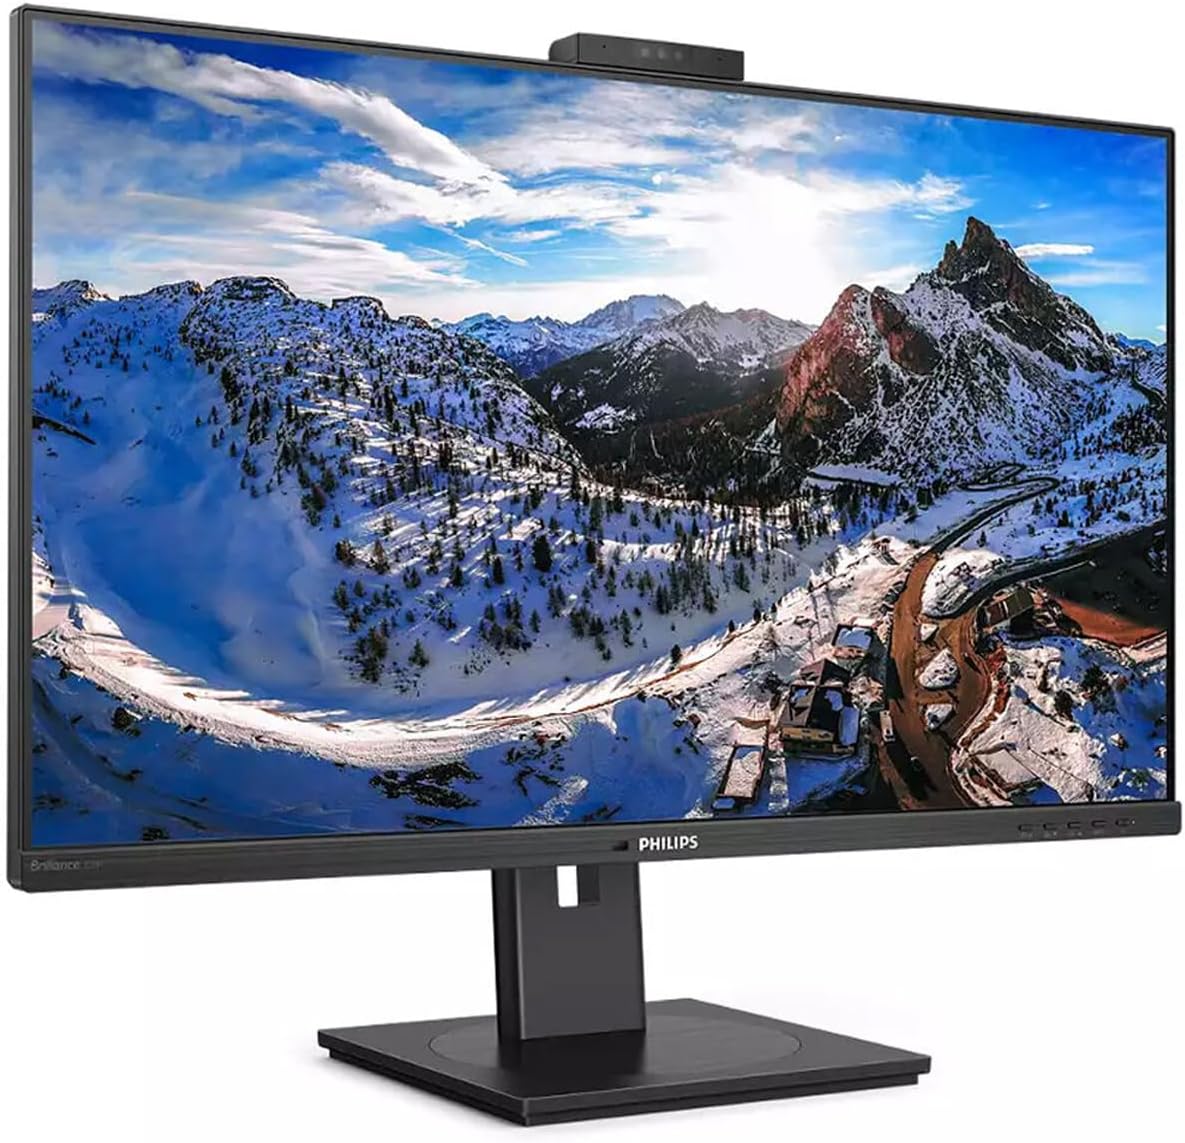
4.1. irudia: Aurrealdea view of the Philips 329P1H Monitor.
4.2 Konektatzeko kableak
- Potentzia-konexioa: Konektatu elikatze-kablea monitorearen elikatze-sarrerara eta gero entxufe batera.
- Bideo-konexioa: Connect a video cable (e.g., HDMI, DisplayPort, or USB-C) from your computer to the corresponding input on the monitor. For 4K UHD resolution, ensure your graphics card and cable support the required bandwidth.
- USB-C konexioa: If your laptop supports USB-C with power delivery, connect the supplied USB-C cable from your laptop to the monitor's USB-C port. This single cable can provide video, data, and power charging to your laptop.
- USB periferikoak: Connect your keyboard, mouse, or other USB devices to the USB ports on the monitor.
- Ethernet konexioa: Connect an RJ-45 Ethernet cable from your network router/modem to the monitor's RJ-45 port for network access through the USB-C connection.
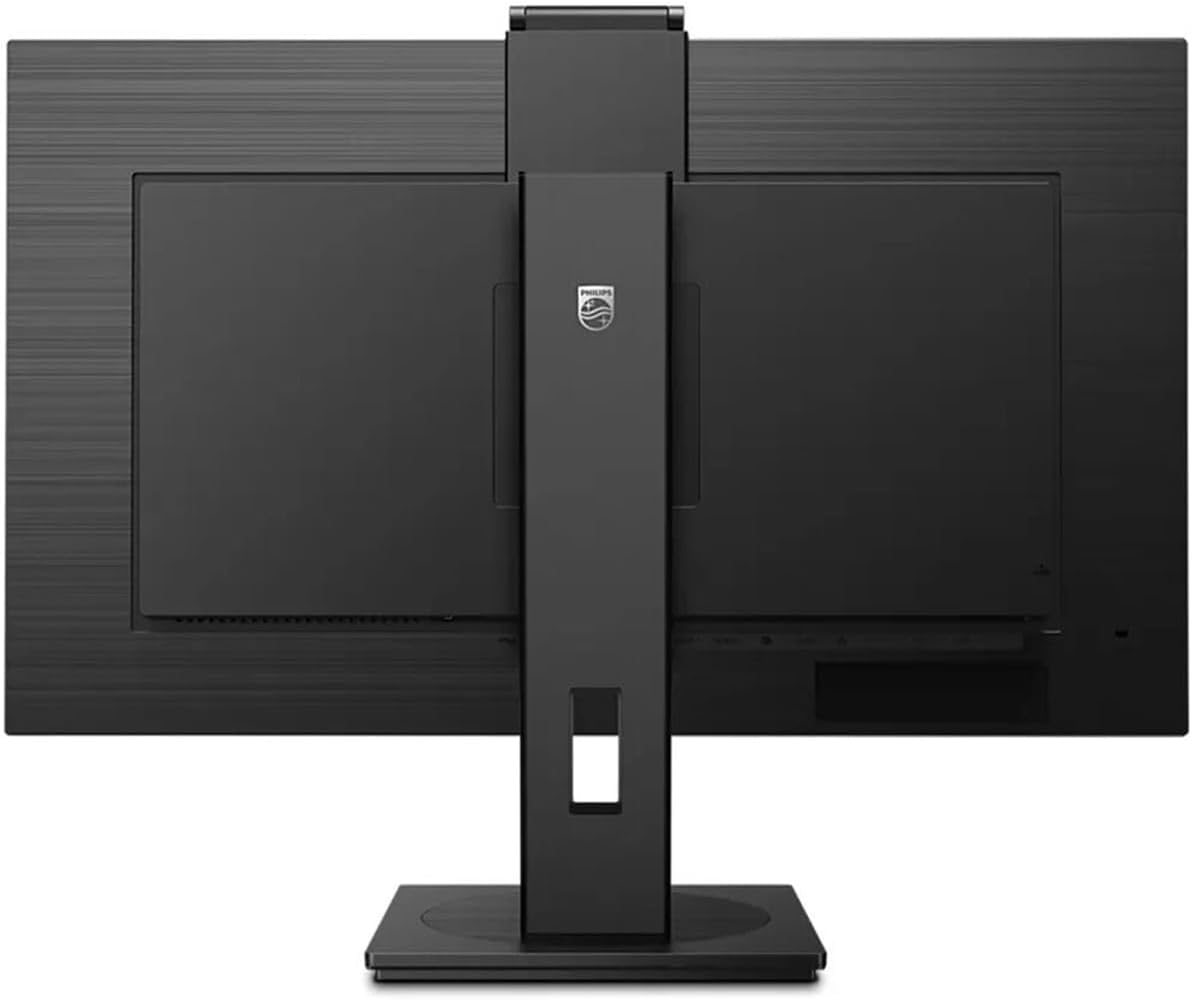
4.2. Irudia: Atzealdea view of the monitor with input ports.
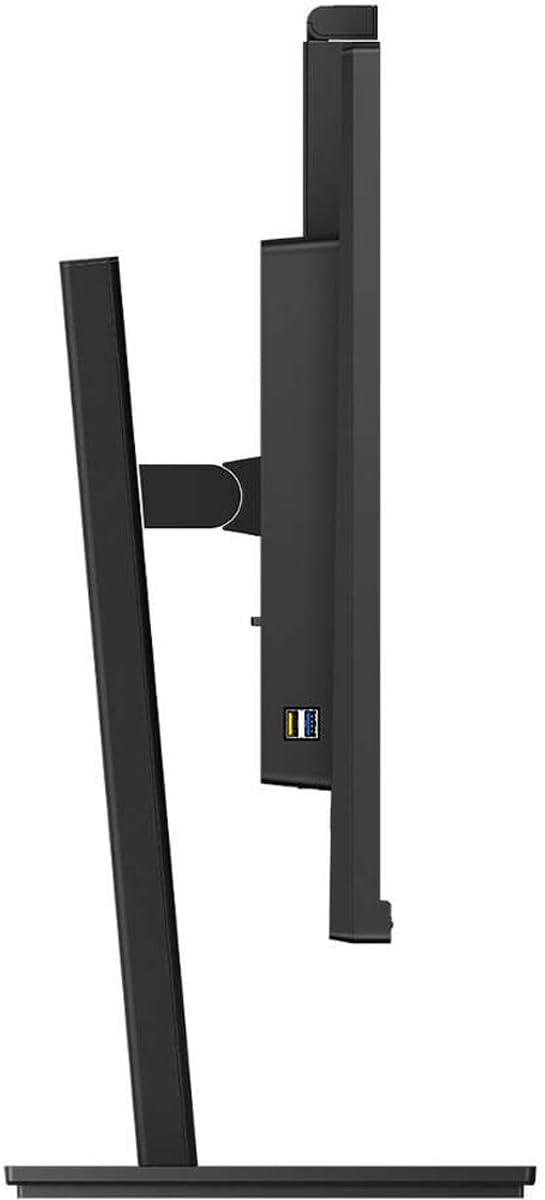
4.3. irudia: Aldea view showing USB ports.
4.3 Hasierako konfigurazioa
After connecting all necessary cables, power on the monitor and your computer. The monitor should automatically detect the input signal. If not, use the monitor's On-Screen Display (OSD) menu to select the correct input source.
5. Funtzionamendu-argibideak
5.1 Piztu/Itzali
Sakatu monitorearen gainean dagoen pizteko botoia pizteko edo itzaltzeko. Pizteko adierazlearen argia piztuko da monitore aktibo dagoenean.
5.2 USB-C Docking Functionality
The integrated USB-C docking station allows for a single-cable solution for video, data transfer, and laptop power charging (up to 90W). Connect your compatible laptop via the USB-C port on the monitor to utilize this feature. Peripherals connected to the monitor's USB ports and the RJ-45 Ethernet port will also be accessible to your laptop.
5.3 Pop-up Webkamera Windows Hello ™ rekin
The monitor features an innovative pop-up webcam. When needed, the webcam extends from the top of the monitor. It is equipped with advanced sensors for Windows Hello™ facial recognition, enabling secure and fast login to Windows devices. When not in use, the webcam can be securely tucked back into the monitor for privacy.
5.4 Display Technologies
- UltraClear 4K UHD (3840 x 2160): Provides highly detailed and crisp images for professional applications.
- IPS Teknologia: Eskaintzak zabalak viewing angles (178/178 degrees) and consistent color accuracy, suitable for graphic design and professional use.
- Keinurik gabeko teknologia: Regulates brightness to reduce screen flicker, minimizing eye fatigue during extended use.
- LowBlue modua: A software solution that reduces harmful shortwave blue light emissions, promoting eye comfort.
- Potentzia-sentsorea: Detects user presence and automatically reduces monitor brightness when the user steps away, saving up to 80% energy.
- LightSensor: Adjusts picture brightness based on ambient room lighting conditions for optimal viewing and minimal power consumption.
6. Mantentzea
6.1 Monitorea garbitzea
Monitorearen pantaila garbitzeko, astiro-astiro zapi leun eta pelusik gabeko batekin garbitu. Orbanik egoskorrak izanez gero, astiro-astiro garbitu.ampen the cloth with water or a mild, non-abrasive screen cleaner. Do not spray liquids directly onto the screen. For the monitor casing, erabili oihal leun eta lehor bat.
6.2 Biltegiratzea
If storing the monitor for an extended period, ensure it is powered off and disconnected from the power source. Store it in a cool, dry place, ideally in its original packaging to protect it from dust and physical damage.
7. Arazoak
Monitorearekin arazoak badituzu, jo ezazu ohiko irtenbide hauetara:
| Arazoa | Kausa posiblea | Irtenbidea |
|---|---|---|
| Ez dago irudirik pantailan | Kable elektrikoa deskonektatuta; bideo-kablea deskonektatuta edo askatuta; sarrera-iturri okerra hautatuta. | Egiaztatu elikadura eta bideo kablearen konexioak. Ziurtatu sarrera-iturri zuzena hautatuta dagoela OSD menuaren bidez. |
| Irudia lausoa edo distortsionatua dago | Bereizmen okerra; Bideo-kable akastuna. | Set the display resolution to 3840 x 2160. Try a different video cable. |
| Webkamerak ez du funtzionatzen | USB-C cable not connected or faulty; Webcam privacy setting enabled; Operating system driver issue. | Ensure the USB-C cable is securely connected and supports data transfer. Check privacy settings in your operating system. For Mac Mini users, if the camera disconnects after sleep mode, try restarting the monitor or ensuring the USB-C cable is fully functional. Update USB drivers if necessary. |
| Ez dago soinurik monitorearen bozgorailuetatik | Volume too low; Incorrect audio output selected on computer. | Adjust monitor volume via OSD. Select the monitor as the default audio output device in your computer's sound settings. |
8. Zehaztapenak
The following table outlines the key technical specifications for the Philips 329P1H monitor:
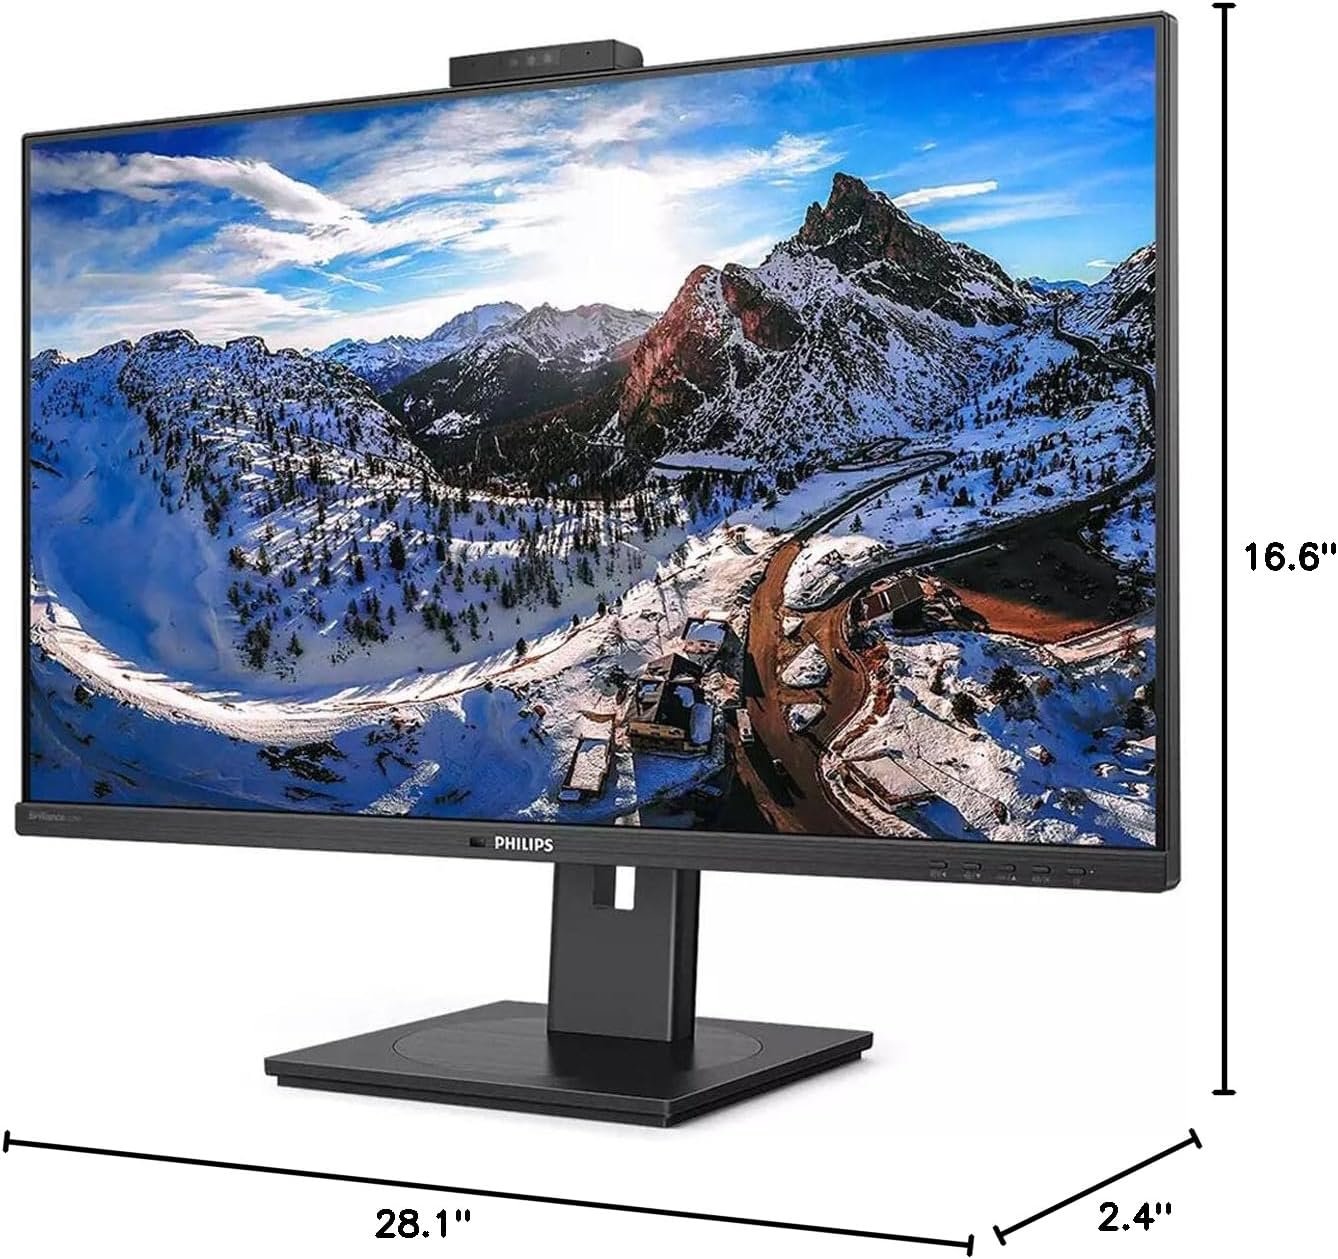
8.1 irudia: Monitorearen neurriak.
| Ezaugarri | Zehaztapena |
|---|---|
| Modelo zenbakia | 329P1H |
| Pantailaren tamaina | 31.5 hazbete (viewgai) |
| Gehienezko pantailaren bereizmena | 3840 x 2160 (4K UHD) |
| Aspektu-erlazioa | 16:9 |
| Erantzun Denbora | 4 ms GTG |
| Distira | 350 nit |
| Freskatze tasa | 75 Hz |
| Panel mota | IPS |
| Atzeko argiaren teknologia | WLED |
| Konektibitatea | USB Type-C (with Power Delivery), HDMI, DisplayPort, RJ-45 Ethernet |
| Webkamara | Pop-up with Windows Hello™ |
| Elementuaren pisua | 18.06 kilo |
| Produktuaren neurriak (LxWxH) | 2.4 x 28.1 x 16.6 hazbete |
| Kolorea | Ehundura Beltza |
9. Bermea eta Laguntza
Bermeari buruzko informazioa eta laguntza teknikoa lortzeko, kontsultatu zure produktuarekin batera datorren berme-txartela edo bisitatu Philips-en laguntza ofiziala. webgunea. Gorde erosketa-agiria erosketaren frogagiri gisa berme-erreklamazioetarako.


