1. Sarrera
Eskerrik asko erosketagatik.asing the IRRADIO VDP-4600HDW LCD/LED Projector. This manual provides essential information for the safe and efficient operation of your device. Please read it thoroughly before use and retain it for future reference.
2. Segurtasun-argibideak
- Ez blokeatu aireztapen-irekidurak. Ziurtatu aire-fluxu egokia proiektorearen inguruan gehiegi berotzea saihesteko.
- Ez begiratu zuzenean proiektorearen lenteari l dagoenean.amp piztuta dago, argi distiratsuak begietan kalteak eragin ditzakeelako.
- Mantendu proiektorea uretatik edo beste likido batzuetatik urrun. Ez erabili lurzoru lehorretan.amp edo baldintza hezeak.
- Erabili proiektorearekin batera datorren korronte-egokitzailea soilik.
- Ez saiatu proiektorea zeuk konpontzen. Mantendu konponketa guztiak langile kualifikatuen esku.
- Jarri proiektorea gainazal egonkor eta lau batean, eror ez dadin.
3. Paketearen edukia
Mesedez, egiaztatu elementu guztiak zure paketean daudela:
- IRRADIO VDP-4600HDW Projector
- Urruneko Kontrola
- Elikatze-kablea
- HDMI kablea
- AV Kable
- Erabiltzailearen eskuliburua
4. Produktua amaitu daview
4.1. Proiektorearen osagaiak

4.1. irudia: Orokorrean view of the IRRADIO VDP-4600HDW Projector. This image displays the projector from an angled perspective, highlighting its compact design and the lens on the front left side, with ventilation grilles and control buttons visible on the top and sides.

4.2. irudia: Aurrealdea view of the projector. This image focuses on the large projection lens on the left, with the IRRADIO logo and ventilation grilles on the right side of the front panel.

4.3. irudia: Atzekoa view of the projector. This image shows the VGA port, focus adjustment knob, and keystone correction knob on the rear panel, along with additional ventilation.
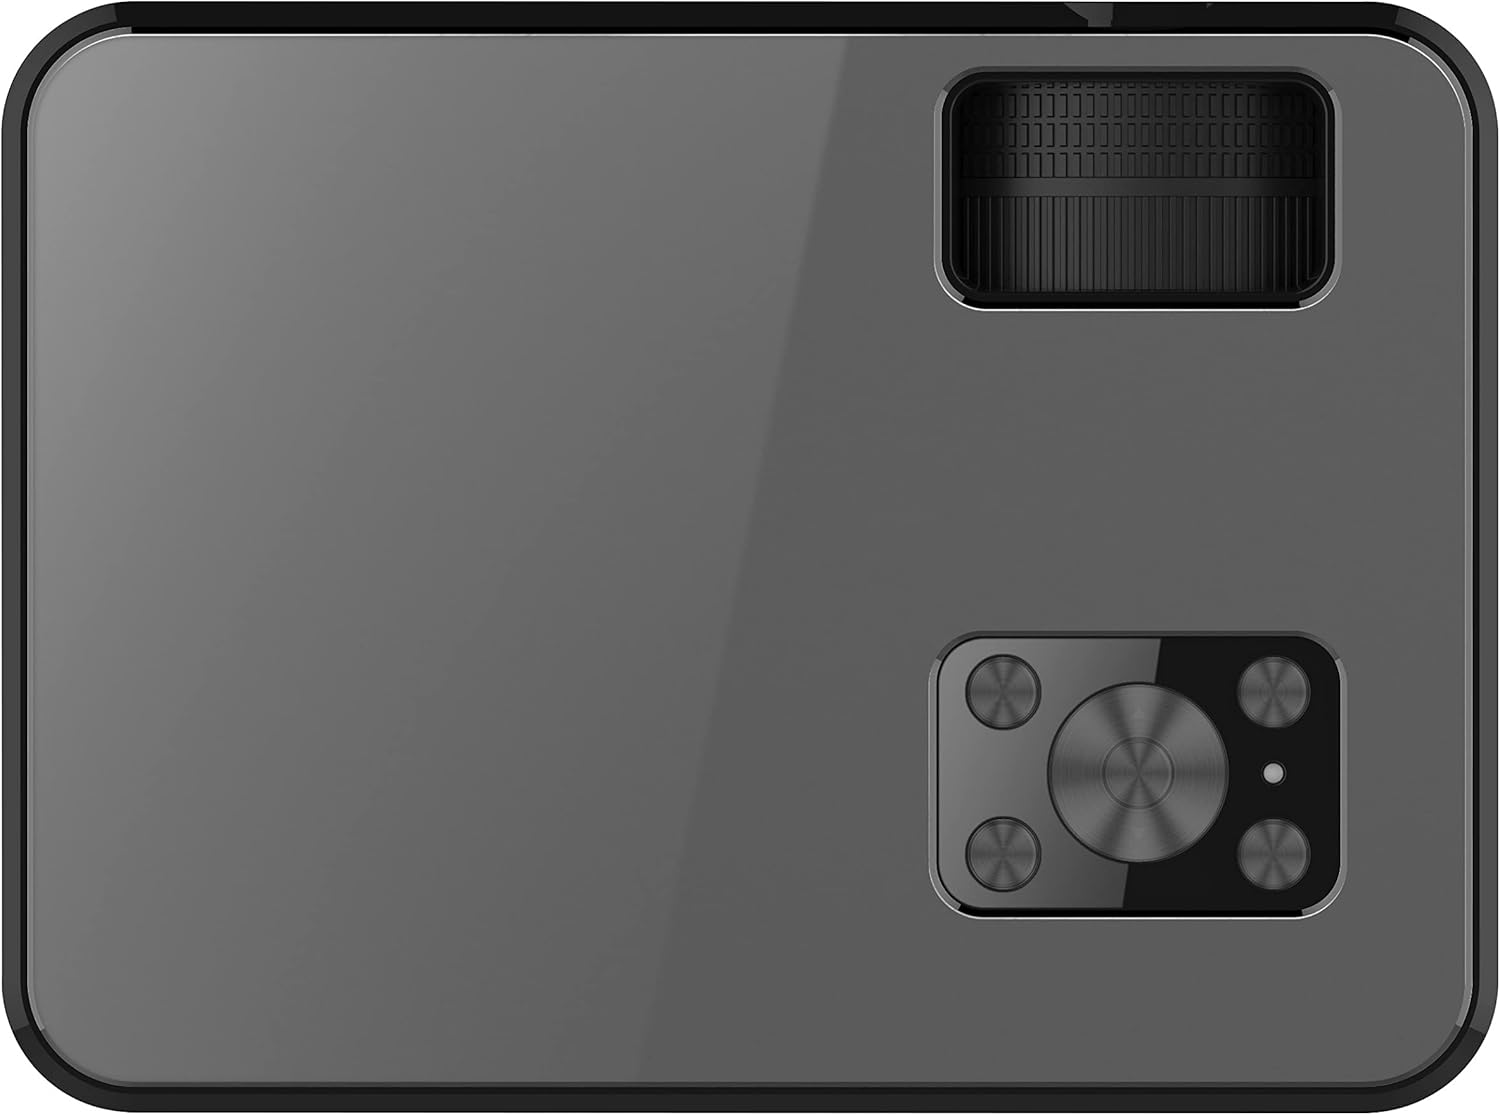
4.4. irudia: Goiena view of the projector. This image displays the control panel with navigation buttons (up, down, left, right, OK), source, menu, and exit buttons, along with the power button and volume controls.

4.5. irudia: Aldea view of the projector showing input/output ports. This image highlights two HDMI ports, AV input, two USB ports, and a 3.5mm headphone jack (audio out).

4.6. irudia: Alde kontrakoa view of the projector. This image shows the power input port and additional ventilation grilles.

4.7. irudia: Behean view of the projector. This image displays the mounting points for ceiling installation and rubber feet for stable placement on a flat surface.
4.2. Urruneko kontrola
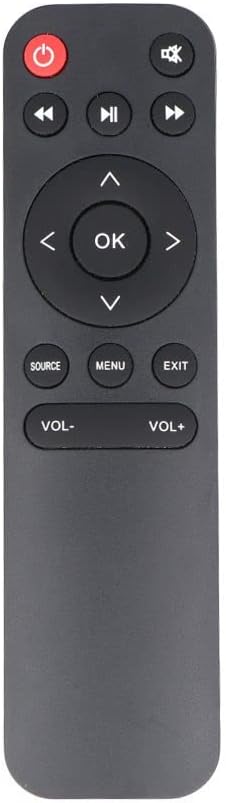
4.8. irudia: The remote control for the IRRADIO VDP-4600HDW Projector. It features buttons for power, mute, navigation (up, down, left, right, OK), source selection, menu, exit, and volume control.
4.3. Ports and Controls Overview
- Pizteko botoia: Proiektorea pizten edo itzaltzen du.
- Lentea: Projects the image.
- Fokatzeko eraztuna: Irudiaren argitasuna doitzen du.
- Keystone zuzenketa: Adjusts image distortion.
- HDMI atakak (x2): Connect to HDMI-enabled devices (laptops, gaming consoles, Blu-ray players).
- USB atakak (x2): Konektatu USB unitateak multimedia erreproduzitzeko.
- VGA ataka: VGA irteera duten ordenagailuetara konektatu.
- AV ataka: Connect to older devices using composite video.
- 3.5 mm-ko audio irteera: Konektatu kanpoko bozgorailuak edo entzungailuak.
- IR hargailua: Urrutiko agintearen seinaleetarako.
5. Konfigurazioa
5.1. Kokapen
Place the projector on a stable, flat surface or mount it to the ceiling. Ensure the projector is positioned directly in front of the projection screen or wall. The optimal projection distance ranges from 1.52 meters to 3.48 meters, yielding a screen size between 50 and 120 inches.
- Front Projection: Place the projector in front of the screen.
- Rear Projection: Place the projector behind a translucent screen.
- Sabaiko muntaia: The projector can be inverted and mounted to the ceiling. Adjust settings in the OSD menu for inverted projection.
5.2. Energia-konexioa
- Konektatu elikatze-kablea proiektorearen elikatze-sarrera atakara.
- Plug the other end of the power cable into a standard electrical outlet (220V AC, 50Hz).
- Sakatu proiektorearen edo urrutiko agintearen pizteko botoia pizteko.
5.3. Fokua eta Keystone doikuntza
- Piztu proiektorea eta bistaratu irudi bat.
- Biratu Foku eraztuna (located near the lens) until the image appears sharp and clear.
- Egokitu Keystone zuzenketa knob (located on the rear panel) to correct any trapezoidal distortion, making the image rectangular.
6. Funtzionamendua
6.1. Piztu/Itzali
Sakatu proiektorearen edo urrutiko agintearen pizteko botoia unitatea pizteko edo itzaltzeko.
6.2. Sarrera-iturria hautatzea
Piztu ondoren, sakatu botoia ITURRIA button on the remote control or the projector's control panel to cycle through available input sources (HDMI1, HDMI2, USB1, USB2, VGA, AV).
6.3. Kanpoko gailuak konektatzea
- HDMI: Connect an HDMI cable from your device (e.g., laptop, game console) to one of the projector's HDMI ports. Select the corresponding HDMI input.
- VGA: Connect a VGA cable from your computer to the projector's VGA port. Select the VGA input.
- OF: Use the provided AV cable to connect to devices with composite video output. Select the AV input.
- USBa: Insert a USB flash drive into a USB port. The projector's media player interface will appear automatically or can be accessed via the source menu.
6.4. Multimedia erreprodukzioa (USB)
The integrated media player supports various formats:
- Irudi formatuak: JPEG, BMP, PNG, MPO
- Bideo formatuak: MPEG1, MPEG2, H.263, H.264, AVS, MJPEG, RV30, RV40, HEVC
- Audio formatuak: MPEG1, MPEG2, LPCM, MP3
Nabigatu files using the remote control's arrow keys and press OK hautatzeko.
6.5. Wireless Audio Connection
The projector features an integrated wireless audio function for connecting to external audio devices. Refer to the on-screen display (OSD) menu for specific pairing instructions. Typically, you will need to enable the wireless audio feature in the projector's settings and then pair it with your desired external speaker or headphone.
7. Mantentzea
7.1. Lenteen garbiketa
Use a soft, lint-free cloth and a specialized lens cleaning solution to gently wipe the lens. Avoid abrasive materials or excessive pressure.
7.2. Dust Filter Cleaning
Regularly check and clean the dust filters to ensure optimal airflow and prevent overheating. Use a soft brush or a vacuum cleaner with a brush attachment to remove dust from the ventilation grilles.
7.3. Biltegiratzea
When not in use for extended periods, store the projector in a cool, dry place, protected from dust and direct sunlight. Use the original packaging or a protective case.
8. Arazoak
- Potentziarik gabe: Ziurtatu kablea ondo konektatuta dagoela eta entxufea funtzionatzen duela.
- Irudirik ez: Check the input source selection. Ensure the connected device is powered on and sending a signal. Verify cable connections.
- Irudi lausoa: Adjust the focus ring. Ensure the projection distance is within the optimal range.
- Image Distorted: Doitu klabearen zuzenketa.
- Soinurik ez: Check the volume settings on both the projector and the connected device. If using external speakers, ensure they are properly connected or paired via wireless audio.
- Urruneko kontrola ez dabil: Ordeztu bateriak. Ziurtatu ez dagoela oztoporik urrutiko agintearen eta proiektorearen IR hargailuaren artean.
9. Zehaztapenak
| Ezaugarri | Zehaztapena |
|---|---|
| Proiekzio Sistema | LCD panel with LED light source |
| Berezko Ebazpena | 1920x1080 (HD osoa 1080p) |
| Kontraste-erlazio dinamikoa | 2000:1 |
| Light Source Brightness | 3000 lumen |
| LED Lamp Bizitza | 50,000 ordu |
| Lentea | Eskuzko fokua |
| Haririk gabeko audio funtzioa | Integratua |
| Konektibitatea | 2x HDMI, 2x USB, VGA, AV Composite, 3.5mm Headphone Jack (output) |
| Aspektu-erlazioa | 16:9 Native / 4:3 Compatible |
| Proiekzio-tamaina optimoa | 50" - 120" |
| Proiekzio Distantzia Optimoa | 1.52 m-tik 3.48 m-ra |
| Proiekzio moduak | Front, Rear, Ceiling (Front/Rear) |
| Audioa | 1x 3W Hi-Fi Speaker |
| Hozte Sistema | Hozte sistema bikoitza |
| OSD hizkuntza | 23 hizkuntza |
| Elikatze Hornidura | 220V AC 50Hz (single phase) |
| Pisua | 1.4 kg |
| Neurriak (W x H x D) | 222 x 91 x 173 mm |
10. Bermea eta Laguntza
Information regarding specific warranty terms and support contacts is not available in the provided product data. Please refer to the product packaging or the retailer's webgunea bermearen xehetasunak eta bezeroarentzako arretarako informazioa lortzeko.


