1. Sarrera
Thank you for choosing the HOMVILLA Alarm Clock Model 8813. This manual provides detailed instructions for setting up, operating, and maintaining your new alarm clock. Please read this manual thoroughly before use to ensure proper functionality and to maximize your user experience. Keep this manual for future reference.
2. Paketearen edukia
Mesedez, egiaztatu paketea elementu hauek dituen:
- HOMVILLA Alarm Clock (Model 8813)
- USB kargatzeko kablea
- Elikatze-moldagailua
- Erabiltzailearen eskuliburua (dokumentu hau)

Image 2.1: Alarm clock, USB cable, and power adapter included in the package.
3. Produktua amaitu daview
Ezagutu zure erlojuaren atal eta kontrol desberdinak.

3.1 irudia: Aurrealdea eta atzealdea view etiketatutako osagaiak dituen iratzargailua.
Aurrealdeko pantaila:
- LED pantaila handia: Shows time, AM/PM indicator, Alarm 1 (①), Alarm 2 (②), and DST indicator.
Rear Buttons and Ports:
- Bolumen-gurpila: Adjusts alarm volume (90-120dB).
- DST Button: Activates/deactivates Daylight Saving Time.
- Ordua Ezartzeko Botoia: Ordua ezartzeko moduan sartzen da.
- GORA botoia: Balioak handitzen ditu ezarpenan zehar.
- BEHERA botoia: Balioak gutxitzen ditu ezarpenan zehar.
- Alarma ezartzeko botoia: Alarma ezartzeko moduan sartzen da.
- Piztu/Itzali botoia: Turns alarm on/off.
- Berrezarri botoia: Erlojua fabrikako balio lehenetsietara berrezartzen du.
- Gurpil iluntzailea: Adjusts display brightness (0-100%).
- USB ataka: Kanpoko gailuak kargatzeko.
- DC portua: Potentzia sarrerarako.
Goiko botoia:
- Errepikatzeko botoia: Activates snooze function when an alarm sounds.
4. Konfigurazioa
4.1 Energia-konexioa
The HOMVILLA Alarm Clock is mains powered. Connect the provided USB charging cable to the DC port on the back of the clock and plug the power adapter into a standard wall outlet.
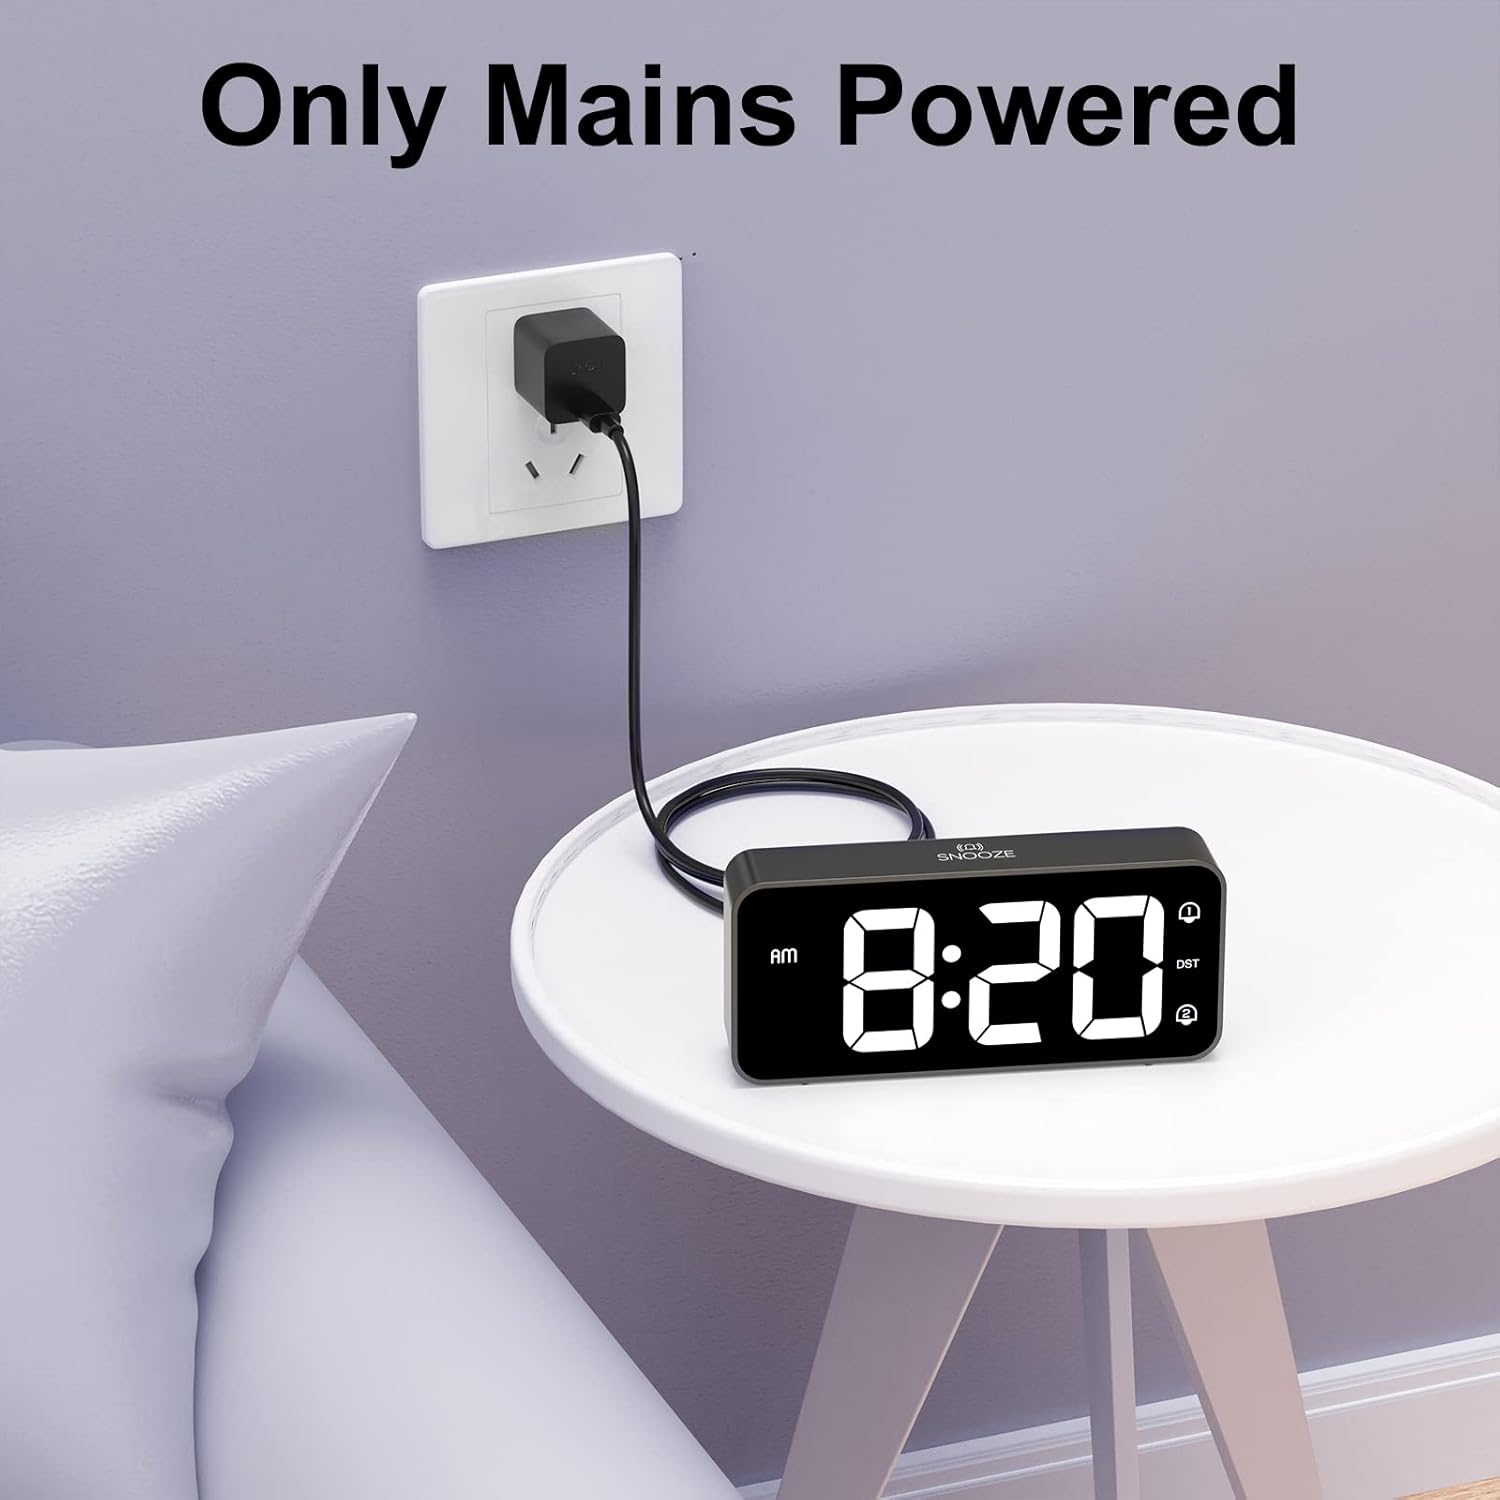
Image 4.1: Connecting the alarm clock to a power outlet.
4.2 Bateriaren babeskopiaren instalazioa (aukerakoa)
Argindarra itzaltzean ordu-ezarpenak mantentzekotage, install two AAA batteries (not included) into the battery compartment on the bottom of the clock. The batteries only support the memory function and do not power the display or alarm functions.
- Open the battery compartment cover on the bottom of the clock.
- Sartu bi AAA pila, polaritate zuzena ziurtatuz (+/-).
- Itxi bateriaren konpartimenduaren estalkia.

Image 4.2: Installing AAA batteries for memory function.
5. Funtzionamendu-argibideak
5.1 Ordua ezartzea
- Eduki sakatuta Denbora Ezarria button on the back of the clock. The hour digits will start flashing.
- Erabili UP or BEHERA ordua doitzeko botoiak.
- Sakatu Denbora Ezarria botoia berriro sakatu ordua berresteko eta minutuen ezarpenera joateko. Minutuen digituak keinuka hasiko dira.
- Erabili UP or BEHERA minutuak doitzeko botoiak.
- Sakatu Denbora Ezarria button a third time to confirm the minutes and switch between 12-hour and 24-hour format. Use UP or BEHERA hautatzeko.
- Sakatu Denbora Ezarria button once more to exit time setting mode.
5.2 Alarmak ezartzea (Alarma bikoitzak)
The clock supports two independent alarms (Alarm 1 and Alarm 2).
- Eduki sakatuta Alarma-multzoa button. The Alarm 1 icon (①) and hour digits will flash.
- Erabili UP or BEHERA alarma-ordua doitzeko botoiak.
- Sakatu Alarma-multzoa botoia berriro sakatu ordua berresteko eta minutuen ezarpenera joateko. Minutuen digituak keinuka hasiko dira.
- Erabili UP or BEHERA botoiak alarmaren minutuak doitzeko.
- Sakatu Alarma-multzoa button a third time to select the alarm sound (see section 5.5).
- Sakatu Alarma-multzoa button a fourth time to exit Alarm 1 setting.
- To set Alarm 2, repeat steps 1-6. The Alarm 2 icon (②) will flash during its setting.
5.3 Activating/Deactivating Alarms
After setting an alarm, press the Piztu/Desaktibatu button on the back of the clock to toggle Alarm 1 or Alarm 2 on/off. The corresponding alarm icon (① or ②) will appear on the display when active.
5.4 Snooze funtzioa
When an alarm sounds:
- Sakatu handia Atzeratu button on the top of the clock. The alarm will pause for 5 minutes and then sound again.
- To turn off the alarm for the day, briefly press any of the five buttons on the back of the clock. The alarm will sound again the next day at the set time.

Image 5.1: Snooze function and dual alarm capability.
5.5 Pantailaren distira doitzea
The display brightness can be adjusted from 0% to 100%.
- Kokatu Dimmer Wheel on the back right side of the clock.
- Slide the wheel up or down to increase or decrease the display brightness to your preference.

Image 5.2: Adjustable display brightness for day and night.
5.6 Alarmaren bolumena doitzea
The alarm volume can be adjusted between 90dB and 120dB.
- Kokatu Bolumenaren gurpila on the back left side of the clock.
- Slide the wheel up or down to increase or decrease the alarm volume.

Image 5.3: Volume and brightness adjustment wheels.
5.7 Selecting Alarm Sounds
The clock offers eight different alarm melodies.
- During alarm setting (refer to section 5.2, step 5), use the UP or BEHERA buttons to cycle through the available alarm sounds.
- The available sounds include: Classic ringtone, Bird call, Running water, Crickets, Cock call, White noise, Stringed music, and 'Di di di'.

Image 5.4: Eight available alarm sounds.
5.8 Udako Ordutegia (UdG)
- Sakatu DST button on the back of the clock to activate or deactivate Daylight Saving Time.
- When DST is active, the time will adjust by one hour, and a DST indicator will appear on the display.
5.9 USB kargatzeko ataka
- The USB port on the back of the clock can be used to charge mobile phones or other small electronic devices.
- Connect your device's charging cable to the USB port.
6. Mantentzea
- Erlojua garbitzeko, garbitu gainazala oihal leun eta lehor batekin.
- Ez erabili garbitzaile urratzailerik, disolbatzailerik edo spray kimikorik, hauek akabera kaltetu baitezakete.
- Mantendu erlojua eguzki-argitik, tenperatura altuetatik eta hezetasun handitik urrun.
7. Arazoak
| Arazoa | Kausa posiblea | Irtenbidea |
|---|---|---|
| Erlojuaren pantaila itzalita dago. | Ez dago energia konexiorik. | Ensure the power adapter is securely plugged into the clock and a working wall outlet. |
| Alarmak ez du jotzen. | Alarma ez dago aktibatuta edo bolumena baxuegia da. | Check if the alarm icon (① or ②) is displayed. Adjust the volume wheel to increase alarm volume. |
| Ordua okerra da energia itzali ondorentage. | No battery backup installed or batteries are depleted. | Install fresh AAA batteries for memory function. Reset the time manually if necessary. |
| Pantaila oso distiratsua/iluna da. | Distira ezarpena doitu behar da. | Use the Dimmer Wheel on the back of the clock to adjust brightness. |
| USB kargatzeko ataka ez dabil. | Device incompatibility or power issue. | Ensure the clock is powered. Try a different USB cable or device. The port is for charging, not data transfer. |
8. Zehaztapenak
| Ezaugarri | Xehetasuna |
|---|---|
| Modelo zenbakia | 8813 |
| Bistaratzeko mota | LED digitala |
| Energia iturria | Mains Powered (USB cable + adapter) |
| Bateria babeskopia | 2 x AAA batteries (not included, for memory function only) |
| Produktuaren neurriak | 14.5 x 3.2 x 6.5 cm (5.7 x 1.26 x 2.56 hazbete) |
| Elementuaren pisua | 157 g |
| Ezaugarri bereziak | Dual Alarm, Snooze Function, Dimmable Display, USB Charging Port, DST Mode |
| Alarm Volume Range | 90-120 dB |
| Pantailaren distira | % 0-100 erregulagarria |
9. Bermea eta Laguntza
HOMVILLA offers a lifetime warranty for this product. For any questions, technical support, or warranty claims, please contact our customer service team.
Zerbitzuaren posta elektronikoa: support@homvillalife.com

Image 9.1: Service email for customer support.