1. Sarrera
Thank you for choosing the Pipishell 5-Tier Shoe Rack. This manual provides essential information for the proper assembly, operation, and maintenance of your new shoe organizer. Designed for efficiency and style, this rack offers a practical solution for decluttering your entryway, closet, or any small space.
2. Segurtasun-abisuak
WARNING: Always secure the shoe rack to the wall using the included anti-tip kit to prevent tipping. Do not overload shelves; the top shelf supports up to 44 lbs and each other shelf supports up to 22 lbs. Keep shoes away from the back edge of the shelves to prevent them from falling off.
3. Dakarten osagaiak
Please ensure all parts are present before beginning assembly. If any parts are missing or damaged, please contact customer support.
- Egurrezko goiko panela
- Metal Side Frames (Left & Right)
- Adjustable Mesh Shelves (4x)
- Connecting Rods/Bars
- Hardware (Screws, Allen Wrench, Anti-tip Kit)
- Oin erregulagarriak
4. Konfiguratzeko argibideak
Follow these steps to assemble your Pipishell 5-Tier Shoe Rack. Assembly is straightforward and typically takes 30-60 minutes.
4.1. Kutxa irekitzea eta prestatzea
Carefully unpack all components and lay them out on a clean, flat surface. Identify each part using the provided list.
4.2. Markoen Muntaketa
Connect the vertical metal frame pieces using the provided screws and Allen wrench. Ensure all connections are secure but do not fully tighten until all parts are in place.
4.3. Apalategien instalazioa
Insert the mesh shelves into the designated slots on the metal frames. You have two options for shelf orientation:
- Konfigurazio laua: For standard shoe storage or general items.
- Slanted Configuration: Ideal for displaying shoes or for easier access, especially for high heels.

Image: Two shelving assembly options, showing shoes placed flat and slanted on the mesh shelves.
The dense mesh design of the shelves prevents high heels from falling through, ensuring stability for all types of footwear.
Irudia: Gertuko planoa view of the expanded metal mesh shelf, highlighting how it supports high heels without them slipping through.
4.4. Top Panel Attachment
Place the wooden top panel onto the assembled frame and secure it with the remaining screws. Ensure it is flush and stable.
4.5. Tipsaren aurkako kitaren instalazioa
For added safety, especially in households with children or pets, install the anti-tip kit by securing the rack to the wall according to the instructions provided with the kit. Adjust the feet at the bottom to ensure the rack is stable on uneven flooring.

Image: Close-up of the adjustable feet at the base of the shoe rack, designed for stability on uneven surfaces.
5. Funtzionamendu-argibideak
Your Pipishell 5-Tier Shoe Rack is now ready for use. Utilize its versatile design to organize your belongings effectively.
5.1. Shoe Storage
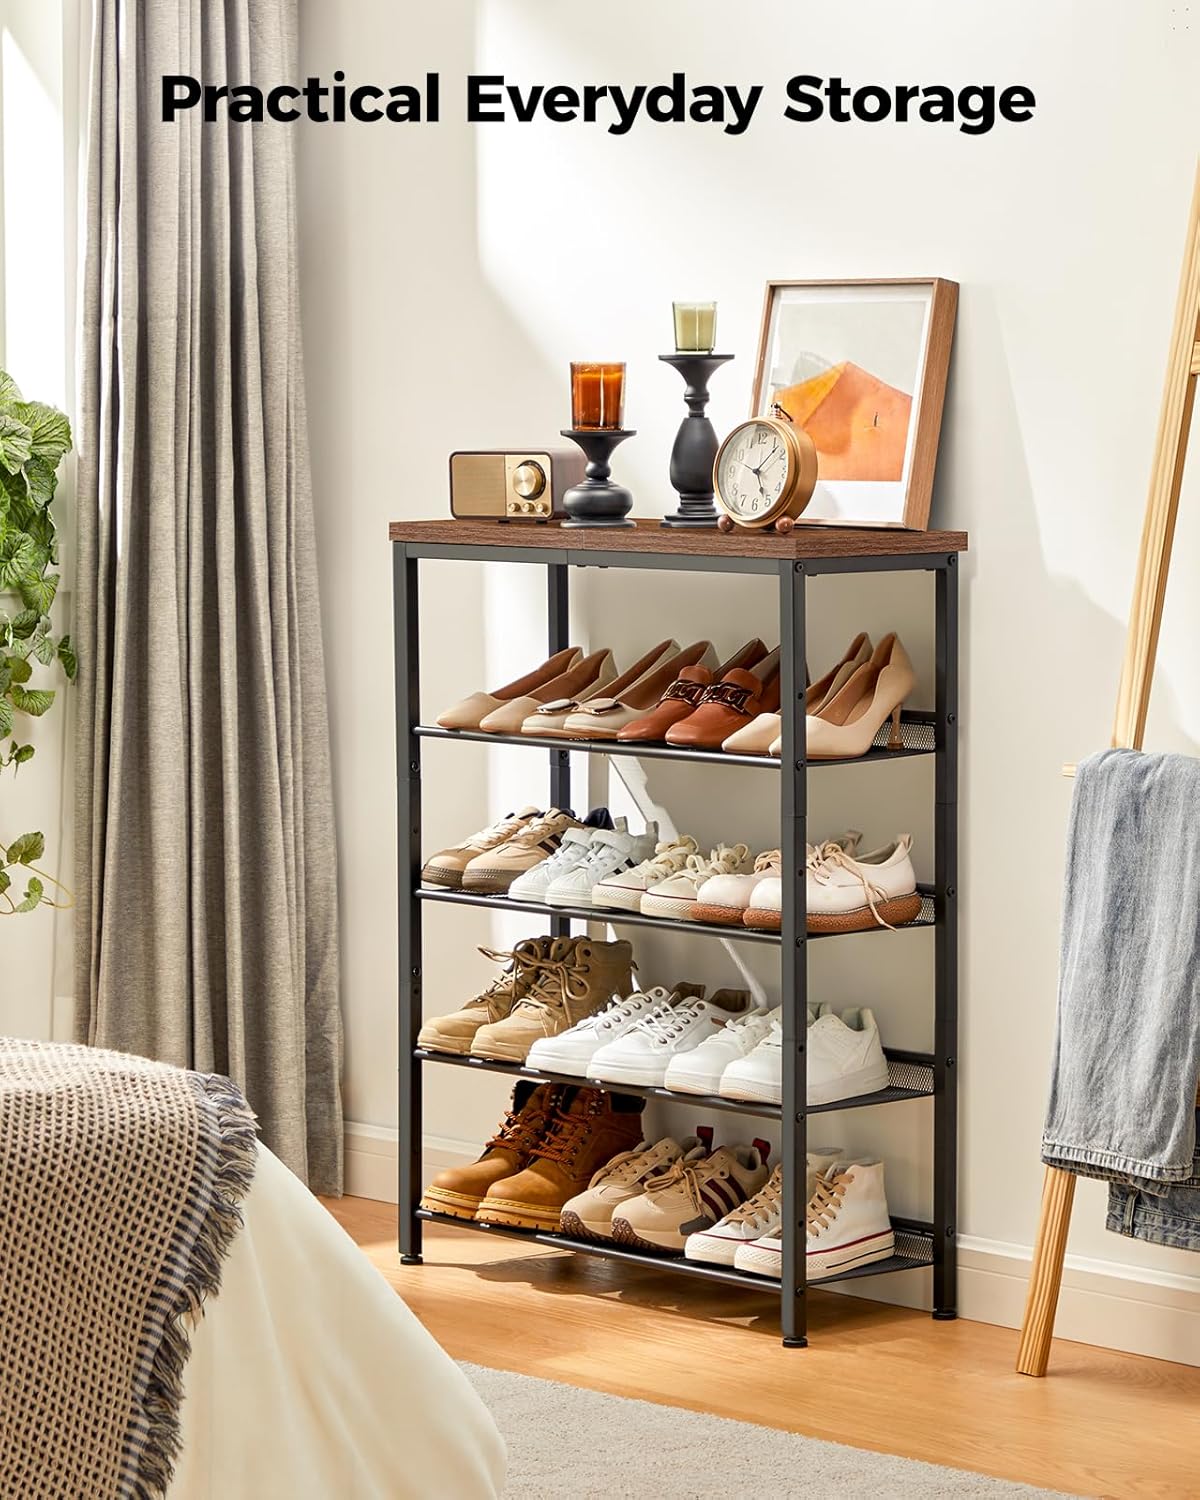
Place your shoes on the mesh shelves. The adjustable shelves allow you to customize the height between tiers, accommodating different shoe sizes from flats and sandals to tall boots. For optimal organization, consider placing frequently used shoes on easily accessible shelves.

Image: Illustration showing how the shelves can be adjusted to accommodate various shoe heights, including tall boots.
5.2. Versatile Storage
Beyond shoes, the rack can serve as a general storage shelf. The sturdy wooden top can hold decorative items, keys, or small bags, while the mesh shelves can store books, small bins, or other household items.
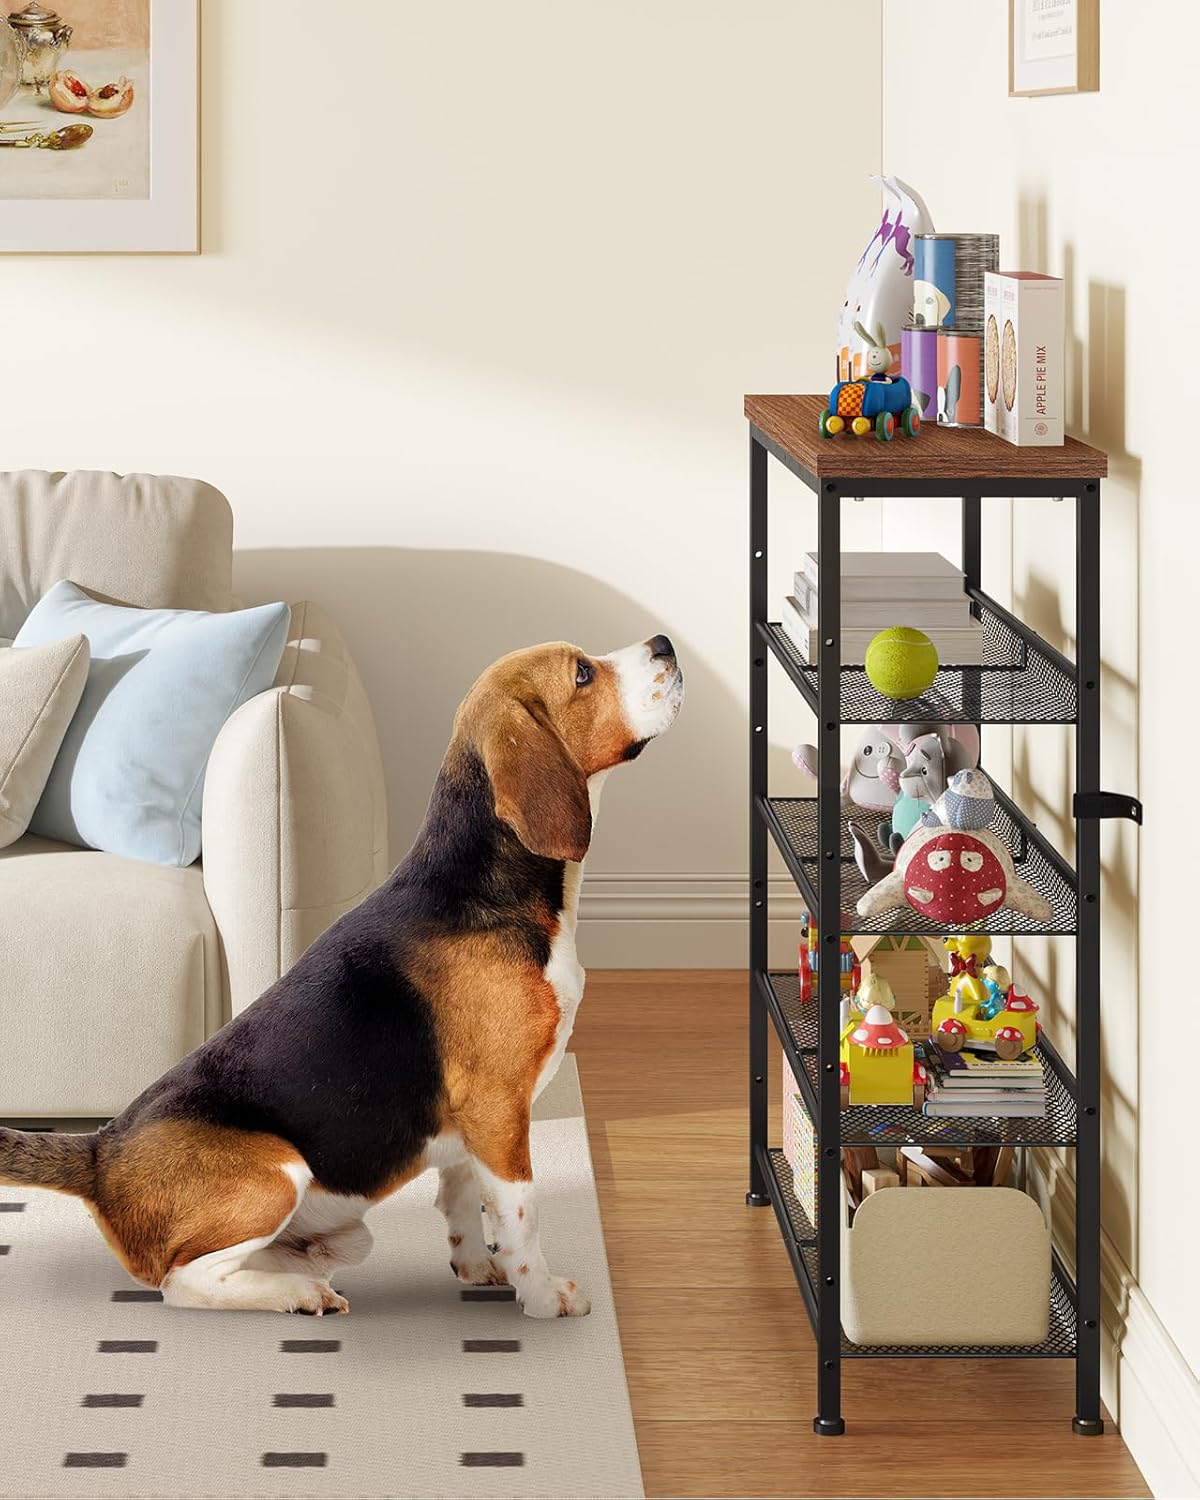
Image: The shoe rack is shown in a living room setting, holding various items like books, decorative objects, and small storage baskets, demonstrating its versatility.
6. Mantentzea
To keep your shoe rack in optimal condition, follow these simple maintenance guidelines:
- Garbiketa: Wipe with a dry cloth to remove dust and dirt. Avoid using harsh chemicals or abrasive cleaners.
- Ohiko egiaztapenak: Aldian-aldian egiaztatu torloju eta konexio guztiak ondo estututa eta finkatuta daudela ziurtatzeko.
- Karga kudeaketa: Adhere to the specified weight limits for each shelf to prevent damage and maintain stability.
7. Arazoak
If you encounter any issues with your shoe rack, refer to the following common solutions:
- Zurrunbiloa: Ensure all assembly bolts are fully tightened. Use the adjustable feet at the bottom of the rack to level it on uneven surfaces.
- Shoes Falling Off: The rack features raised shelf back edges to prevent shoes from slipping off. Ensure shoes are placed within the confines of the shelf.
- High Heels Slipping: The dense mesh design is specifically engineered to prevent high heels from falling through. If issues persist, ensure the shoes are placed correctly on the mesh.
8. Zehaztapenak
| Ezaugarri | Xehetasuna |
|---|---|
| Gela Mota | Closet, Living Room, Bedroom |
| Apalategi kopurua | 5 |
| Ezaugarri Berezia | Egokigarria |
| Produktuaren neurriak | 10" L x 29.5" W x 37" H |
| Estiloa | Klasikoa |
| Akabera mota | Egurrezko akabera |
| Marka | Pipishell |
| Produktuak zaintzeko jarraibideak | Garbitu zapi lehorrekin |
| Muntaia Beharrezkoa | Bai |
| Elementuaren pisua | 17 kilo |
| Altzarien akabera | Metala |
| Gomendatutako gehienezko karga (goian) | 44 kilo |
| Gomendatutako gehienezko karga (apal bakoitzeko) | 22 kilo |
9. Bermea eta Laguntza
This Pipishell 5-Tier Shoe Rack comes with a standard manufacturer's warranty. For detailed warranty information, customer support, or to download the full user manual, please refer to the official product page or contact Pipishell customer service.
You can also find the User Manual (PDF) at: https://manuals.plus/m/af91fac7c57f519a4893e06911e97ebec0f55b88cb6675f1ae802f2ffe5faf4b


