1. Sarrera
The Godox XProII-C is an advanced TTL wireless flash trigger transmitter designed for Canon cameras. It offers a robust 2.4G wireless system, supporting 1/8000s High-Speed Sync (HSS), TTL autoflash, multi-flash, and manual flash modes. With Bluetooth connectivity, users can conveniently control flash parameters via the GodoxPhoto App on their mobile devices. The XProII-C features an intuitive interface, a quick-release lock, and compatibility with Sekonic L-858 light meters for a streamlined photography workflow.
This instruction manual will guide you through the setup, operation, and advanced features of your XProII-C trigger to help you achieve professional lighting results.
2. Produktua amaitu daview
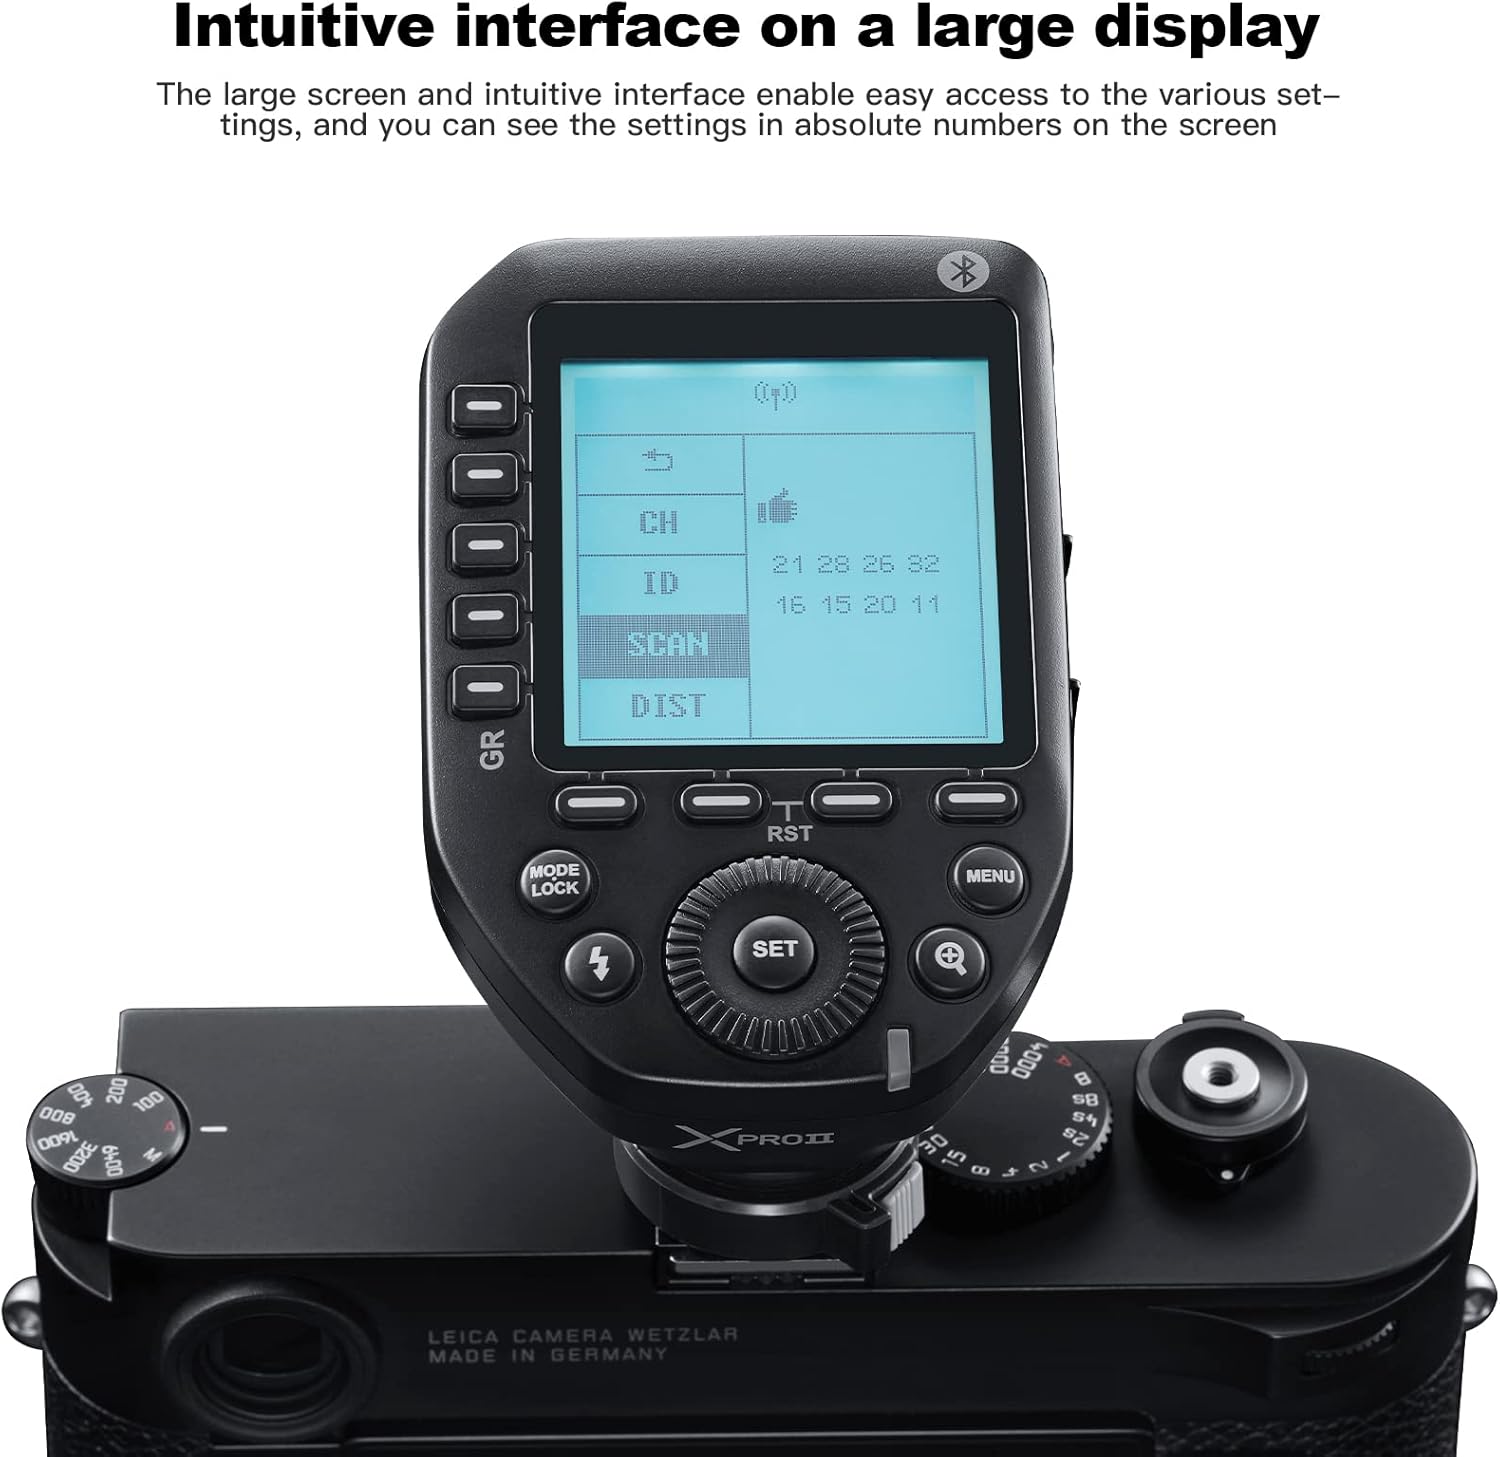
2.1. irudia: The XProII-C features an intuitive interface on a large LCD screen for easy access to settings.
The XProII-C is equipped with a large, intuitive LCD display and clearly labeled buttons for easy navigation and control. Key components include:
- Pantaila LCD handia: Provides real-time display of flash settings.
- Control Dial & Buttons: For adjusting parameters, navigating menus, and selecting groups.
- Zapata beroa: For mounting the trigger onto your camera.
- Quick-Release Lock: Ensures secure attachment and easy detachment from the camera.
- USB-C ataka: Firmware eguneratzeetarako.
- 2.5 mm-ko sinkronizazio-kablearen jack-a: Kable bidezko abiarazlearentzat.
3. Instalazioa eta konfigurazioa
3.1 Bateriaren instalazioa
3.1. bideoa: Demonstration of battery installation and basic power-on for the Godox XProII-C trigger.
- Locate the battery compartment on the underside of the trigger.
- Lerratu bateriaren konpartimenduaren estalkia ireki.
- Sartu bi AA pila, polaritate zuzena ziurtatuz (+/-).
- Itxi bateriaren konpartimenduaren estalkia ondo.
3.2 Kameran muntatzea

3.1. irudia: The quick-release lock ensures secure mounting of the XProII-C on your camera's hotshoe.
- Ziurtatu kamera itzalita dagoela.
- Slide the XProII-C's hotshoe into your camera's hotshoe.
- Engage the quick-release lock lever to secure the trigger firmly in place.
3.3 Piztu/Itzali
- To power on, slide the power switch to the 'ON' position. The LCD screen will illuminate.
- Itzaltzeko, irristatu etengailua 'OFF' posiziora.
4. Oinarrizko Funtzionamendua
4.1 Interfazean nabigatzea
The XProII-C features a user-friendly interface with a large LCD screen and dedicated buttons for various functions.
- Erabili Kontrol-markaketa to scroll through options and adjust values.
- Sakatu EZARTU botoia hautaketak berresteko.
- Erabili Group Buttons (A-E) on the left side to select and activate individual flash groups.
- The MODUA button cycles through TTL, Manual, and Multi-Flash modes.
- The MENUA button accesses additional settings and custom functions.
4.2 Adjusting Flash Parameters
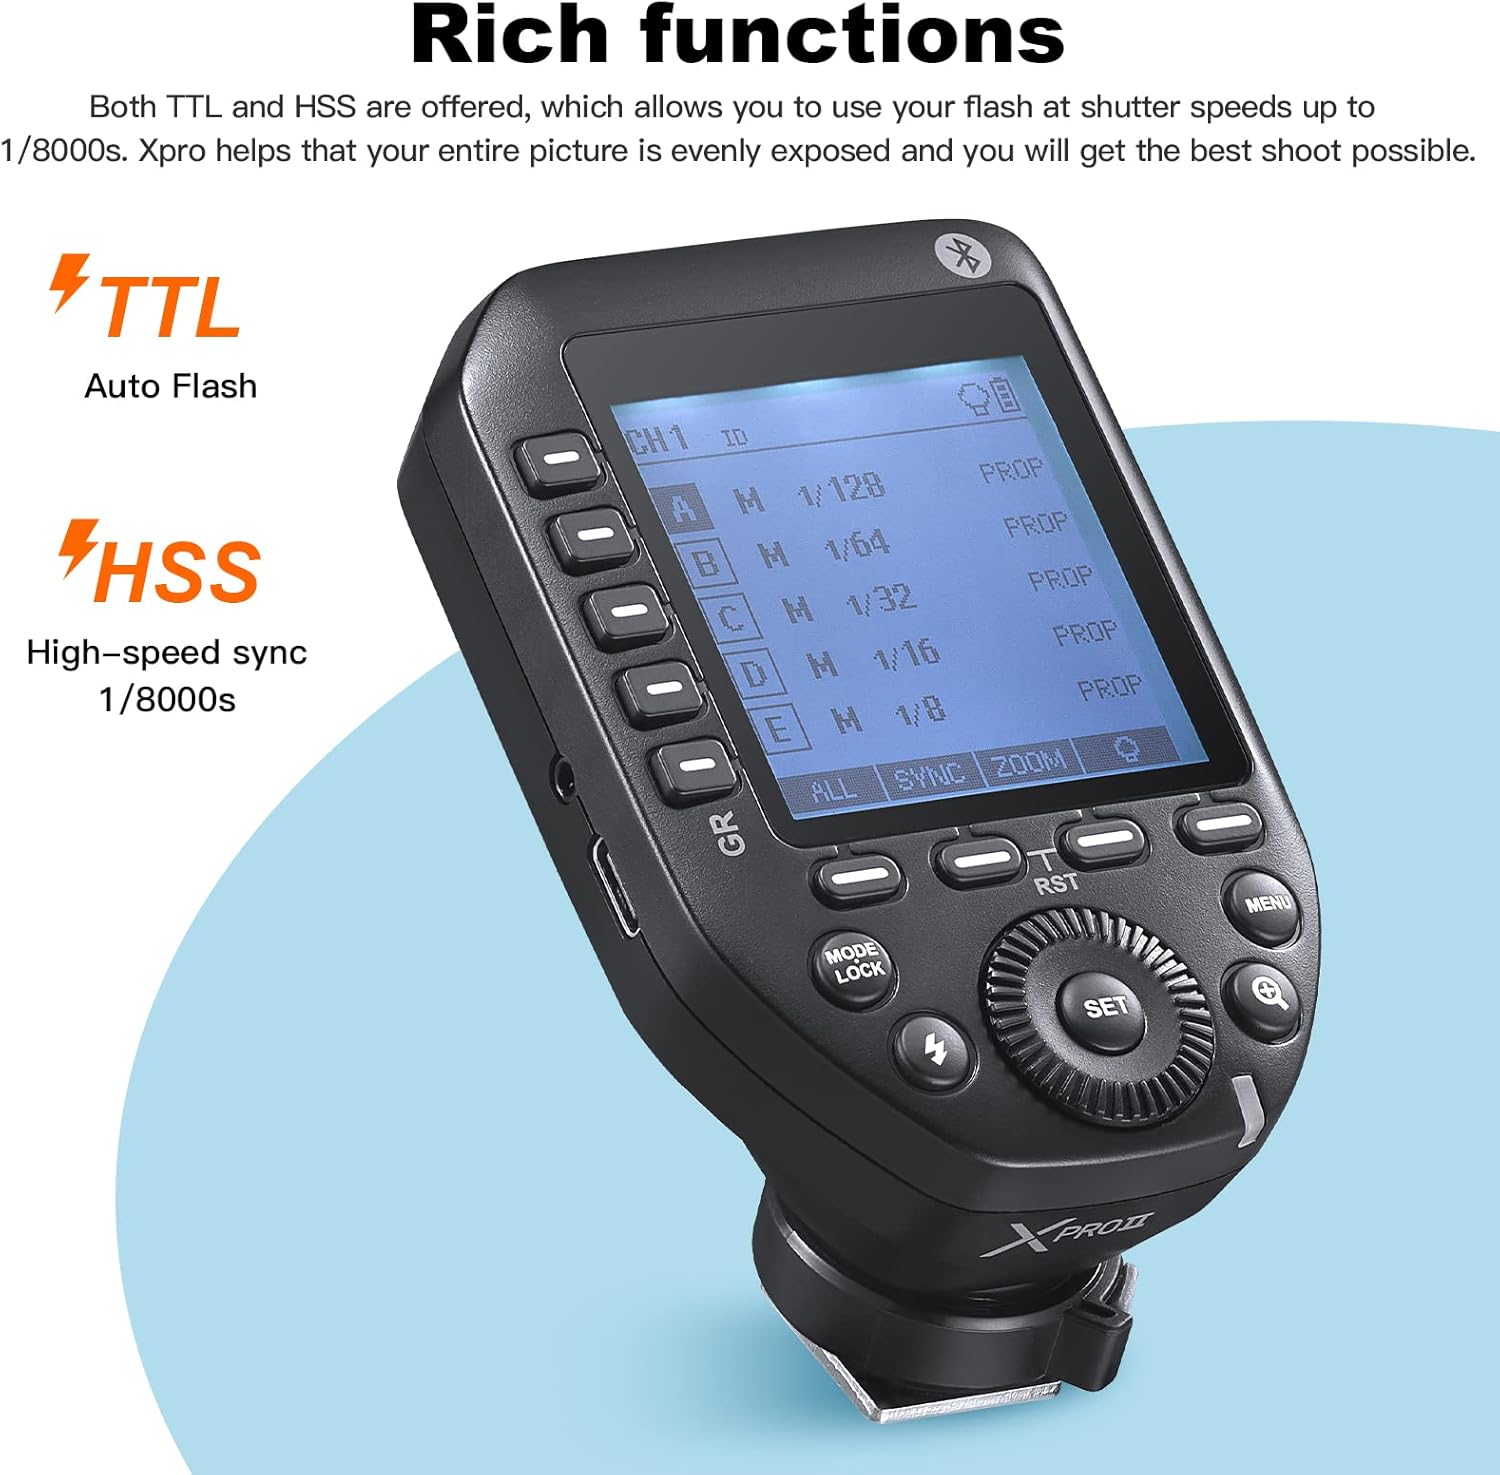
4.1. irudia: The XProII-C supports TTL Autoflash and High-Speed Sync up to 1/8000s.
After selecting a group, you can adjust its flash mode and power output:
- TTL flash automatikoa: The trigger automatically adjusts flash output for correct exposure. Use the control dial to apply Flash Exposure Compensation (FEC).
- Eskuzko flasha: Manually set the flash power output (e.g., 1/1 to 1/128).
- Multi-Flash (Stroboscopic): Set the flash frequency and number of flashes for creative effects.
4.3 Group and Channel Settings
The XProII-C supports 16 groups and 32 channels, along with 01 to 99 Wireless ID settings, for flexible multi-flash setups.
- Erabili GR button to cycle through groups or select multiple groups.
- Access the menu to change the Kanala (CH) eta Haririk gabeko IDa interferentziak saihesteko.
- Berria ESKANETATU function allows you to quickly find the least intrusive channel in complex environments.
5. Ezaugarri aurreratuak
5.1 Bluetooth konexioa
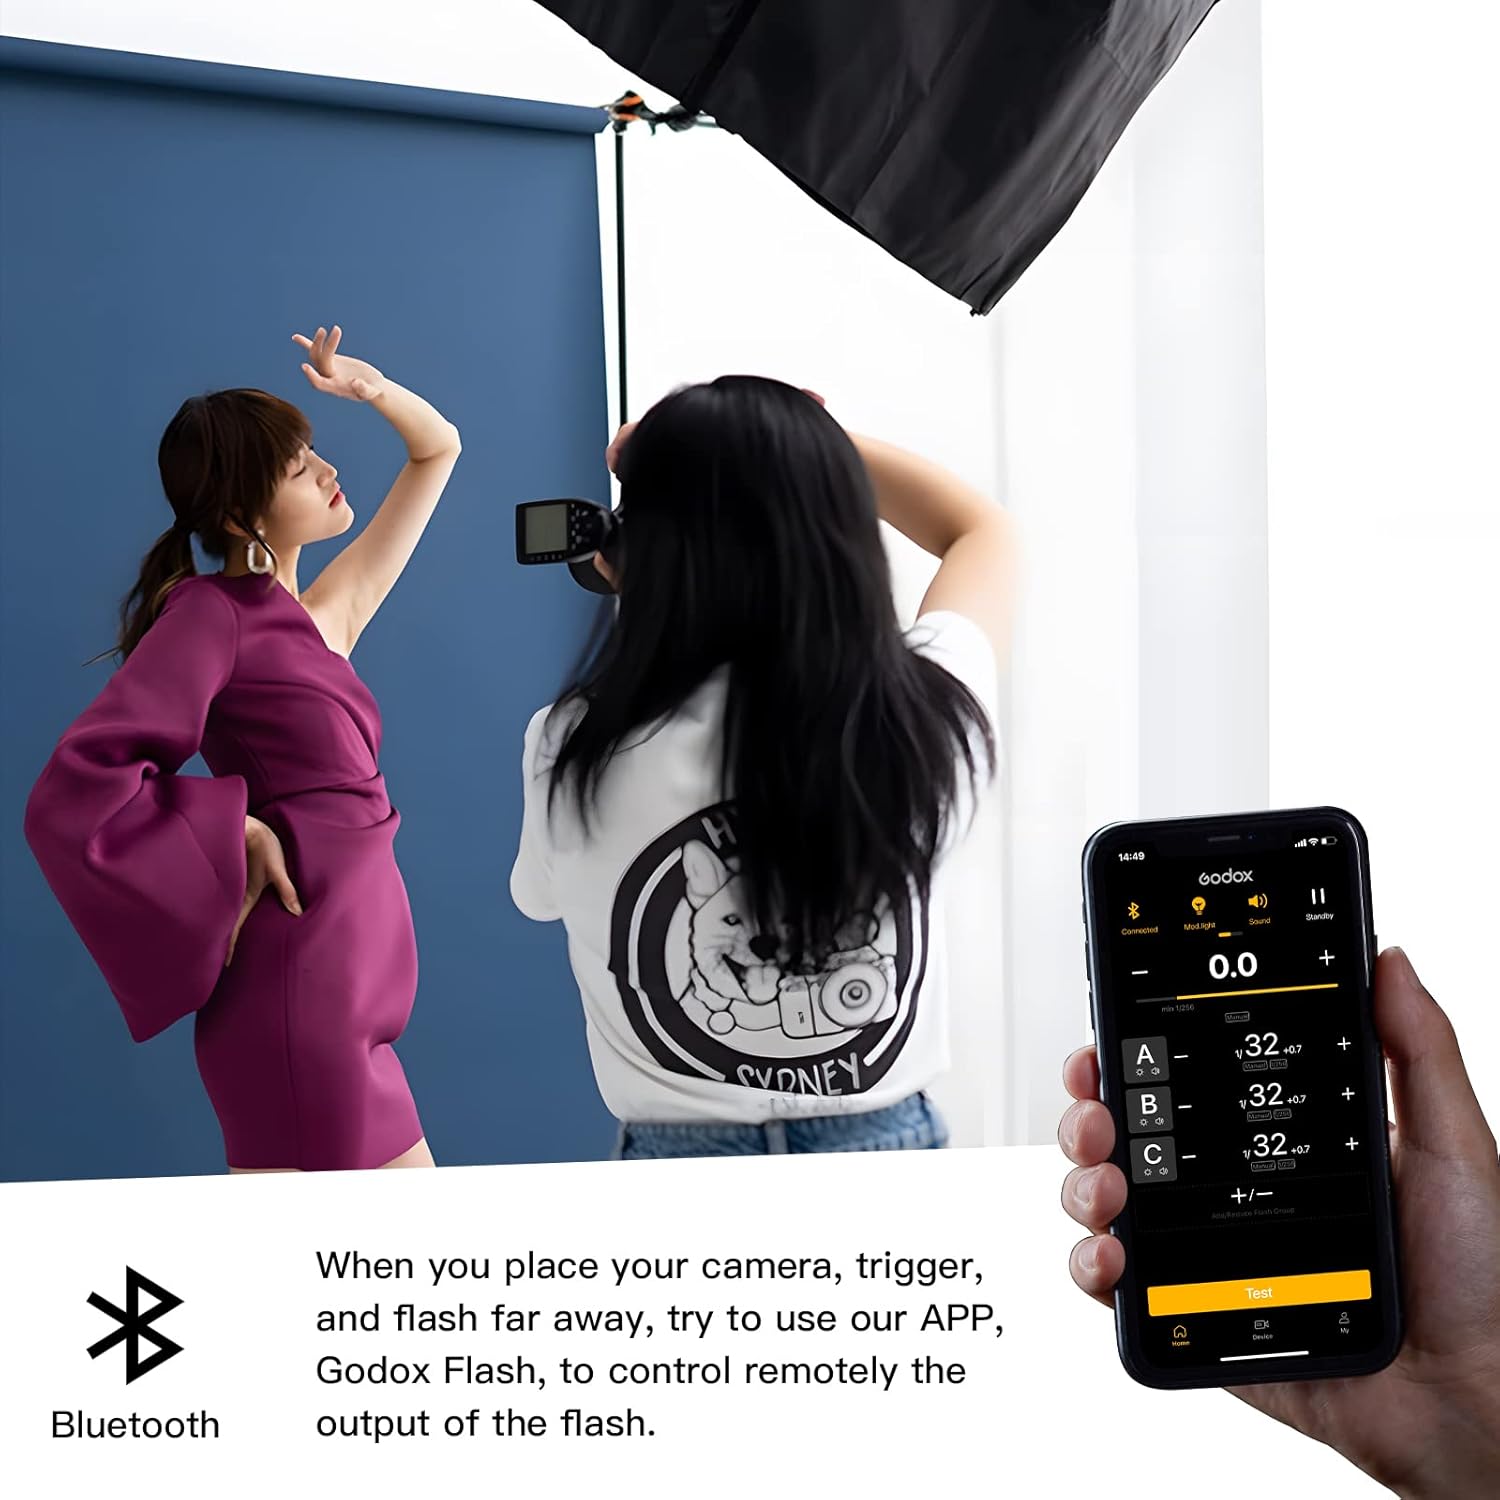
5.1. irudia: Control your XProII-C remotely using the GodoxPhoto App via Bluetooth.
The XProII-C features built-in Bluetooth for remote control via the GodoxPhoto App:
- Deskargatu GodoxPhoto App zure gailuaren aplikazio dendatik.
- Enable Bluetooth on your mobile device and the XProII-C.
- Open the app and connect to your XProII-C trigger.
- Adjust flash parameters, group settings, and more directly from your phone or tablet.
5.2 Sekonic L-858 Light Meter Integration

5.2. irudia: Adjust flash values directly through the Sekonic L-858 light meter when used with the XProII-C.
When paired with a Sekonic L-858 light meter that has a built-in Godox 2.4G module, you can directly adjust flash values through the light meter, saving time and streamlining your exposure setup.
5.3 Multi-Shooting Mode

5.3. irudia: The multi-shooting mode allows for collaborative photography by sharing fixed light setups.
The multi-shooting feature enables you to share a set of fixed lights with others. The XProII-C sends the flash value you set to the light, and the flash operates according to that value, facilitating creative collaboration.
6. Zehaztapenak
| Ezaugarri | Xehetasuna |
|---|---|
| Eredua | XProII-C |
| Haririk gabeko sistema | 2.4G |
| HSS | 1/8000s arte |
| Bluetootha | Yes (for GodoxPhoto App control) |
| Taldeak | 16 |
| Kanalak | 32 |
| Hari gabeko ID ezarpenak | 01-99 |
| Neurriak | 5.12 x 4.02 x 2.52 hazbete |
| Elementuaren pisua | 10.2 ontza |
7. Zer dago kutxan
- 1x Godox XProII-C Trigger
8. Arazoak
If you encounter issues with your XProII-C trigger, please refer to the following common troubleshooting steps:
- Flasha ez da pizten: Ensure batteries are correctly inserted and charged. Verify that the trigger and flash units are set to the same channel and ID. Check the flash unit's power and readiness indicator.
- Interferentzia: Use the SCAN function to find a clear channel. Change the Wireless ID if necessary.
- Bluetooth konexio-arazoak: Ensure Bluetooth is enabled on both the trigger and your mobile device. Restart the GodoxPhoto App and the trigger.
- Esposizio okerra: Check flash mode (TTL/Manual) and adjust power output or Flash Exposure Compensation (FEC) as needed. Ensure camera and flash settings are compatible.
9. Mantentzea
Proper care and maintenance will extend the life of your Godox XProII-C trigger:
- Garbiketa: Use a soft, dry cloth to clean the exterior of the trigger. Avoid using harsh chemicals or abrasive materials.
- Biltegiratzea: Store the trigger in a cool, dry place away from direct sunlight and extreme temperatures. Remove batteries if storing for extended periods to prevent leakage.
- Bateria zaintzea: Use high-quality AA batteries. Replace batteries promptly when low to ensure consistent performance.
- Firmware eguneraketak: Aldian-aldian egiaztatu Godox ofiziala website for firmware updates to ensure optimal performance and access to new features. Use the USB-C port for updates.
10. Bermea eta laguntza
For warranty information, please refer to the documentation provided with your purchase or contact your retailer. Godox offers customer support for product inquiries and technical assistance. Please visit the official Godox webharremanetarako datuak eta baliabide gehiago lortzeko webgunea.


