1. Sarrera
This manual provides essential instructions for the installation, operation, and maintenance of the JIARUIXIN JR1932RX-24V 2.4G Receiver Control Box. This product is designed as a replacement part for specific children's electric ride-on cars.
Bateragarritasunari buruzko ohar garrantzitsua: Before installation, it is crucial to verify that this control box is compatible with your child's electric ride-on car. Open your existing electric ride-on car and carefully compare the appearance and model number of the original control box with the JR1932RX-24V. This replacement part is specifically designed for models requiring a JR1932RX-24V White 7-pin socket.
2. Produktua amaitu daview
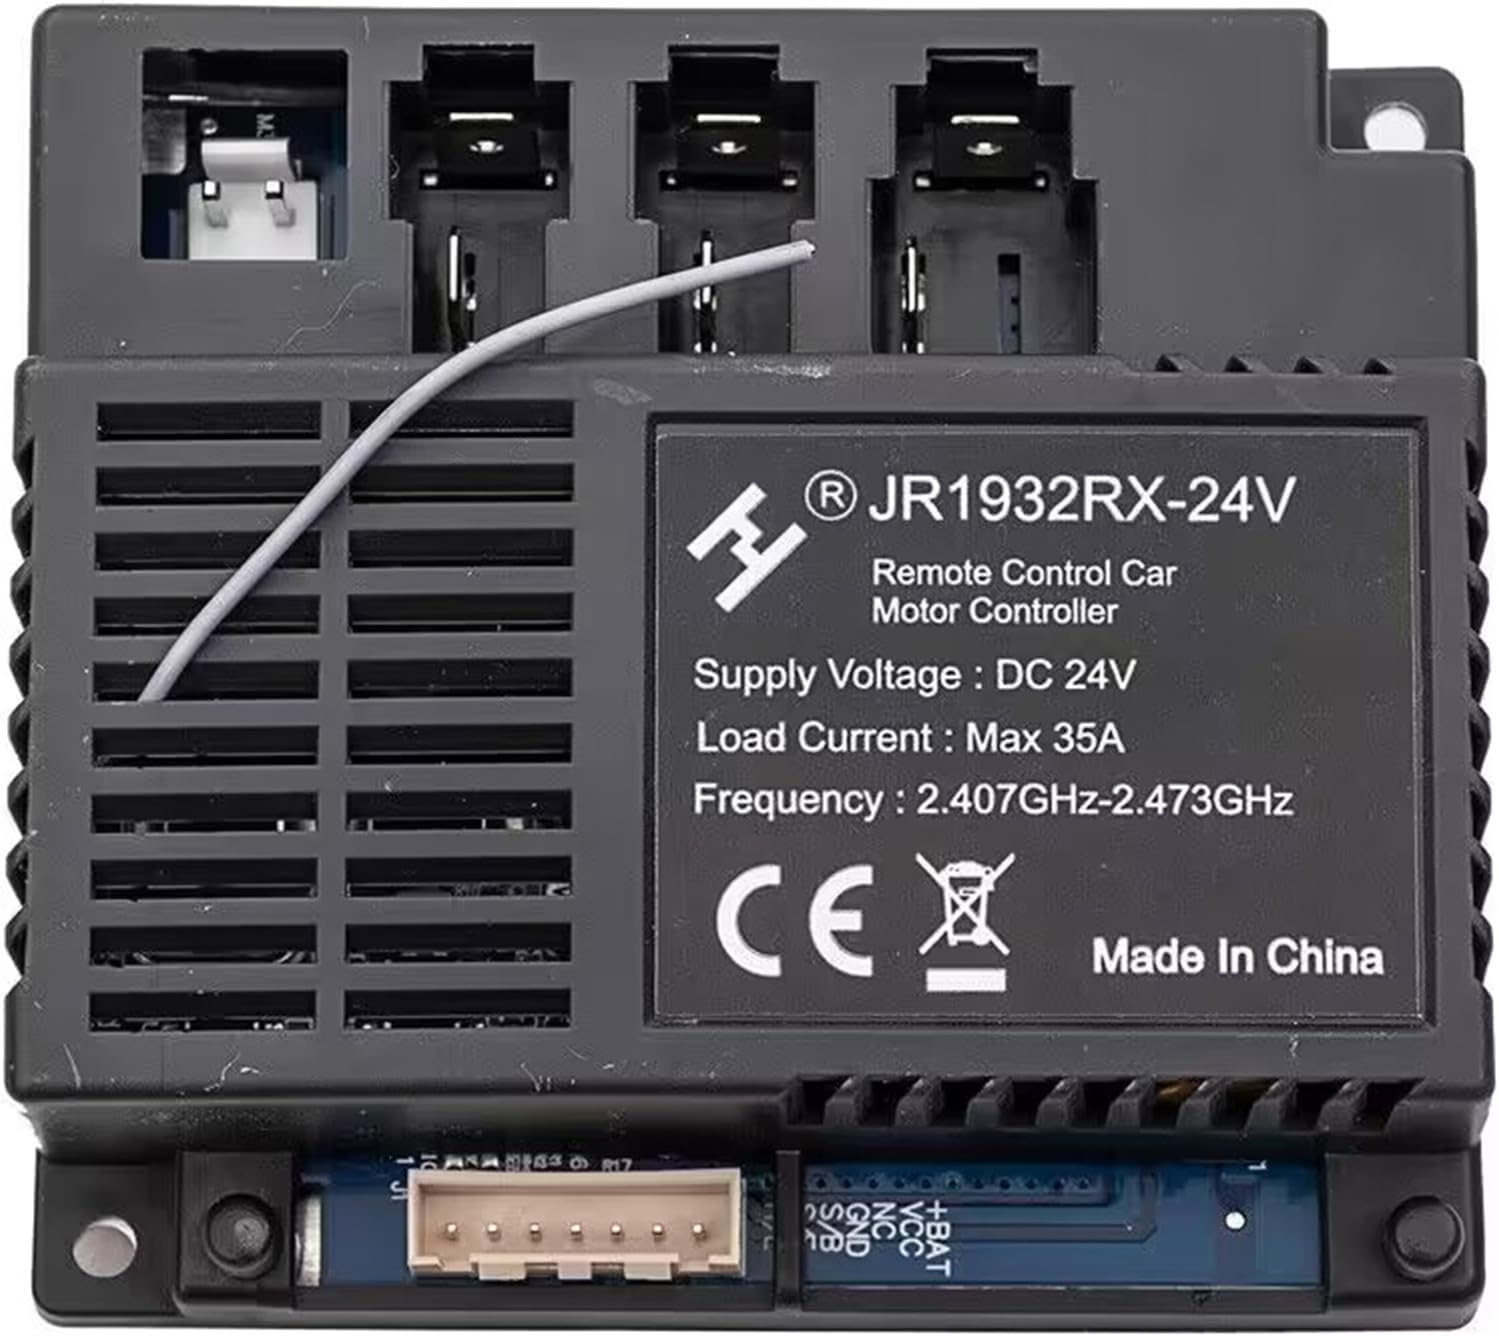
Irudiaren deskribapena: This image displays the JR1932RX-24V 2.4G Receiver Control Box from a top-down perspective. The label clearly indicates 'JR1932RX-24V Remote Control Car Motor Controller', 'Supply Voltage: DC 24V', 'Load Current: Max 35A', and 'Frequency: 2.407GHz-2.473GHz'. Several connection ports are visible at the top, and a white antenna wire extends from the unit. The bottom edge shows a circuit board with a multi-pin connector.

Irudiaren deskribapena: Irudi honek angelu bat eskaintzen du view of the JR1932RX-24V 2.4G Receiver Control Box. The product label is prominent, detailing the model number, voltage, current, and frequency. The three main connection ports are visible at the top, and a multi-pin connector is present on the circuit board at the bottom. The overall design is a black rectangular unit with ventilation grilles.
The JR1932RX-24V is a 2.4G receiver control box designed for children's powered ride-on cars. It operates on a 24V system and utilizes 2.4G Bluetooth for remote control functionality. It is crucial to ensure that the appearance and model of this control box match your original unit for proper function.
3. Instalazioa eta konfigurazioa
- Prestaketa: Ensure the ride-on car's power is completely off and the battery is disconnected before beginning any installation.
- Access the Control Box: Carefully open the body or access panel of your child's electric ride-on car to locate the existing control box.
- Egiaztatu bateragarritasuna: Before proceeding, visually confirm that the new JR1932RX-24V control box has the same appearance and model number as the original unit. Pay close attention to the 'JR1932RX-24V White 7-pin socket' specification.
- Deskonektatu unitate zaharra: Gently disconnect all wires and connectors from the old control box. Note their positions if necessary.
- Unitate berria instalatu: Securely install the new JR1932RX-24V control box in the same location as the old one. Connect all wires and connectors to their corresponding ports on the new control box.
- Re-sync Remote Control: After installing the new control box and reconnecting the battery, you must re-sync the remote control with the car. Refer to your ride-on car's original manual for specific re-syncing instructions, as this process can vary. Generally, it involves holding specific buttons on the remote while turning on the car.
- Proba funtzionaltasuna: Once re-synced, test all functions of the ride-on car to ensure proper operation.
4. Funtzionamendua
The JR1932RX-24V control box facilitates the 2.4G Bluetooth remote control functionality of your child's electric ride-on car. Once properly installed and synced with the remote, the control box receives signals to manage the car's movement and other functions.
- Ensure the remote control has fresh batteries for optimal signal strength.
- Always operate the ride-on car within the recommended range of the remote control.
- If the remote control loses connection or behaves erratically, perform the re-syncing procedure outlined in the 'Installation and Setup' section.
5. Mantentzea
To ensure the longevity and proper functioning of your JR1932RX-24V control box, follow these general maintenance guidelines:
- Mantendu lehorra: Protect the control box from moisture and water exposure. Water damage can lead to malfunctions.
- Konexio garbiak: Periodically inspect and gently clean any dust or debris from the connectors to ensure good electrical contact.
- Tenperatura: Avoid exposing the control box to extreme temperatures, both hot and cold, as this can affect electronic components.
- Muntaketa segurua: Ensure the control box remains securely mounted within the ride-on car to prevent damage from vibrations or impacts.
6. Arazoak
Problem: Remote control does not operate the car after control box replacement or battery change.
Irtenbidea: The remote control and the new receiver control box need to be re-synced. Follow the re-syncing procedure detailed in Section 3, 'Installation and Setup'. This step is often required every time the control box is replaced or the remote control's batteries are changed.
Problem: Car functions are intermittent or unresponsive.
Kausa eta irtenbide posibleak:
- Weak Remote Battery: Ordeztu bateriak urrutiko agintean.
- Konexio eskasa: Check all wiring connections to the control box to ensure they are secure and free of corrosion.
- Interferentzia: Ensure there are no strong radio frequency interferences in the operating environment.
- Re-sync Required: Attempt to re-sync the remote control with the receiver.
7. Zehaztapenak
| Marka | JIARUIXIN |
| Modelo zenbakia | JR1932RX-24V White 7-pin socket |
| liburukiatage | 24V |
| Kontrol-metodoa | 2.4G Bluetootha |
| Karga Korrontea | Gehienez 35 A |
| Maiztasuna | 2.407 GHz-2.473 GHz |
| Produktuaren neurriak | 3.2 x 2.6 x 1.2 hazbete |
| Elementuaren pisua | 5.1 ontza |
| Fabrikatzailea | jiaruixin |
8. Bermea eta Laguntza
For any questions, technical assistance, or warranty inquiries regarding the JR1932RX-24V control box, please contact the manufacturer, JIARUIXIN, through their official support channels. Please retain your purchase receipt as proof of purchase.


