1. Sarrera
This manual provides essential information for the safe and efficient operation, setup, and maintenance of your Parkside PERFORMANCE® PKSA 40 Li Cordless Chainsaw. Please read these instructions carefully before using the product and keep them for future reference.
2. Produktua amaitu daview
The Parkside PERFORMANCE® PKSA 40 Li is a powerful 40V cordless chainsaw designed for efficient wood cutting. It features a brushless motor for extended lifespan and optimal performance. The chainsaw offers two adjustable chain speeds and includes an automatic chain oiling system.

1. irudia: Parkside PERFORMANCE® PKSA 40 Li Cordless Chainsaw. This image shows the complete chainsaw assembly, highlighting its robust design and the 16-inch guide bar.
Ezaugarri nagusiak:
- Powerful brushless motor for high efficiency and extended durability.
- Two adjustable chain speeds for versatile cutting tasks.
- 45.5 cm guide bar with a 38 cm cutting length.
- Robust 16-inch chain with 56 drive links.
- Tool-free rapid chain tensioning system.
- Automatic chain oiling system with an oil level window and leak-proof tank cap.
- Ergonomic handle with Softgrip for comfortable handling.
- Felling handle for comfortable angled sawing.
- Two-hand circuit breaker with immediate chain stop (less than 0.12 seconds).
- Smooth chain start via "Soft Start" function.
- Durable metal claw stop.
- Integrated display for battery speed level, battery status, and Smart App LED.
Osagarriak barne:
- 1 x Guide bar protection cover.
- 1 x 180 ml bio chain oil.

2. irudia: Included accessories: guide bar protection cover and a bottle of 180 ml bio chain oil. These items are essential for safe storage and initial operation.
3. Segurtasun-argibideak
Always observe general safety guidelines when operating power tools. Wear appropriate personal protective equipment (PPE) including safety glasses, hearing protection, gloves, and sturdy footwear. Ensure the work area is clear of bystanders and obstacles. Never operate the chainsaw under the influence of alcohol or medication.
- Irakurri eskuliburu osoa: Erabili aurretik, ulertu argibide eta abisu guztiak.
- Bateriaren segurtasuna: Use only compatible Parkside X 20 V Team batteries. Do not attempt to modify the battery or charger.
- Atzerakada prebenitzea: Be aware of kickback hazards. Always maintain a firm grip with both hands.
- Mantentzea: Regularly check the chain for sharpness and tension. Ensure the automatic oiling system is functioning correctly.
- Biltegiratzea: Store the chainsaw with the guide bar cover in a dry, secure location out of reach of children.
4. Konfigurazioa eta Muntaketa
4.1. Bateriaren instalazioa
The Parkside PERFORMANCE® PKSA 40 Li chainsaw is supplied without a battery and charger. It is compatible with all batteries from the Parkside X 20 V Team series. Ensure the battery is fully charged before installation.
- Lerrokatu bateria motozerraren bateriaren zirrikituarekin.
- Irristatu bateria zirrikituan, ondo lotu arte klik egin arte.
- Kentzeko, sakatu bateriaren askatzeko botoia eta irristatu kanporantz.

3. irudia: Chainsaw body indicating the battery compartment. Note that the battery is not included with the product.
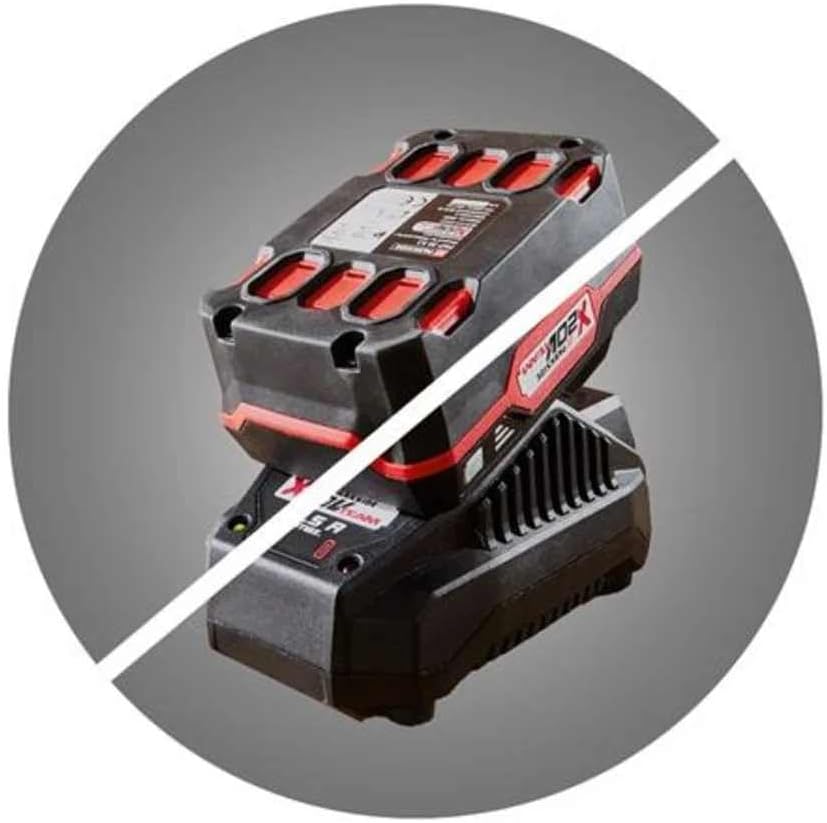
4. irudia: Visual representation that the battery and charger are sold separately and are not included with the chainsaw unit.
4.2. Filling the Chain Oil Tank
The chainsaw features an automatic chain oiling system. Ensure the oil tank is filled before each use to prevent damage to the chain and guide bar.
- Jarri motozerra gainazal lau eta egonkor batean.
- Unscrew the leak-proof oil tank cap (typically red).
- Carefully pour the provided bio chain oil (or suitable alternative) into the tank, observing the oil level window.
- Ez bete gehiegi. Jarri tapoia ondo ondo.

5. irudia: Gertutik view of the oil tank cap (red) and the product label, indicating where to fill the chain oil.
4.3. Katearen tentsioa
The chainsaw features a tool-free rapid chain tensioning system. Proper chain tension is crucial for safe and effective operation.
- Ensure the chainsaw is switched off and the battery is removed.
- Loosen the guide bar locking knob (if present, usually a large knob on the side).
- Adjust the chain tensioning screw until the chain fits snugly against the guide bar but can still be pulled freely by hand.
- Tighten the guide bar locking knob securely.
- Check tension again after a few cuts, as new chains may stretch.
5. Funtzionamendu-argibideak
5.1. Starting and Stopping the Chainsaw
The chainsaw is equipped with a two-hand circuit breaker and a "Soft Start" function for smooth operation.
- Ensure the battery is installed and the chain oil tank is filled.
- Hold the chainsaw firmly with both hands, one on the main handle and one on the felling handle.
- Engage the two-hand circuit breaker (usually involves pressing a safety switch and then the trigger).
- The "Soft Start" function will ensure a gradual and smooth acceleration of the chain.
- To stop the chainsaw, release the trigger. The immediate chain stop function will halt the chain in less than 0.12 seconds.

6. irudia: Aldea view of the chainsaw, highlighting the "AUTO STOP" mechanism and the chain brake lever, crucial for safety during operation.
5.2. Adjusting Chain Speed
The chainsaw offers two adjustable chain speeds to suit different cutting requirements.
- Refer to the integrated display or control panel for speed selection.
- Select Speed Level 1 for lighter tasks or when more control is needed.
- Select Speed Level 2 for faster cutting and heavier duty applications.

7. irudia: Goiena view of the chainsaw's control panel, showing indicators for battery level and speed settings. The batteries shown are for illustration and are not included.
5.3. Ebaketa Teknikak
Always use proper cutting techniques to ensure safety and efficiency. The felling handle is designed for comfortable angled sawing.
- Maintain a balanced stance and firm grip.
- Saihestu gida-barraren puntarekin ebakitzea atzerako ostikoak ekiditeko.
- When felling, plan your escape route and ensure no one is in the fall zone.
- For angled cuts, utilize the felling handle for better control and comfort.
- Always ensure the metal claw stop is engaged against the wood for stability during cutting.
6. Mantentzea
Mantentze-lan erregularrak zure motozerraren iraupena eta funtzionamendu segurua bermatzen ditu. Kendu beti bateria edozein mantentze-lan egin aurretik.
6.1. Chain and Guide Bar Maintenance
- Katea zorroztea: A sharp chain is essential for safe and efficient cutting. Sharpen the chain regularly or replace it when dull.
- Katearen tentsioa: Check chain tension before each use and adjust as necessary (refer to Section 4.3).
- Guide Bar Cleaning: Clean the guide bar groove and oil holes regularly to ensure proper lubrication.
- Guide Bar Reversal: To promote even wear, periodically reverse the guide bar.
6.2. Oiling System Check
Regularly check the chain oil level using the oil level window. Refill as needed (refer to Section 4.2). Ensure the automatic oiling system is dispensing oil by running the chainsaw briefly over a light-colored surface; a line of oil should be visible.
6.3. Garbiketa eta biltegiratze orokorra
- Clean the chainsaw housing with a damp oihal. Ez erabili produktu kimiko gogorrak.
- Remove sawdust and debris from the motor housing and cooling vents.
- Always attach the guide bar protection cover before storing or transporting the chainsaw.
- Store the chainsaw in a dry, secure place, away from direct sunlight and extreme temperatures.
7. Arazoak
Before attempting any repairs, always ensure the chainsaw is switched off and the battery is removed.
| Arazoa | Kausa posiblea | Irtenbidea |
|---|---|---|
| Motozerra ez da martxan jartzen. | Battery not installed correctly or discharged. Safety switch not engaged. | Ensure battery is fully charged and properly inserted. Engage the two-hand safety switch before pressing the trigger. |
| Katea ez da mugitzen edo poliki mugitzen da. | Chain tension too tight. Chain brake engaged. Battery low. | Check and adjust chain tension (refer to Section 4.3). Disengage the chain brake. Recharge or replace the battery. |
| Kea edo erre usain gehiegi funtzionamenduan zehar. | Chain dull or improperly oiled. | Sharpen or replace the chain. Check chain oil level and ensure the automatic oiling system is working. |
| Olio-ihesak. | Oil tank cap not secured. Damage to oil tank or lines. | Ensure oil tank cap is tightly closed. Inspect for visible damage; if found, contact customer support. |
8. Zehaztapen Teknikoak
| Ezaugarri | Zehaztapena |
|---|---|
| Modelo zenbakia | PKSA 40 Li |
| Marka | Parkea |
| Motor Mota | Eskuilarik gabekoa |
| Energia iturria | Battery-powered (40V, compatible with Parkside X 20 V Team series) |
| Potentzia (Watt) | 1000 W |
| Irteera Potentzia | 800 W |
| Gida barraren luzera | Gutxi gorabehera. 45.5 cm (18 hazbete) |
| Ebaketa Luzera | Gutxi gorabehera. 38 cm (15 hazbete) |
| Chain Speed (Smart Battery 20V, 4Ah) | Level 1: 15 m/s, Level 2: 25 m/s |
| Chain Speed (Standard Battery 20V, 4Ah) | Level 1: 15 m/s, Level 2: 20 m/s |
| Chain Brake Reaction Time | Max. < 0.12 seconds |
| Olio deposituaren bolumena | 180 ml |
| Errotazio Abiadura | 5800 rpm / 14000 rpm |
| Produktuaren neurriak (L x W x H) | Gutxi gorabehera. 1 x 1 x 1 cm |
| Pisua | 6 kg |
| Bateria/Kargagailua barne | Ez |
9. Bermea eta Laguntza
For warranty information, technical support, or spare parts, please refer to the documentation provided with your purchase or contact Parkside customer service. Keep your proof of purchase for warranty claims.