Sarrera
This manual provides essential information for the safe and efficient operation, maintenance, and troubleshooting of your CONENTOOL 12V Cordless Drill Driver Kit. Please read this manual thoroughly before first use and keep it for future reference.
The CONENTOOL 12V Cordless Drill Driver is designed for drilling into wood, plastic, metal, and other materials, as well as for driving and removing screws. It features a powerful 35 N.m max torque, 25+1 torque settings, and two variable speeds for versatile applications.

Image: The CONENTOOL 12V Cordless Drill Driver Kit, including the drill, two batteries, charger, and a case filled with various drill bits and screwdriver bits.
Segurtasun-argibide garrantzitsuak
Beti jarraitu oinarrizko segurtasun neurriak tresna elektrikoak erabiltzean, sute, deskarga elektriko eta lesio pertsonalen arriskua murrizteko.
- Erabili babes pertsonaleko ekipamendu (EPI) egokia, hala nola segurtasun betaurrekoak, eskularruak eta entzumen babesak.
- Mantendu zure lan-eremua garbi eta ondo argiztatuta. Eremu nahasiak edo ilunek istripuak gonbidatzen dituzte.
- Ez erabili tresna elektrikoak atmosfera lehergarrietan, adibidez, likido sukoiak, gasak edo hautsak daudenean.
- Ziurtatu tresna itzalita dagoela doikuntzarik egin, osagarriak aldatu edo tresna gorde aurretik.
- Erabili zure aplikaziorako tresna egokia. Ez behartu tresna.
- Gorde alferrik dauden tresnak haurren eta trebatu gabeko beste pertsona batzuen eskura.
Produktuaren osagaiak eta ezaugarriak
Familiarize yourself with the various parts and features of your CONENTOOL Cordless Drill Driver.

Image: A detailed diagram of the CONENTOOL drill driver highlighting its key components: 3/8" keyless chuck, 25+1 adjustable clutch, LED light, variable speed switch, forward and reverse button, 2 variable speeds, and 2000 mAh lithium battery.
- 3/8"-ko giltzarik gabeko txirrika: For quick and easy bit changes. Features an all-metal automatic spindle lock.
- 25+1 Adjustable Clutch: Allows precise torque settings for various applications, preventing overtightening or stripping screws.
- LED argia: Lan-eremua argitzen du espazio ilunetan ikusgarritasun hobea lortzeko.
- Abiadura Aldakorreko Etengailua: Provides precise control over drilling and driving speed.
- Forward and Reverse Button: Easily switch between drilling/driving and unscrewing.
- 2 Abiadura Aldakor: Low speed (0-450 RPM) for screwing, high speed (0-1650 RPM) for drilling.
- 2000 mAh Lithium Battery: Offers long-lasting power and reliable performance.
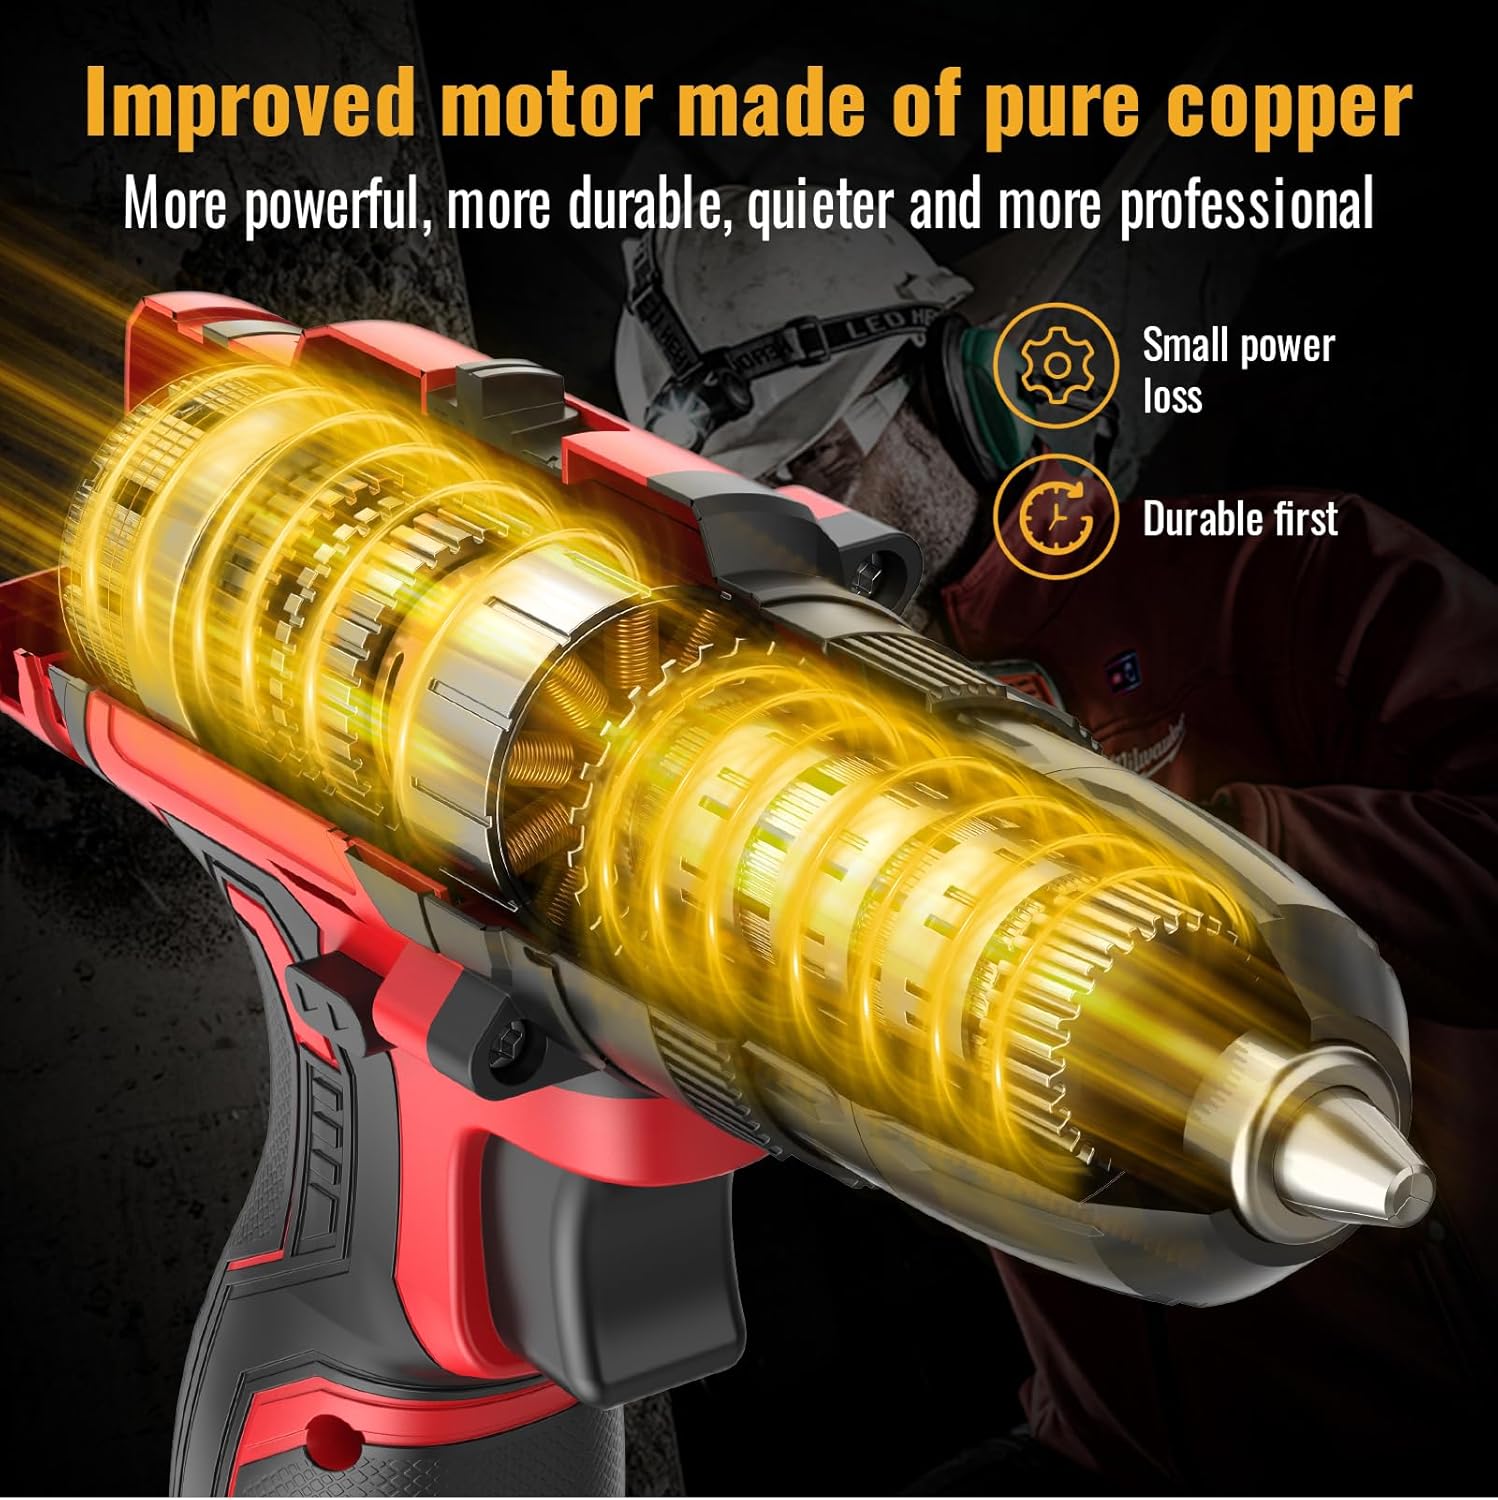
Irudia: Barneko bat view of the drill, highlighting the improved motor made of pure copper, designed for more power, durability, and quieter operation with small power loss.

Image: A graph illustrating the extended working hours provided by the 2x 2.0AH large capacity batteries compared to other batteries, showing a slower discharge rate over time.
Konfigurazioa
Bateria kargatzen
- Konektatu kargagailua entxufe estandar batera.
- Irristatu bateria-paketea kargagailuan, bere lekuan klik egin arte.
- Allow the battery to charge fully before first use. The indicator light on the charger will change when charging is complete.
- Always disconnect the charger from the power supply and remove the battery once fully charged.
Bateria instalatzea/kentzea
- Instalatzeko: Lerrokatu bateria-paketea zulagailuaren heldulekuaren oinarriarekin eta irristatu ondo blokeatu arte.
- To remove: Press the battery release button (usually located on the side of the battery pack) and slide the battery out.
Installing/Removing Drill Bits or Screwdriver Bits

Image: A close-up showing the operation of the 3/8" (10mm) self-locking drill chuck, demonstrating how to open and close it to insert or remove bits.
- Ensure the drill is switched off and the forward/reverse switch is in the center (locked) position.
- Biratu mandrila erlojuaren orratzen kontrako noranzkoan masailezurrak irekitzeko.
- Insert the desired drill bit or screwdriver bit fully into the chuck.
- Biratu mandrila erlojuaren orratzen noranzkoan, masailezurrak ondo estutzeko puntaren inguruan. Ziurtatu puntaren erdian dagoela eta ondo helduta dagoela.
- Kentzeko: Biratu mandrila erlojuaren orratzen kontrako noranzkoan masailezurrak askatzeko eta broka ateratzeko.
Funtzionamendu-argibideak
Abiadura hautatzea
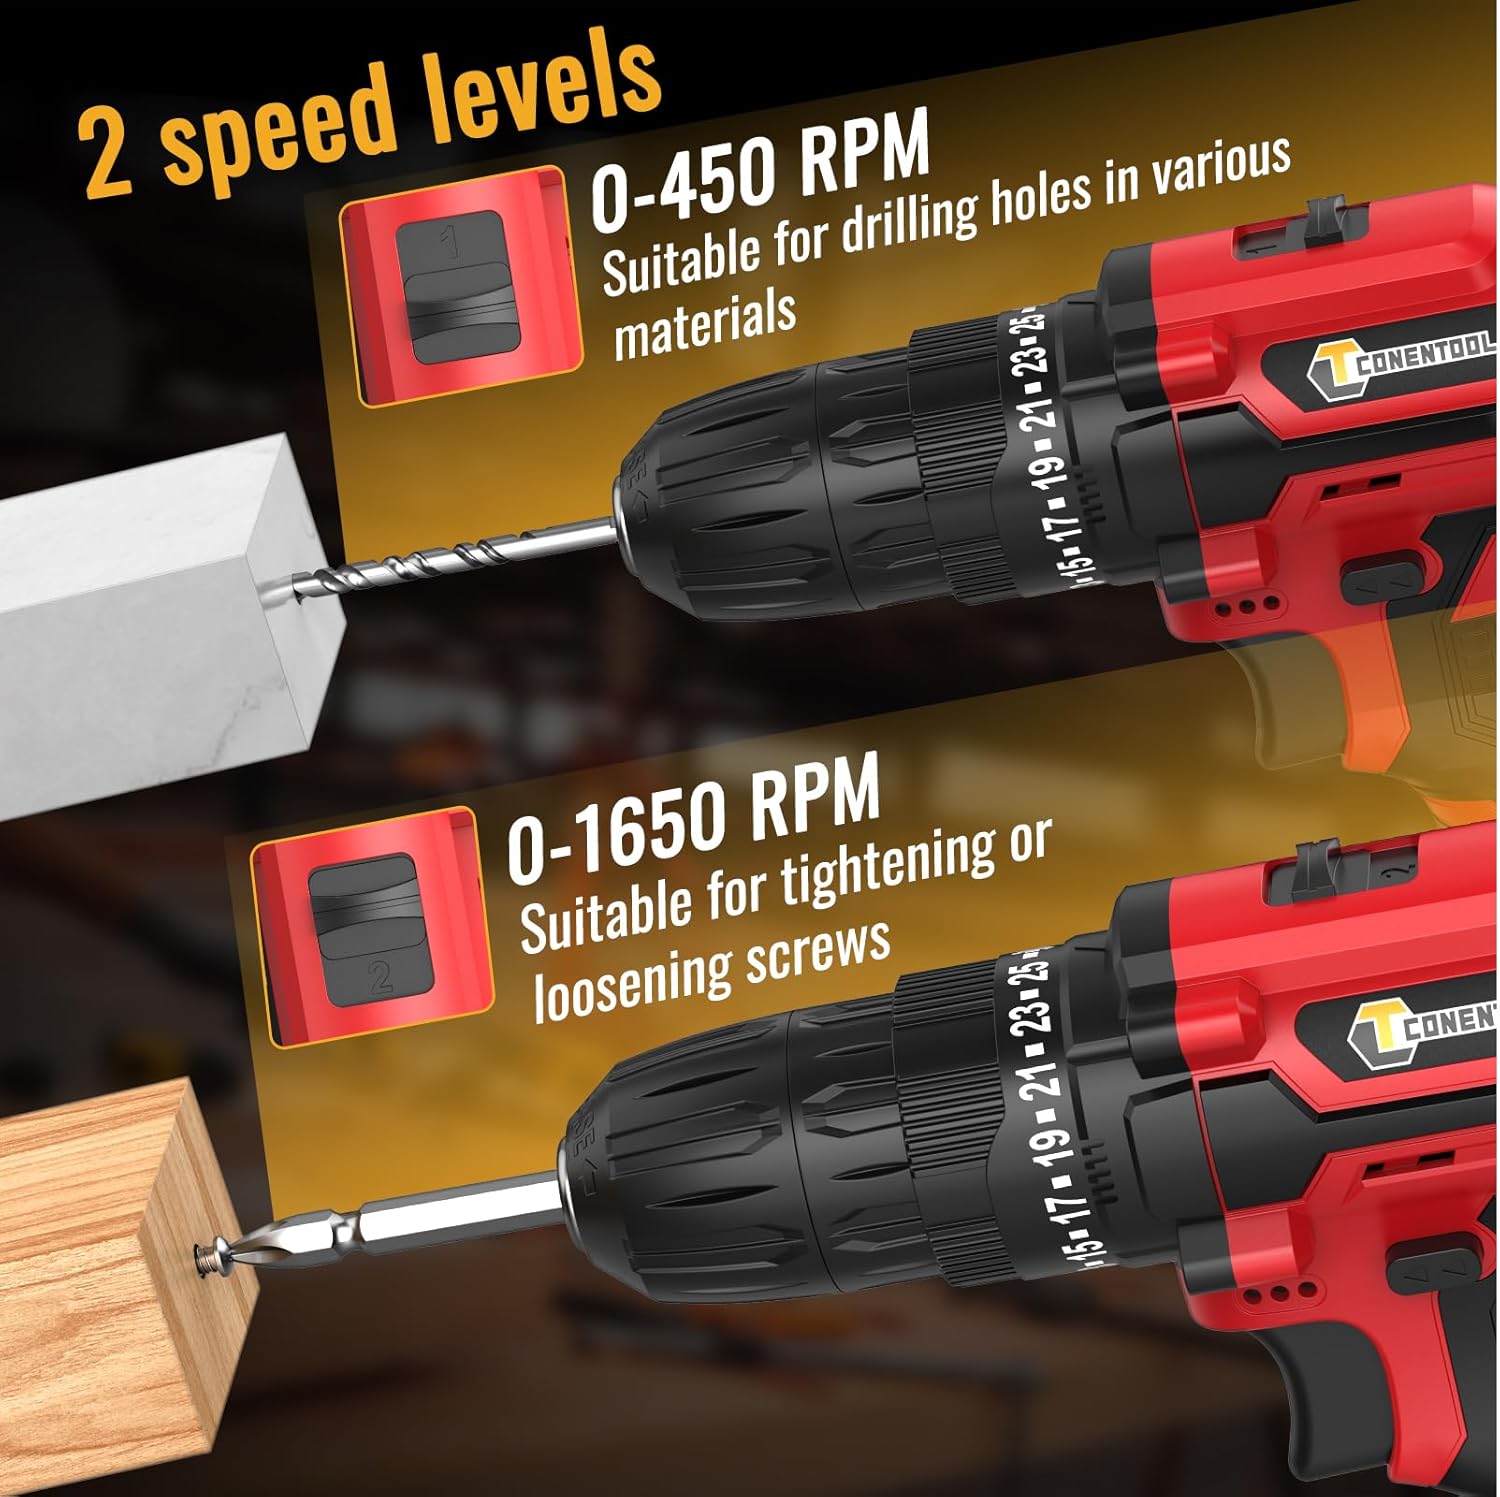
Image: A visual representation of the two-speed levels: 0-450 RPM for drilling holes in various materials (Speed 1) and 0-1650 RPM for tightening or loosening screws (Speed 2).
- Speed 1 (Low, 0-450 RPM): Ideal for driving screws, larger diameter drilling, or applications requiring higher torque.
- Speed 2 (High, 0-1650 RPM): Suitable for smaller diameter drilling and applications requiring faster speed.
- Adjust the speed by sliding the gear selector switch located on top of the drill.
Adjusting Torque (Clutch Setting)

Image: A chart illustrating the drill's multifunctional capabilities, showing increasing torque/power levels suitable for screws, wood, ceramics, brick, concrete, and steel, with distinct settings for drilling and screwdriving.
- The torque adjustment ring is located behind the chuck. Rotate it to select the desired torque setting from 1 to 25.
- The higher the number, the greater the torque. Start with a lower setting and increase as needed to prevent overtightening or damaging the workpiece.
- Use the drill symbol setting for drilling applications, which provides maximum torque without clutch engagement.
Aurrera/Atzerako Funtzionamendua
- Push the forward/reverse selector switch (located above the trigger) to the left for forward rotation (drilling/driving screws).
- Alderantzizko biraketa egiteko (torlojuak kentzeko) etengailua eskuinera bultzatu.
- For safety, place the switch in the center position to lock the trigger and prevent accidental starting.
Zulagailuaren funtzionamendua
- Ensure the correct bit is installed and the battery is charged.
- Select the appropriate speed and torque setting for your task.
- Jarri zulagailu-punta lan-piezan.
- Press the trigger to start the drill. The LED light will illuminate the work area.
- Egin presio etengabe eta uniformea. Ez behartu zulagailua.
- Askatu gatilloa zulagailua gelditzeko.
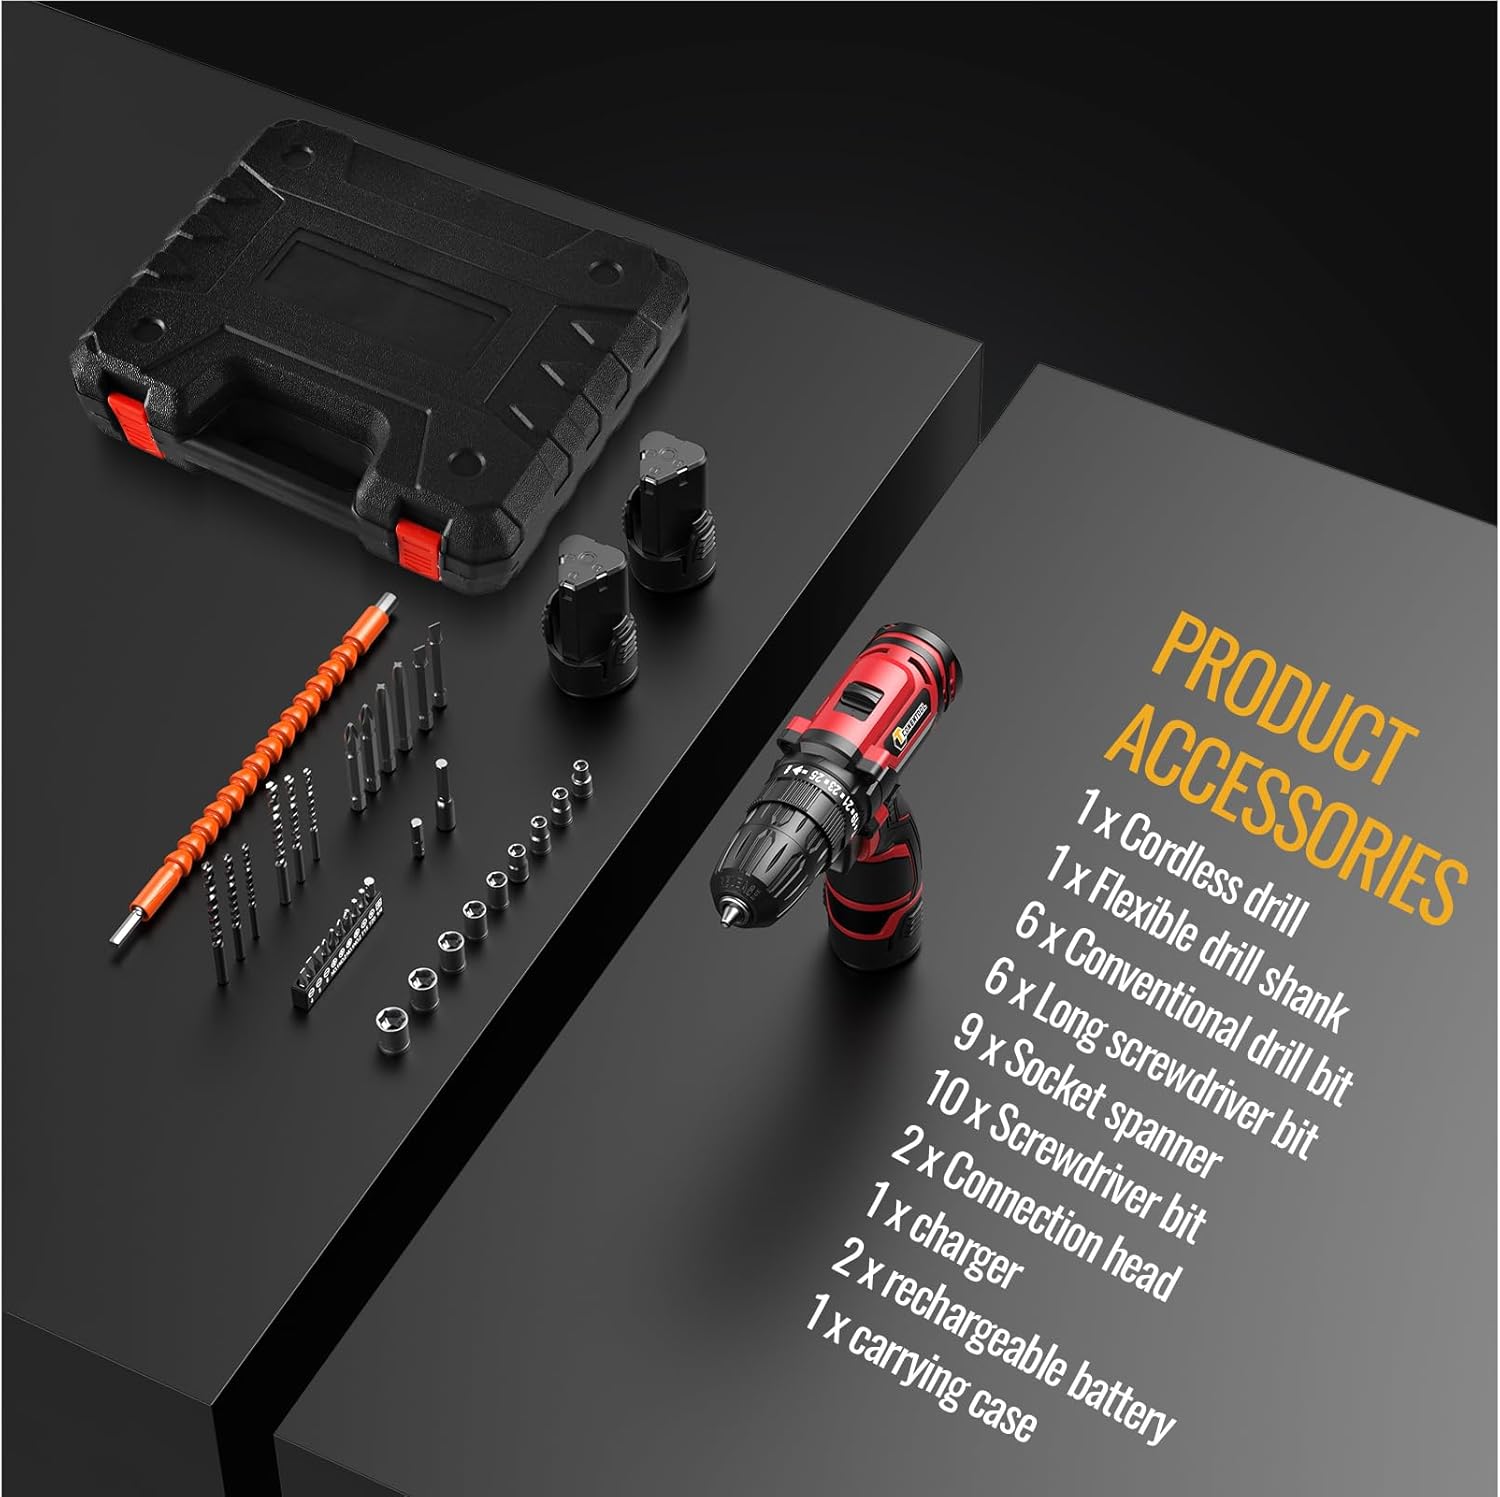
Image: A user demonstrating the versatility of the CONENTOOL drill, shown both drilling into wood and driving a screw into a wall, illustrating its practical application.
Mantentzea
Garbiketa orokorra
- Deskonektatu beti bateria-paketea garbitu aurretik.
- Garbitu tresna zapi garbi batekin, damp oihal. Ez erabili produktu kimiko gogorrak edo garbitzaile urratzaileak.
- Mantendu aireztapen-irekidurak hauts eta hondakinik gabe gehiegi berotzea saihesteko. Erabili aire konprimatua beharrezkoa bada.
Bateria zaintzea
- Gorde bateriak leku fresko eta lehor batean, eguzki-argitik eta muturreko tenperaturatik urrun.
- Ez gorde bateriak deskargatuta denbora luzez. Kargatu itzazu aldian-aldian erabiltzen ez badituzu.
- Ez jarri zirkuitulaburra bateriaren terminalak.
Osagarrien Zainketa
- Clean drill bits and screwdriver bits after use.
- Store accessories in the provided carrying case to prevent damage and loss.
Arazoak konpontzea
| Arazoa | Kausa posiblea | Irtenbidea |
|---|---|---|
| Zulagailua ez da abiarazten | Battery not charged or not properly installed. Forward/reverse switch in center (locked) position. | Charge battery fully. Reinstall battery securely. Move forward/reverse switch to desired direction. |
| Funtzionamenduan potentzia galtzea | Bateria gutxi dago. Gainkarga-babesa aktibatuta. | Recharge battery. Reduce pressure or use a higher torque setting. |
| Zati bat dardarka edo erortzen da | Chuck not tightened properly. Bit shank is damaged. | Estutu berriro matxarda ondo. Ordeztu hondatutako punta. |
| Gehiegi berotzea | Erabilera intentsiboa etengabe. Aireztapena blokeatuta. | Utzi tresna hozten. Garbitu aireztapen-irekidurak. |
Zehaztapenak
| Ezaugarri | Xehetasuna |
|---|---|
| Modelo zenbakia | CR-314 |
| liburukiatage | 12 Volt |
| Max Torque | 35 Nm |
| Kargarik gabeko abiadura (baxua) | 0-450 RPM |
| Kargarik gabeko abiadura (handia) | 0-1650 RPM |
| Enbragearen ezarpenak | 25+1 |
| Chuck Tamaina | 3/8" (10mm) Keyless |
| Bateria mota | Litio-ioi |
| Bateria Edukiera | 2000 mAh (2x included) |
| Pisua | 2.13 kg (bateriarekin) |
| Neurriak (L x W x H) | 31 x 25 x 9 cm |
Osagarriak barne

Image: A display of all accessories included in the kit, such as the cordless drill, flexible drill shank, various drill bits, screwdriver bits, socket spanner, connection head, charger, rechargeable batteries, and carrying case.
- 1 x Cordless Drill
- 1 x Flexible Drill Shank
- 6 x Conventional Drill Bits
- 6 x Bihurkin luzeko puntak
- 9 x Socket Spanners
- 10 x bihurkin Bits
- 2 x Connection Heads
- 1 x Kargagailua
- 2 x Rechargeable Batteries (2000 mAh each)
- 1 x Maleta garraiatzeko
Bermea eta Laguntza
CONENTOOL is committed to providing high-quality products. For any questions regarding your product, please refer to the seller's contact information or Amazon's customer service.
While specific warranty details are not provided in this manual, most products come with a standard manufacturer's warranty against defects in materials and workmanship. Please retain your proof of purchase for any warranty claims.
For further assistance or technical support, please contact the seller Zhen Hui Xiang EU through the Amazon platform.


