Jaguar 190S josteko makina elektronikoaren erabiltzailearen eskuliburua
Eredua: 190S
Sarrera
This manual provides comprehensive instructions for the safe and efficient operation, setup, and maintenance of your Jaguar 190S Electronic Sewing Machine. Designed for both beginners and experienced users, the Jaguar 190S offers a wide range of features for various sewing and quilting projects. Please read this manual thoroughly before using the machine to ensure optimal performance and longevity.
1. Konfigurazioa
1.1 Desontziratzea eta kokatzea
- Kontu handiz atera makina bere paketetik.
- Place the machine on a stable, flat surface. Ensure adequate space around the machine for comfortable operation.
- Connect the foot pedal and power cord to the machine and a suitable power outlet (220 Volts).

1. irudia: Aurrealdea view of the Jaguar 190S Electronic Sewing Machine. This image shows the main body of the machine, including the needle area, presser foot, stitch selection panel, and LCD screen.
1.2 Bobina harilkatzea
- Jarri hari-bobina bat biribilgailuaren gainean.
- Gidatu haria goiko hari-gidatik eta bobina-hazteko tentsio-diskoaren inguruan.
- Jarri bobina huts bat bobina-hariztailearen ardatzean.
- Wrap the thread clockwise a few times around the bobbin.
- Bultza ezazu bobina-hazgailuaren ardatza eskuinera.
- Start the machine (using the foot pedal or start/stop button) to wind the bobbin. Stop when the bobbin is full.
- Moztu haria eta bultzatu ardatza ezkerrera.
1.3 Makina hariztatzea
- Goratu prentsa oinaren palanka.
- Jarri hari-bobina bobinaren ardatzean.
- Follow the numbered threading path indicated on the machine, ensuring the thread passes through all guides and the take-up lever.
- Use the automatic needle threader for quick and easy needle threading.
- Insert the wound bobbin into the bobbin case, ensuring the thread feeds correctly through the tension spring.
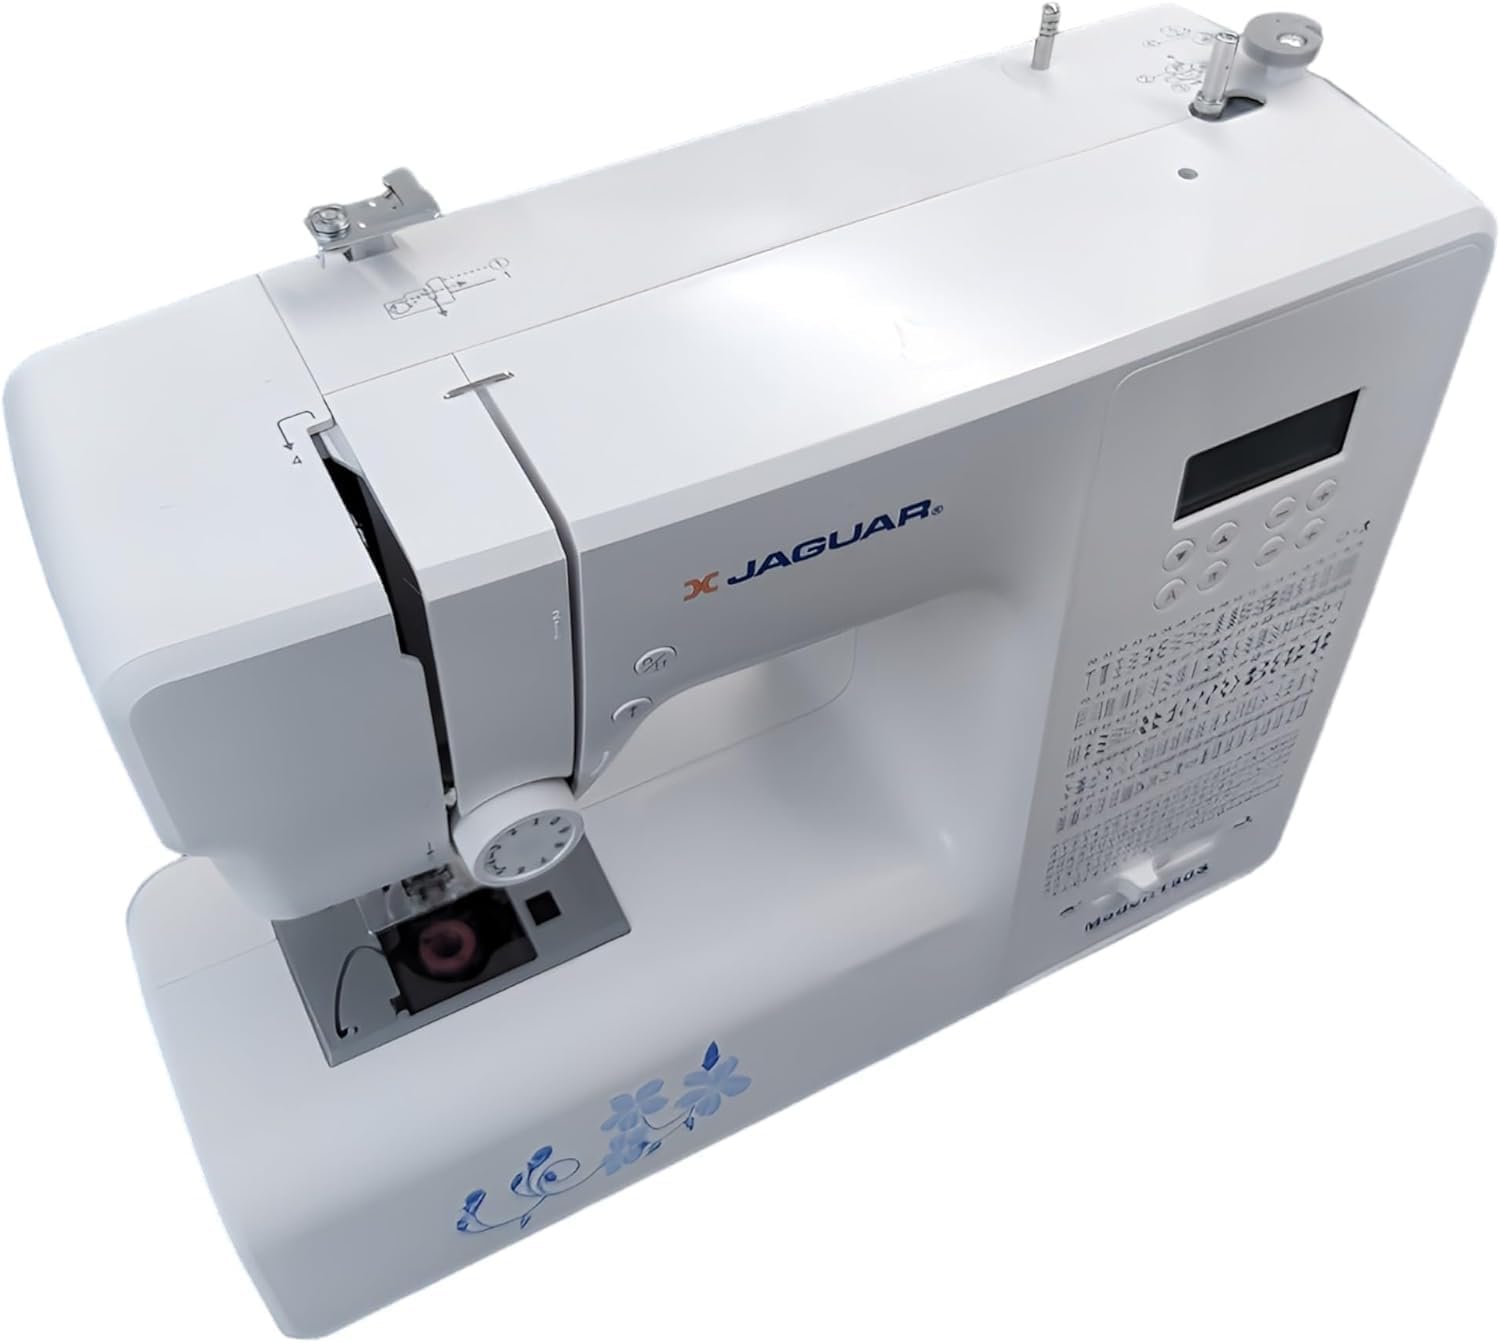
2. irudia: Goitik behera view of the Jaguar 190S, illustrating the upper threading path and bobbin winding area. This view helps in understanding how to correctly thread the machine.
1.4 Attaching the Needle
- Biratu bolantea orratza bere posizio gorenera igotzeko.
- Askatu orratza clamp torlojua.
- Insert the new needle with the flat side facing the back of the machine, pushing it up as far as it will go.
- Orratza clamp torlojuak ongi.
1.5 Attaching the Presser Foot
- Goratu prentsa-oina.
- Press the release button on the back of the presser foot holder to remove the current foot.
- Align the desired presser foot with the holder and lower the presser foot lifter until it snaps into place.
2. Funtzionamendu-argibideak
2.1 Oinarrizko kontrolak
- LCD pantaila: Displays selected stitch number, length, and width.
- Stitch Selection Buttons: Use the '+' and '-' buttons to navigate through the 200 available stitches.
- Speed Control Slider: Adjusts sewing speed from 150 to 700 stitches per minute.
- Hasi / Gelditu botoia: Operates the machine without the foot pedal.
- Alderantzizko botoia: For reinforcing stitches at the beginning and end of seams.
- Needle Up/Down Button: Positions the needle either fully up or fully down.
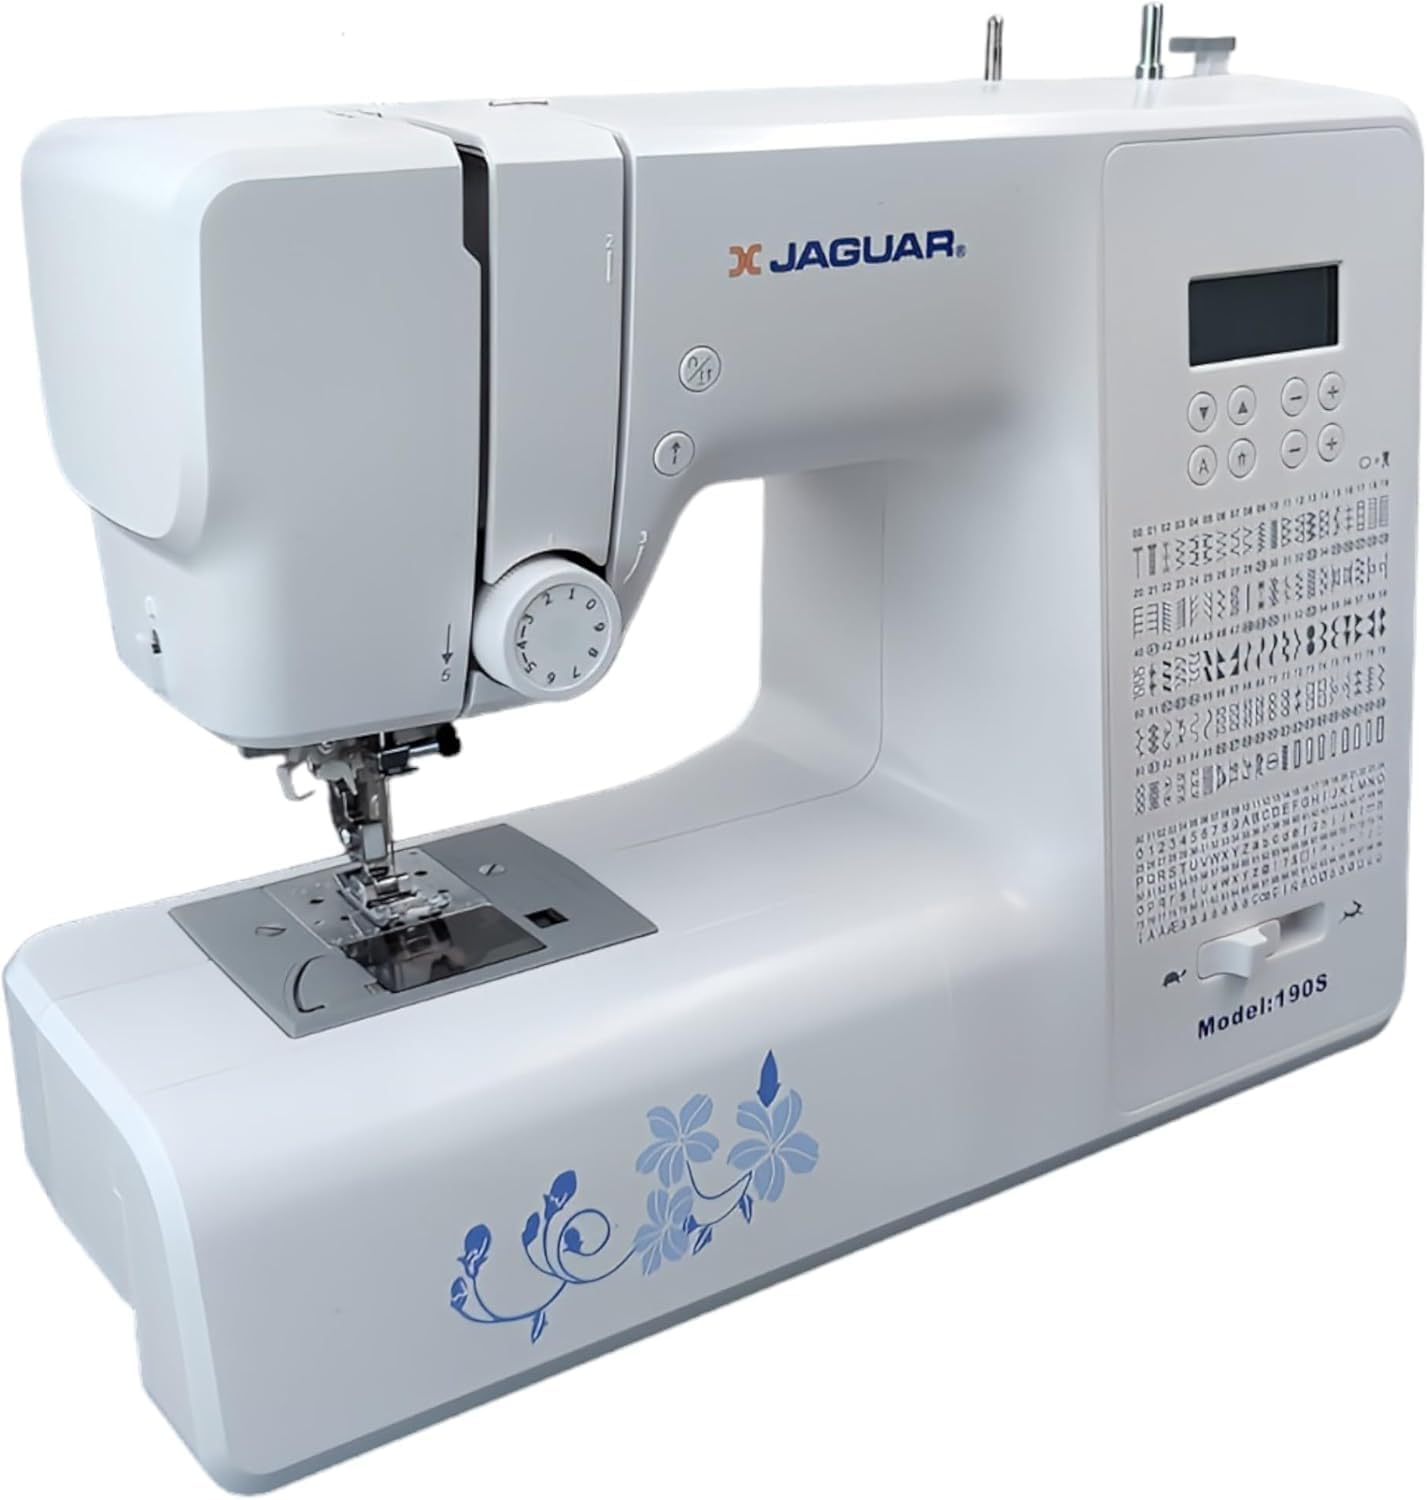
Figure 3: Close-up of the Jaguar 190S control panel and LCD screen. This image highlights the buttons for stitch selection, speed control, and needle positioning.
2.2 Puntuen hautaketa eta doikuntza
- Turn on the machine. The default stitch (usually a straight stitch) will appear on the LCD.
- Use the stitch selection buttons to choose from the 200 built-in stitches, including utility, decorative, and alphanumeric options.
- The machine automatically sets optimal stitch length and width for the selected stitch. These can be manually adjusted using dedicated buttons if desired (Length: 0-7mm, Width: 0-4.5mm).
2.3 Orratz-hari automatikoa
- Ziurtatu orratza bere posiziorik altuenean dagoela.
- Lower the needle threader lever completely.
- Guide the thread as instructed by the markings near the needle.
- Release the lever slowly; a loop of thread will be pulled through the needle eye.
2.4 Botoi-zulo automatikoak
- Attach the one-step buttonhole foot.
- Place the button you intend to use into the buttonhole foot's size guide.
- Select one of the 8 automatic buttonhole styles from the stitch menu.
- Behera botoi-palanka jaitsi.
- Start sewing; the machine will automatically create the buttonhole to the correct size.
2.5 Free-Motion Sewing and Quilting
- To engage free-motion sewing or quilting, lower the feed dogs using the lever located at the back of the needle plate area.
- Attach a darning or free-motion quilting foot (not included, may be purchased separately).
- Manually guide the fabric to create your desired stitches.
2.6 Hari-tentsioa doitzea
- The machine features an adjustable thread tension lever.
- Adjust the tension setting based on the fabric type and thread used. Correct tension results in balanced stitches on both sides of the fabric.
- Test on a scrap piece of fabric before sewing your project.
3. Mantentzea
3.1 Makina garbitzea
- Deskonektatu beti makina garbitu aurretik.
- Regularly clean lint and dust from the bobbin area, feed dogs, and needle plate using the provided brush.
- Wipe the exterior of the machine with a soft, dry cloth. Avoid using harsh chemicals.
3.2 Orratza aldatzea
- Change the needle frequently, especially after 8-10 hours of sewing or if it becomes bent or dull. A dull needle can cause skipped stitches or fabric damage.
- Refer to section 1.4 for detailed instructions on attaching a new needle.
3.3 Biltegiratzea
- When not in use, cover the machine to protect it from dust.
- Gorde leku lehor eta fresko batean, eguzki-argitik urrun.
4. Arazoak
Atal honek aurki ditzakezun arazo ohikoenak jorratzen ditu. Hemen zerrendatzen ez diren arazoetarako, jarri harremanetan bezeroarentzako arreta-zerbitzuarekin.
4.1 Saltatutako puntuak
- Ensure the needle is inserted correctly and is not bent or dull. Replace if necessary.
- Check that the machine is properly threaded, both upper and bobbin threads.
- Use the correct needle type and size for your fabric.
4.2 Thread Breaking
- Verify correct threading and bobbin winding.
- Adjust upper thread tension. Too high tension can cause thread breakage.
- Egiaztatu orratz-plakan edo bobina-euskarrian bizarra edo puntu zakarrak dauden.
- Ensure the needle is not bent or dull.
4.3 Uneven Stitches / Poor Stitch Quality
- Check and adjust thread tension for both upper and bobbin threads.
- Ensure the machine is threaded correctly.
- Erabili kalitate oneko haria.
- Clean the bobbin area from lint and debris.
5. Zehaztapenak
| Ezaugarri | Xehetasuna |
|---|---|
| Marka | JAGUAR |
| Modelo zenbakia | 190S |
| Stitch Programs | 200 (including 100 alphanumeric, 8 automatic buttonholes) |
| Puntuaren luzera | 0 mm - 7 mm |
| Puntuaren zabalera | 0 mm - 4.5 mm |
| Orratz Threader | Automatikoa |
| Bobbin Sistema | Quick-insert horizontal hook with automatic winding |
| Bistaratzea | Atzeko argiztatutako LCDa |
| Abiadura Kontrola | Electronic, 150 to 700 stitches/minute |
| Argiztapena | LED integratua |
| Boterea | 35 Watt |
| liburukiatage | 220 Volt |
| Neurriak (L x W x H) | 43 x 23 x 35 cm (gutxi gorabehera 16.9 x 9.1 x 13.8 hazbete) |
| Pisua | 5 kilogramo (gutxi gorabehera 11 lb) |
| Materiala | Plastikoa |
6. Osagarriak barne
The Jaguar 190S comes with a comprehensive set of accessories to get you started:
- Standard Zigzag Foot
- One-Step Buttonhole Foot
- Satin Stitch Oina
- Itsua Hem Oina
- Botoi josteko oina
- Electronic Foot Pedal
- Needles (3 pieces)
- Orratz bikia
- Spool Cap
- Bobbin Holder
- Screwdrivers (small + for needle plate)
- Bobbins (4 total, one pre-installed)
- Spool Pin laguntzailea
- Seam Ripper / Brush

Figure 4: A selection of the accessories included with the Jaguar 190S, such as various presser feet, bobbins, needles, and the foot pedal.
7. Bermea eta Laguntza
Your Jaguar 190S Electronic Sewing Machine is covered by a 1 urteko bermea for parts and manufacturing defects. Please retain your proof of purchase for warranty claims.
For technical assistance, troubleshooting beyond this manual, or warranty service, please contact your retailer or the official Jaguar customer support. Contact information can typically be found on the product packaging or the manufacturer's webgunea.


