1. Sarrera
Thank you for choosing the ChunHee Wireless Intercom System. This system provides a reliable and convenient solution for two-way communication within your home, office, or during outdoor activities. Designed for ease of use, it facilitates clear communication over long distances, making it ideal for various scenarios including assisting the elderly, communicating with children, or coordinating tasks in a workspace. This manual will guide you through the setup, operation, and maintenance of your intercom system.
The ChunHee Wireless Intercom System is designed for easy communication within homes or other environments, providing a simple way to connect with family members or colleagues.
2. Paketearen edukia
Mesedez, egiaztatu paketea elementu guztiak daudela ziurtatzeko:
- ChunHee Wireless Intercom Unit(s)
- Kargatzeko kablea
- Power Plug (Adapter)
- Bateria kargagarria (aurrez instalatuta edo bereizita)
- Erabiltzailearen eskuliburua (dokumentu hau)
3. Produktua amaitu daview
Familiarize yourself with the components and dimensions of your ChunHee Wireless Intercom System.

This diagram labels the key components of the intercom unit, including the antenna, flashlight, indicator light, PTT buttons, microphone, power button, volume keys, headphone jack, write frequency jack, charging jack, and speaker.

The image displays the front, back, and side views of the intercom unit, along with its approximate dimensions: 10.6 cm height, 5.3 cm width, and 1.7 cm thickness.
4. Konfigurazioa
4.1 Bateriaren instalazioa eta kargatzea
Your intercom unit is powered by a rechargeable battery. Before first use, ensure the battery is fully charged.
- If the battery is not pre-installed, open the battery compartment cover on the back of the unit and insert the battery, ensuring correct polarity. Close the cover securely.
- Connect the charging cable to the charging jack on the intercom unit and the power plug. Plug the power plug into a standard electrical outlet.
- Adierazle-argia piztuko da gorria during charging. Once fully charged, the light will turn urdina.
- Karga oso batek normalean 3-4 ordu inguru behar ditu.

The intercom unit is shown connected to a wall charger via its charging cable, indicating the charging process.
4.2 Piztu/Itzali
To power on the unit, press and hold the Power button (usually combined with the Lighting Key, as shown in the Product Overview diagram) until you hear a tone or see the indicator light illuminate. To power off, press and hold the same button until the unit shuts down.
4.3 Kanalaren hautaketa
Your intercom system operates on 16 available channels. For communication between units, all intercoms must be set to the same channel. Use the 'Up Key' and 'Down Key' (often labeled with arrows) to select your desired channel. The current channel number may be indicated by voice prompt or a small display if available on your model.

This diagram shows how multiple intercom units can be used across different rooms in a house, such as the kitchen, living room, bedroom, wardrobe room, and work room, demonstrating the system's 1.5-mile working range and channel compatibility.
5. Funtzionamendu-argibideak
5.1 Sakatu eta hitz egin (PTT) funtzioa
The intercom system features dual PTT keys for convenient operation:
- Front PTT Key: A large, round button on the front of the unit, designed for easy pressing with your thumb.
- Side PTT Key: A traditional button located on the side of the radio for alternative push-to-talk operation.
To transmit your voice, press and hold either PTT key. Speak clearly into the microphone. Release the PTT key to listen for a response. The indicator light will typically turn gorria when transmitting and berdea when receiving.

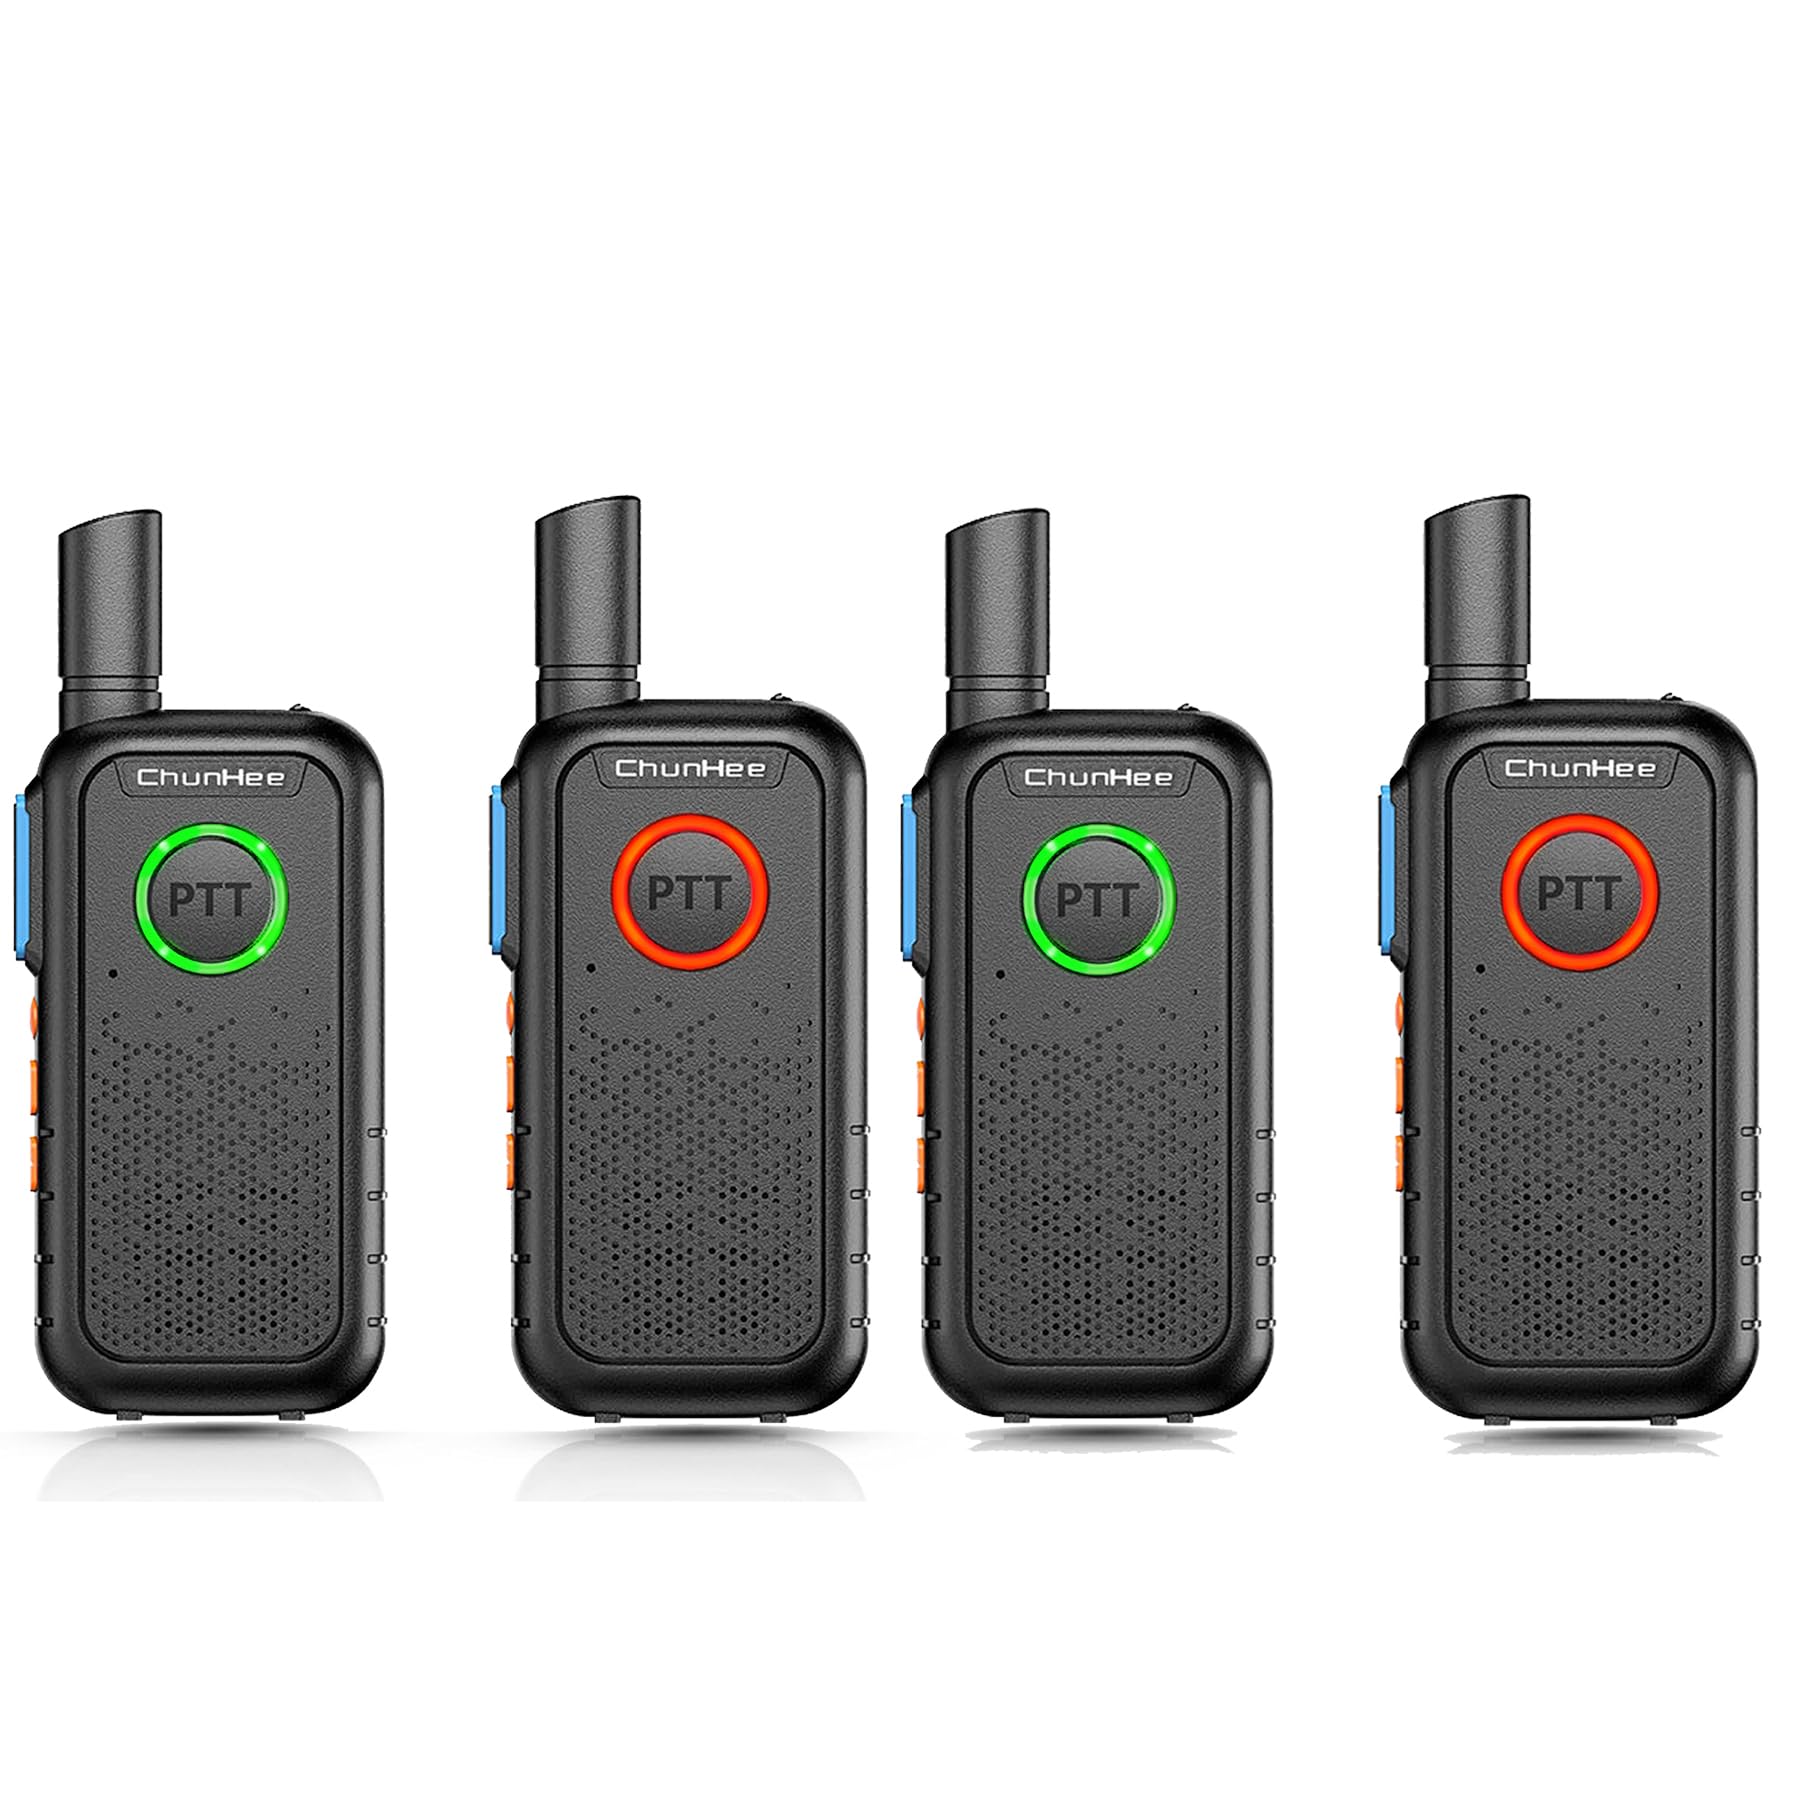
This image demonstrates the PTT button's light changing color to indicate communication status: green for receiving a signal and red for transmitting.
5.2 Bolumenaren doikuntza
Use the 'Up Key' and 'Down Key' (often labeled with arrows) to increase or decrease the listening volume. Adjust to a comfortable level for clear audio.
5.3 Monitorearen funtzioa
The 'Up Key' may also function as a Monitor Key. Pressing this key can temporarily disable squelch, allowing you to listen to weak signals or monitor a channel for activity without having to transmit.
5.4 VOX Funtzioa
The 'Down Key' may also activate the Voice Operated Exchange (VOX) function. When VOX is enabled, the intercom will automatically transmit when it detects your voice, without needing to press the PTT button. Refer to your unit's specific voice prompts or display for VOX activation and sensitivity settings.
5.5 Linternaren funtzionamendua
Your intercom unit includes a built-in flashlight. Press the 'Power button + Lighting Key' (as indicated in the Product Overview diagram) to turn the flashlight on or off. This feature is useful in low-light conditions.

The intercom unit is shown with its integrated flashlight emitting light, highlighting this additional feature.
5.6 Adierazle-argiaren egoera
The PTT button's breathing light provides visual feedback on the unit's status:
- Argi berdea: Indicates the unit is in standby mode or receiving a signal.
- Argi gorria: Indicates the unit is transmitting or the battery is low.
- Argi urdina: Indicates the battery charging process is complete.

This image illustrates the different colors of the PTT button's breathing light: green for standby, red for charging, and blue for finished charging.
6. Mantentzea
6.1 Garbiketa
To clean your intercom unit, use a soft, damp cloth. Do not use harsh chemicals, solvents, or abrasive cleaners, as these can damage the device's surface or internal components. Ensure the unit is powered off and disconnected from any power source before cleaning.
6.2 Bateria zaintzea
Bateriaren iraupena luzatzeko:
- Saihestu bateria maiz erabat deskargatzea.
- Charge the battery regularly, even if the unit is not in frequent use.
- Gorde unitatea leku fresko eta lehor batean denbora luzez erabiltzen ez duzunean.
- Ez jarri bateria muturreko tenperaturetara.
7. Arazoak
If you encounter issues with your intercom system, please refer to the following common problems and solutions:
| Arazoa | Kausa posiblea | Irtenbidea |
|---|---|---|
| Unitatea ez da pizten | Bateria gutxi edo agortuta | Charge the battery fully. Ensure the charging cable and adapter are properly connected. |
| Soinurik ez edo soinu ahula | Volume too low; Units on different channels; Out of range | Increase volume. Ensure all units are on the same channel. Move closer to the other unit. |
| Ezin da transmititu edo jaso | PTT button not pressed/released; Units on different channels; Out of range; Battery low | Press and hold PTT to transmit, release to receive. Verify channel settings. Reduce distance between units. Charge battery. |
| Komunikazio tarte laburra | Obstructions (walls, metal structures); Environmental interference; Low battery | Move to an open area. Avoid dense obstructions. Ensure battery is fully charged. |
8. Zehaztapenak
| Ezaugarri | Zehaztapena |
|---|---|
| Marka | ChunHee |
| Modelo zenbakia | WT11-US-4 |
| Energia iturria | Bateriaren bidez |
| Konektibitate Teknologia | Haririk gabekoa |
| Kontrol-metodoa | Buttons (Touch) |
| Neurriak (H x W x D) | 10.6 cm x 5.3 cm x 1.7 cm (gutxi gorabehera 4.17 x 2.09 x 0.67 hazbete) |
| Eragiketa-eremua | Up to 1.5 Miles (approx. 8000 feet) in open areas |
| Kanalak | 16 |
| Bateria Edukiera | 1000mAh |
| Dakarten osagaiak | Charging Cable, Power Plug, Battery |
| Ziurtagiriak | FCC Ziurtagiria |
9. Bermearen informazioa
ChunHee products are manufactured to high-quality standards. For specific warranty details, including coverage period and terms, please refer to the warranty card included with your purchase or contact ChunHee customer support. Keep your purchase receipt as proof of purchase for warranty claims.
10. Laguntza
If you have any questions, require technical assistance, or need further support regarding your ChunHee Wireless Intercom System, please contact our customer service team. Contact information can typically be found on our official webgunean edo produktuaren ontzian.
Lineako laguntza: Visit the ChunHee official webmaiz egiten diren galderen eta laguntza-baliabideen gunea.
Posta elektronikoko laguntza: [Insert Customer Support Email Address Here, if available]
Telefono-laguntza: [Txertatu Bezeroarentzako Arreta Telefono Zenbakia hemen, baldin badago]


