1. Sarrera
Thank you for choosing the HOMVILLA Digital Alarm Clock. This device is designed to provide reliable timekeeping and alarm functions with user-friendly features such as a large LED display, adjustable brightness, dual alarms, and a convenient USB charging port. Please read this manual carefully to ensure proper use and to maximize the lifespan of your product.
2. Segurtasun informazioa
- Ez jarri gailua tenperatura altuen, eguzki-argiaren eraginpean edo hezetasun handiaren eraginpean.
- Saihestu gailua kolpe gogorrak erortzea edo jasaten.
- Erabili emandako korronte-egokitzailea eta USB kablea soilik.
- Mantendu gailua uretatik edo beste likidoetatik urrun.
- Ez saiatu gailua zeuk desmuntatzen edo konpontzen. Jarri harremanetan bezeroarentzako arreta-zerbitzuarekin arazorik izanez gero.
- Remove the protective film from the display before first use.
3. Paketearen edukia
Mesedez, egiaztatu paketea elementu hauek dituen:
- HOMVILLA Digital Alarm Clock
- USB kargatzeko kablea
- Elikatze-moldagailua
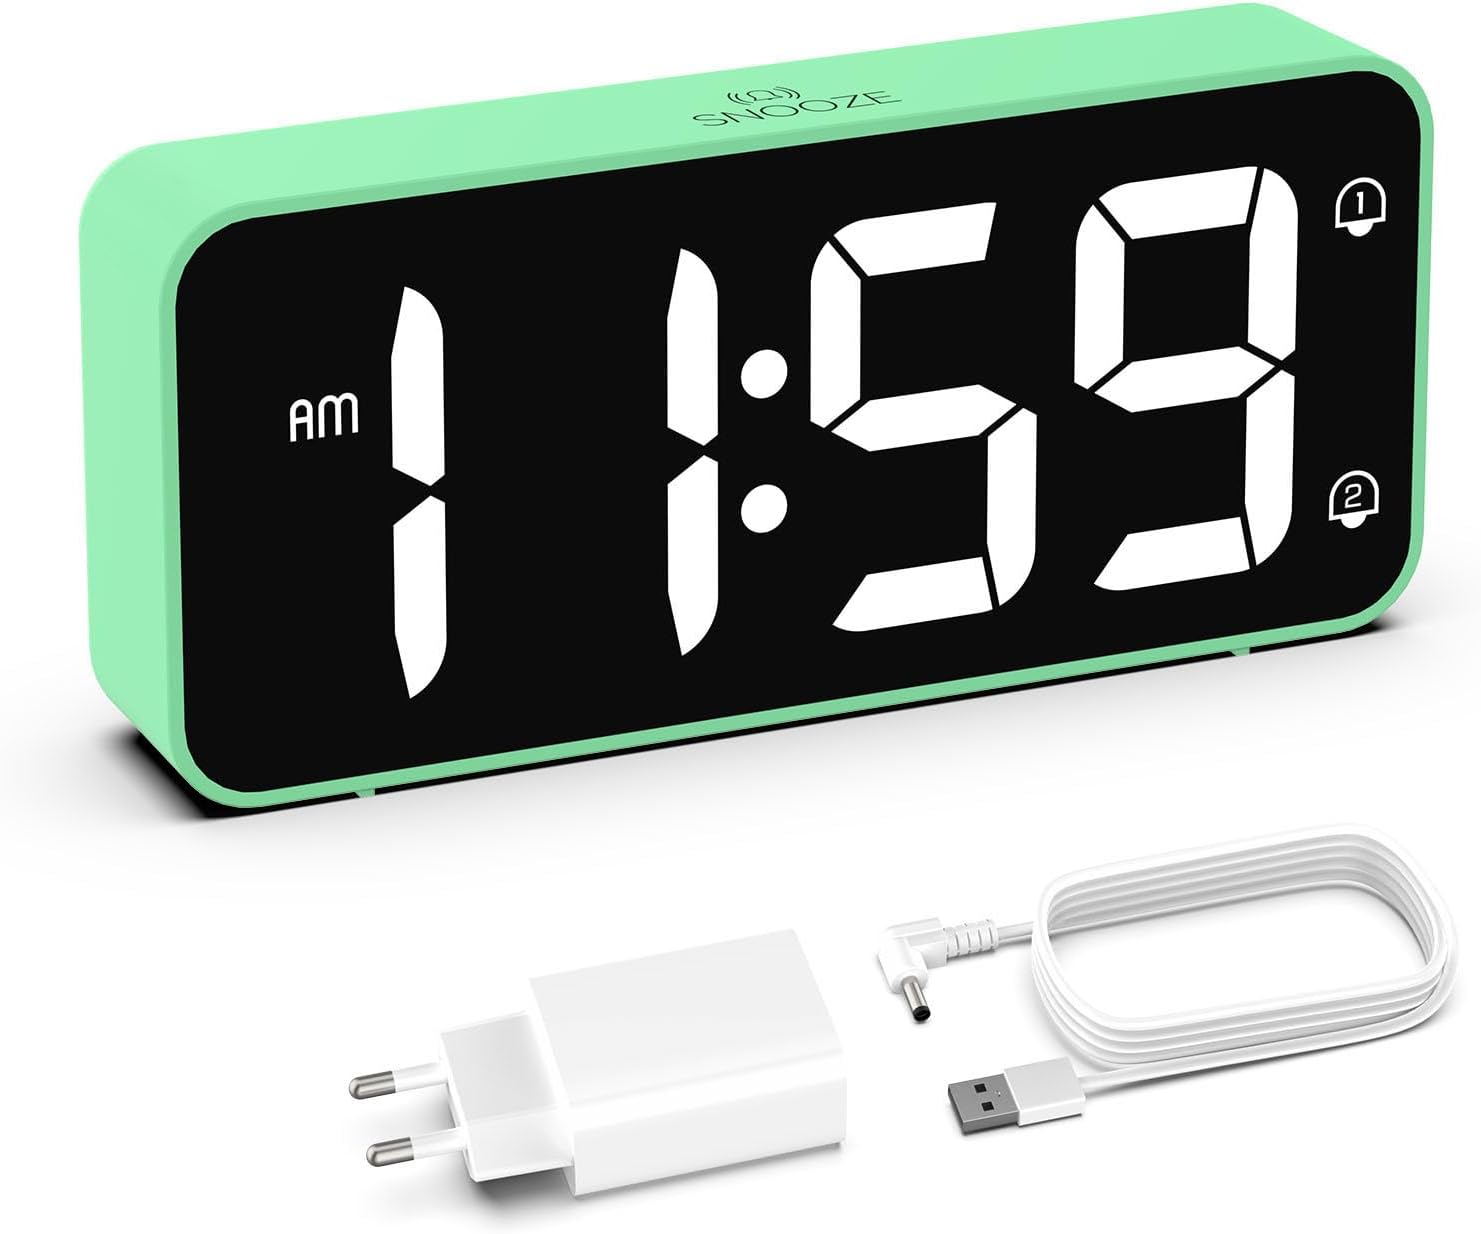
Image: The HOMVILLA Digital Alarm Clock, its USB charging cable, and the power adapter included in the package.
4. Produktua amaitu daview
The HOMVILLA Digital Alarm Clock features a large LED display and intuitive controls. Familiarize yourself with the various components and buttons:

Image: A detailed diagram illustrating the front display and rear control panel of the alarm clock, with labels for each button, port, and dimension.
Aurrealdeko pantaila:
- Denbora bistaratzea: Large LED digits for current time.
- AM/PM adierazlea: For 12-hour format.
- Alarm 1 Indicator: Icon to show Alarm 1 is active.
- Alarm 2 Indicator: Icon to show Alarm 2 is active.
- DST adierazlea: Icon to show Daylight Saving Time is active.
- Snooze Indicator: Icon to show snooze is active (top center).
Atzeko kontrol-panela:

Image: The back of the alarm clock, highlighting the scroll wheels for volume and dimmer, and the central control buttons.
- Bolumenaren desplazamendu-gurpila: Adjusts alarm volume (left side).
- Ordua Ezartzeko Botoia: Ordua ezartzeko moduan sartzen da.
- Gora botoia: Balioak handitzen ditu ezarpenan zehar.
- Behera botoia: Balioak gutxitzen ditu ezarpenan zehar.
- Alarma ezartzeko botoia: Alarma ezartzeko moduan sartzen da.
- Piztu/Itzali botoia: Turns alarms on or off.
- Dimmer Scroll Wheel: Adjusts display brightness (right side).
- Berrezarri botoia: Erlojua fabrikako balio lehenetsietara berrezartzen du.
- USB ataka: Kanpoko gailuak kargatzeko.
- DC portua: Potentzia sarrerarako.
- DST Button: Activates/deactivates Daylight Saving Time.
- Bateriaren konpartimendua: For backup batteries (2x AAA, not included).
5. Konfigurazioa
5.1 Energia-konexioa
- Connect the USB charging cable to the DC port on the back of the alarm clock.
- Entxufatu korronte-egokigailua entxufe elektriko estandar batean.
- The display will light up, indicating the clock is powered.

Image: The alarm clock connected to a wall outlet via its power adapter, placed on a bedside table.
5.2 Battery Installation (Memory Function)
Argindarra itzaltzean ordua eta alarma ezarpenak gordetzekotage, install two AAA batteries (not included) in the battery compartment.
- Ireki erlojuaren atzealdean dagoen bateriaren konpartimentuaren estalkia.
- Sartu bi AAA pila, polaritate zuzena ziurtatuz (+/-).
- Itxi bateriaren konpartimenduaren estalkia.
Note: Batteries only support the memory function and do not power the display or alarm functions independently. The clock must be connected to mains power for full operation.

Image: A four-panel diagram illustrating the installation of AAA batteries into the alarm clock and demonstrating how the time setting is preserved even when the main power is disconnected and reconnected.
6. Funtzionamendu-argibideak
6.1 Setting the Time (12/24-Hour Format)
- Eduki sakatuta Denbora Ezarria button on the back of the clock. The hour digits will flash.
- Erabili Up or Behera ordua doitzeko botoiak.
- Sakatu Denbora Ezarria botoia berriro sakatu ordua berresteko eta minutuen ezarpenera joateko. Minutuen digituak keinuka hasiko dira.
- Erabili Up or Behera minutuak doitzeko botoiak.
- Sakatu Denbora Ezarria button a third time to confirm the minutes and exit time setting mode.
- To switch between 12-hour and 24-hour format, briefly press the Denbora Ezarria button while the time is displayed (not in setting mode). The AM/PM indicator will appear for 12-hour format.
6.2 Alarma bikoitzak ezartzea
The clock supports two independent alarms (Alarm 1 and Alarm 2).
- Sakatu Alarma-multzoa button once to set Alarm 1. The Alarm 1 icon and hour digits will flash.
- Erabili Up or Behera alarma-ordua doitzeko botoiak.
- Sakatu Alarma-multzoa berriro ordua berresteko eta minutuen ezarpenera joateko. Minutuen digituak keinuka hasiko dira.
- Erabili Up or Behera botoiak alarmaren minutuak doitzeko.
- Sakatu Alarma-multzoa a third time to confirm Alarm 1 settings.
- 2. alarma ezartzeko, sakatu Alarma-multzoa button twice. Follow steps 1-5 for Alarm 2.
- To activate/deactivate an alarm, briefly press the Piztu/Desaktibatu button. The corresponding alarm icon (1 or 2) will appear/disappear on the display.

Image: Two separate scenarios illustrating the use of dual alarms, with one person waking at 8:20 and another at 14:30, highlighting the clock's ability to manage two distinct alarm times.
6.3 Snooze funtzioa
Alarma jotzen duenean, sakatu botoi handia Atzeratu button on the top of the clock to temporarily silence the alarm for 5 minutes. The alarm will sound again after 5 minutes. To turn off the alarm for the day, press any other button on the back of the clock.
Image: A person reaching to press the 'Snooze' button on the top of the alarm clock, which is placed on a bedside table.
6.4 Pantailaren distira doitzea
The display brightness can be adjusted from 5% to 100% to suit your preference, ensuring readability day and night without disturbance.
- Kokatu Dimmer Scroll Wheel on the right side of the back panel.
- Gently slide the wheel up or down to increase or decrease the display brightness.

Image: A graphic demonstrating the alarm clock's display brightness settings, showing the time '8:20' at 5%, 50%, and 100% illumination, with the clock itself shown below on a desk.
6.5 Alarmaren bolumena doitzea
The alarm volume can be adjusted from 90dB to 120dB.
- Kokatu Bolumenaren korritze gurpila on the left side of the back panel.
- Gently slide the wheel up or down to increase or decrease the alarm volume.
6.6 Selecting Alarm Sounds
The alarm clock offers 8 different alarm melodies to choose from.
- While in alarm setting mode (after setting the alarm time), press the Up or Behera buttons to cycle through the available alarm sounds.
- Sakatu Alarma-multzoa botoia zure hautaketa berresteko.
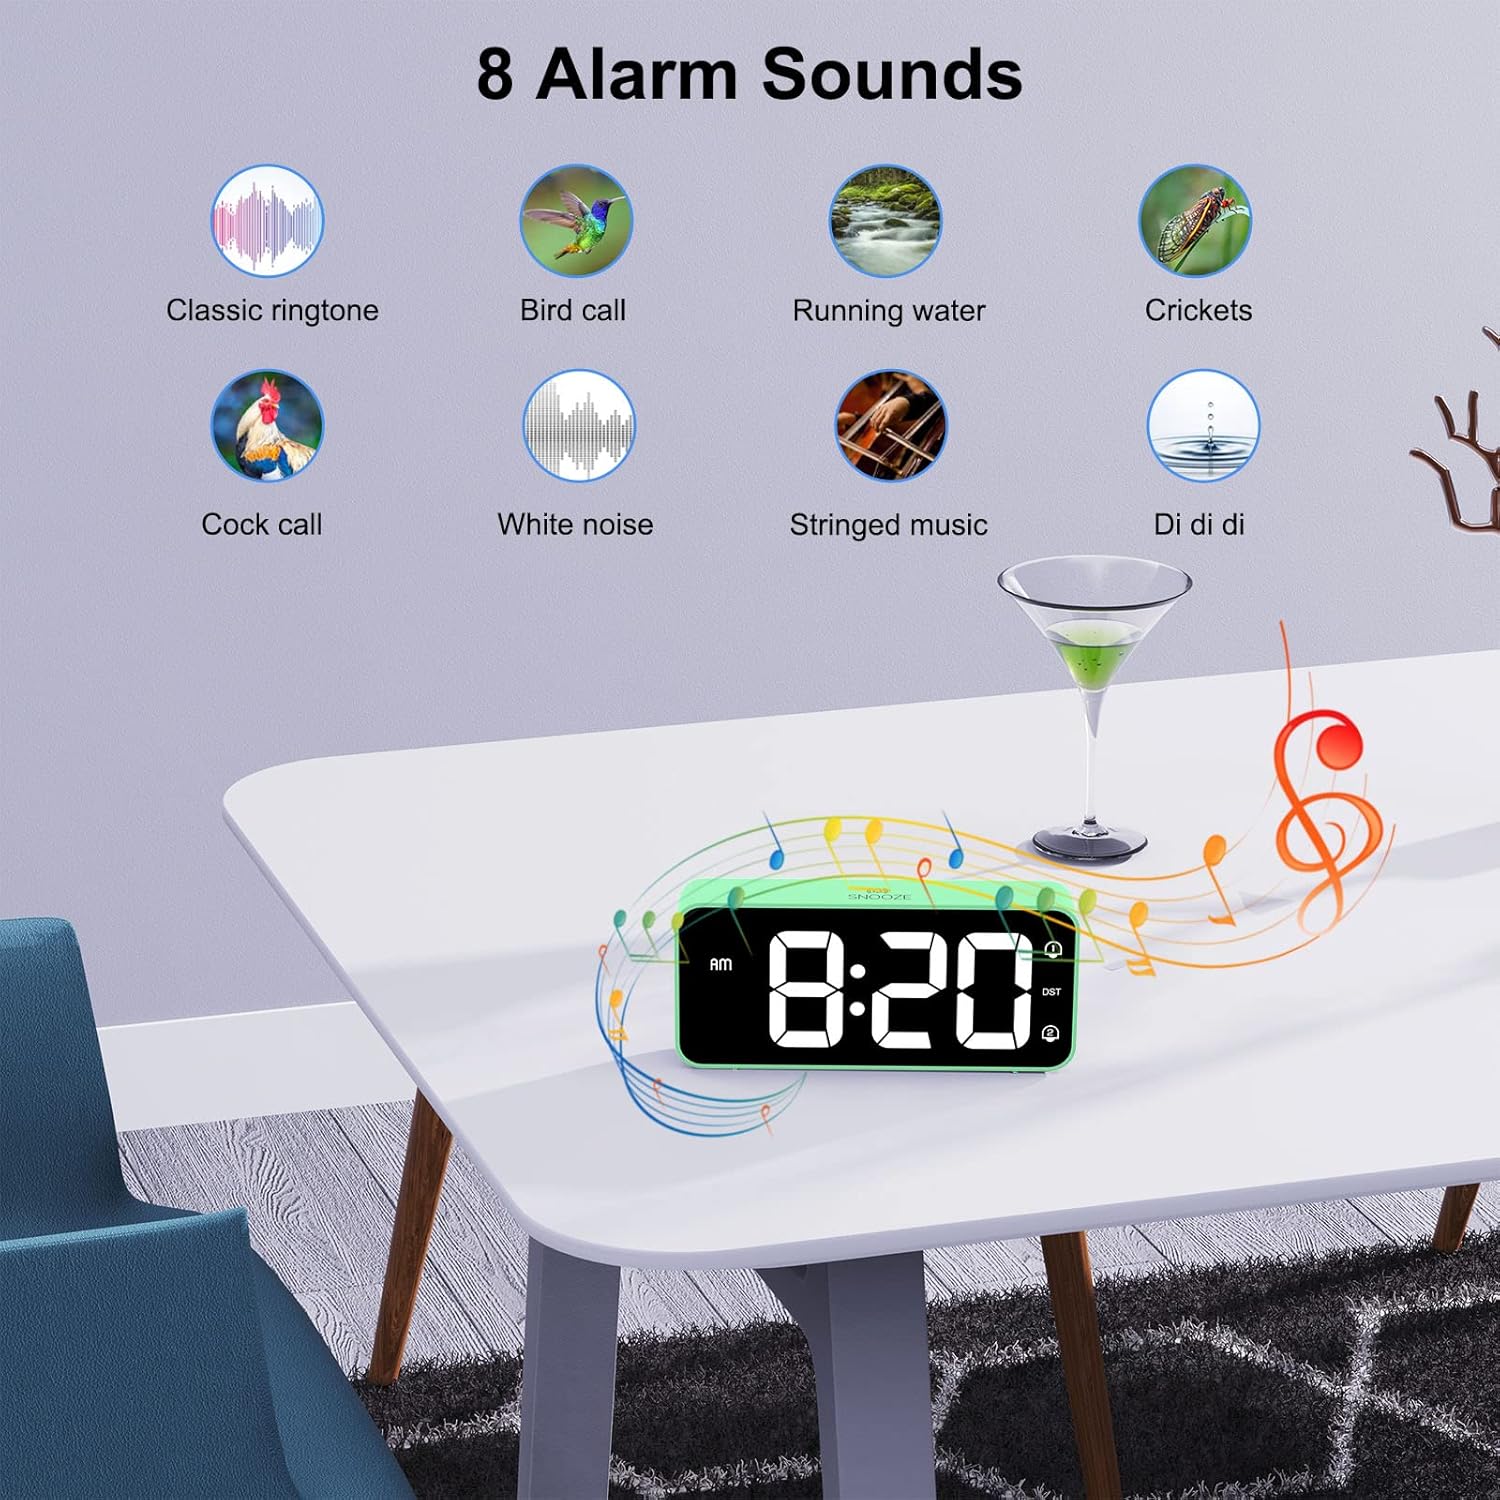
Image: A visual display of eight distinct alarm sound options, including classic ringtone, bird call, running water, crickets, cock call, white noise, stringed music, and a 'Di di di' sound, with the alarm clock shown on a table.
6.7 Udako Ordutegia (UdG)
Udako ordutegia aktibatzeko edo desaktibatzeko:
- Kokatu DST atzeko paneleko botoia.
- Sakatu DST button once to toggle DST on or off. The DST icon will appear/disappear on the display.
6.8 USB kargatzeko ataka
The alarm clock includes a USB port on the back for charging mobile phones or other small electronic devices.
- Connect your device's USB charging cable to the USB port on the alarm clock.
- Ensure the alarm clock is connected to mains power for the USB charging function to work.
7. Mantentzea
- Clean the clock's surface with a soft, dry cloth. Do not use abrasive cleaners or solvents.
- Ensure the ventilation openings are free from dust.
- If not in use for an extended period, disconnect the power adapter and remove the backup batteries.
8. Arazoak
| Arazoa | Kausa posiblea | Irtenbidea |
|---|---|---|
| Pantaila hutsik dago. | Ez dago energia konexiorik. | Ziurtatu korronte-egokitzailea erlojuan eta funtzionatzen duen entxufe batean ondo konektatuta dagoela. |
| Alarmak ez du jotzen. | Alarma ez dago aktibatuta edo bolumena baxuegia da. | Check if the alarm icon (1 or 2) is displayed. If not, activate it using the On/Off button. Adjust the volume using the Volume Scroll Wheel. |
| Ordua/ezarpenak berrezartzen dira energia itzaltzeantage. | Backup batteries not installed or depleted. | Install two fresh AAA batteries in the battery compartment. |
| USB kargatzeak ez du funtzionatzen. | Clock not connected to mains power. | Ensure the alarm clock is plugged into a wall outlet. |
| Display too bright/dim. | Distira ezarpena doitu behar da. | Use the Dimmer Scroll Wheel to adjust brightness. |
9. Zehaztapenak
- Modelo zenbakia: 8813
- Marka: HOMVILLA
- Bistaratzeko mota: Large LED Mirror Display
- Bistaratzeko tamaina: 5.6 hazbetekoa
- Produktuaren neurriak: 14.4 cm (W) x 6.3 cm (H) x 3.81 cm (D) / 5.66 inches (W) x 2.48 inches (H) x 1.5 inches (D)
- Elementuaren pisua: 157 g
- Energia iturria: Mains powered (USB cable and adapter included)
- Ordezko Bateria: 2 x AAA batteries (not included, for memory function only)
- Denbora-formatua: 12-hour / 24-hour selectable
- alarmak: Alarma bikoitzak
- Errepikatzeko iraupena: 5 minutu
- Distira doitzea: 5% - 100% (via scroll wheel)
- Bolumenaren doikuntza: 90dB - 120dB (via scroll wheel)
- Alarma soinuak: 8 doinu hautagarriak
- Ezaugarri gehigarriak: USB charging port, Daylight Saving Time (DST) mode
- Materiala: Akrilonitrilo Butadieno Estirenoa (ABS)
- Gela mota: Logela
- Muntatze mota: Mahaigaina

Image: A graphic summarizing the key features of the alarm clock, including 5-100% dimmer, 90-120dB volume, snooze, dual alarms, 12/24H format, 8 available music options, memory function, USB charging port, DST, and large display.
10. Bermea eta Laguntza
HOMVILLA offers a lifetime warranty for this product. For any questions, technical support, or warranty claims, please contact HOMVILLA customer service through the retailer where you purchased the product or visit the official HOMVILLA webharremanetarako informazioa lortzeko gunea.


