Sarrera
This manual provides detailed instructions for the setup, operation, and maintenance of your Geevon Wireless Digital Refrigerator Thermometer. This device is designed to monitor temperatures in your refrigerator, freezer, or other environments using two wireless sensors, ensuring optimal storage conditions for your items.
Produktua erabili aurretik, irakurri arretaz eskuliburu hau, behar bezala funtzionatzen duela ziurtatzeko eta bere iraupena maximizatzeko.
Paketearen edukia
Desontziratzean, egiaztatu osagai guztiak daudela eta egoera onean daudela:
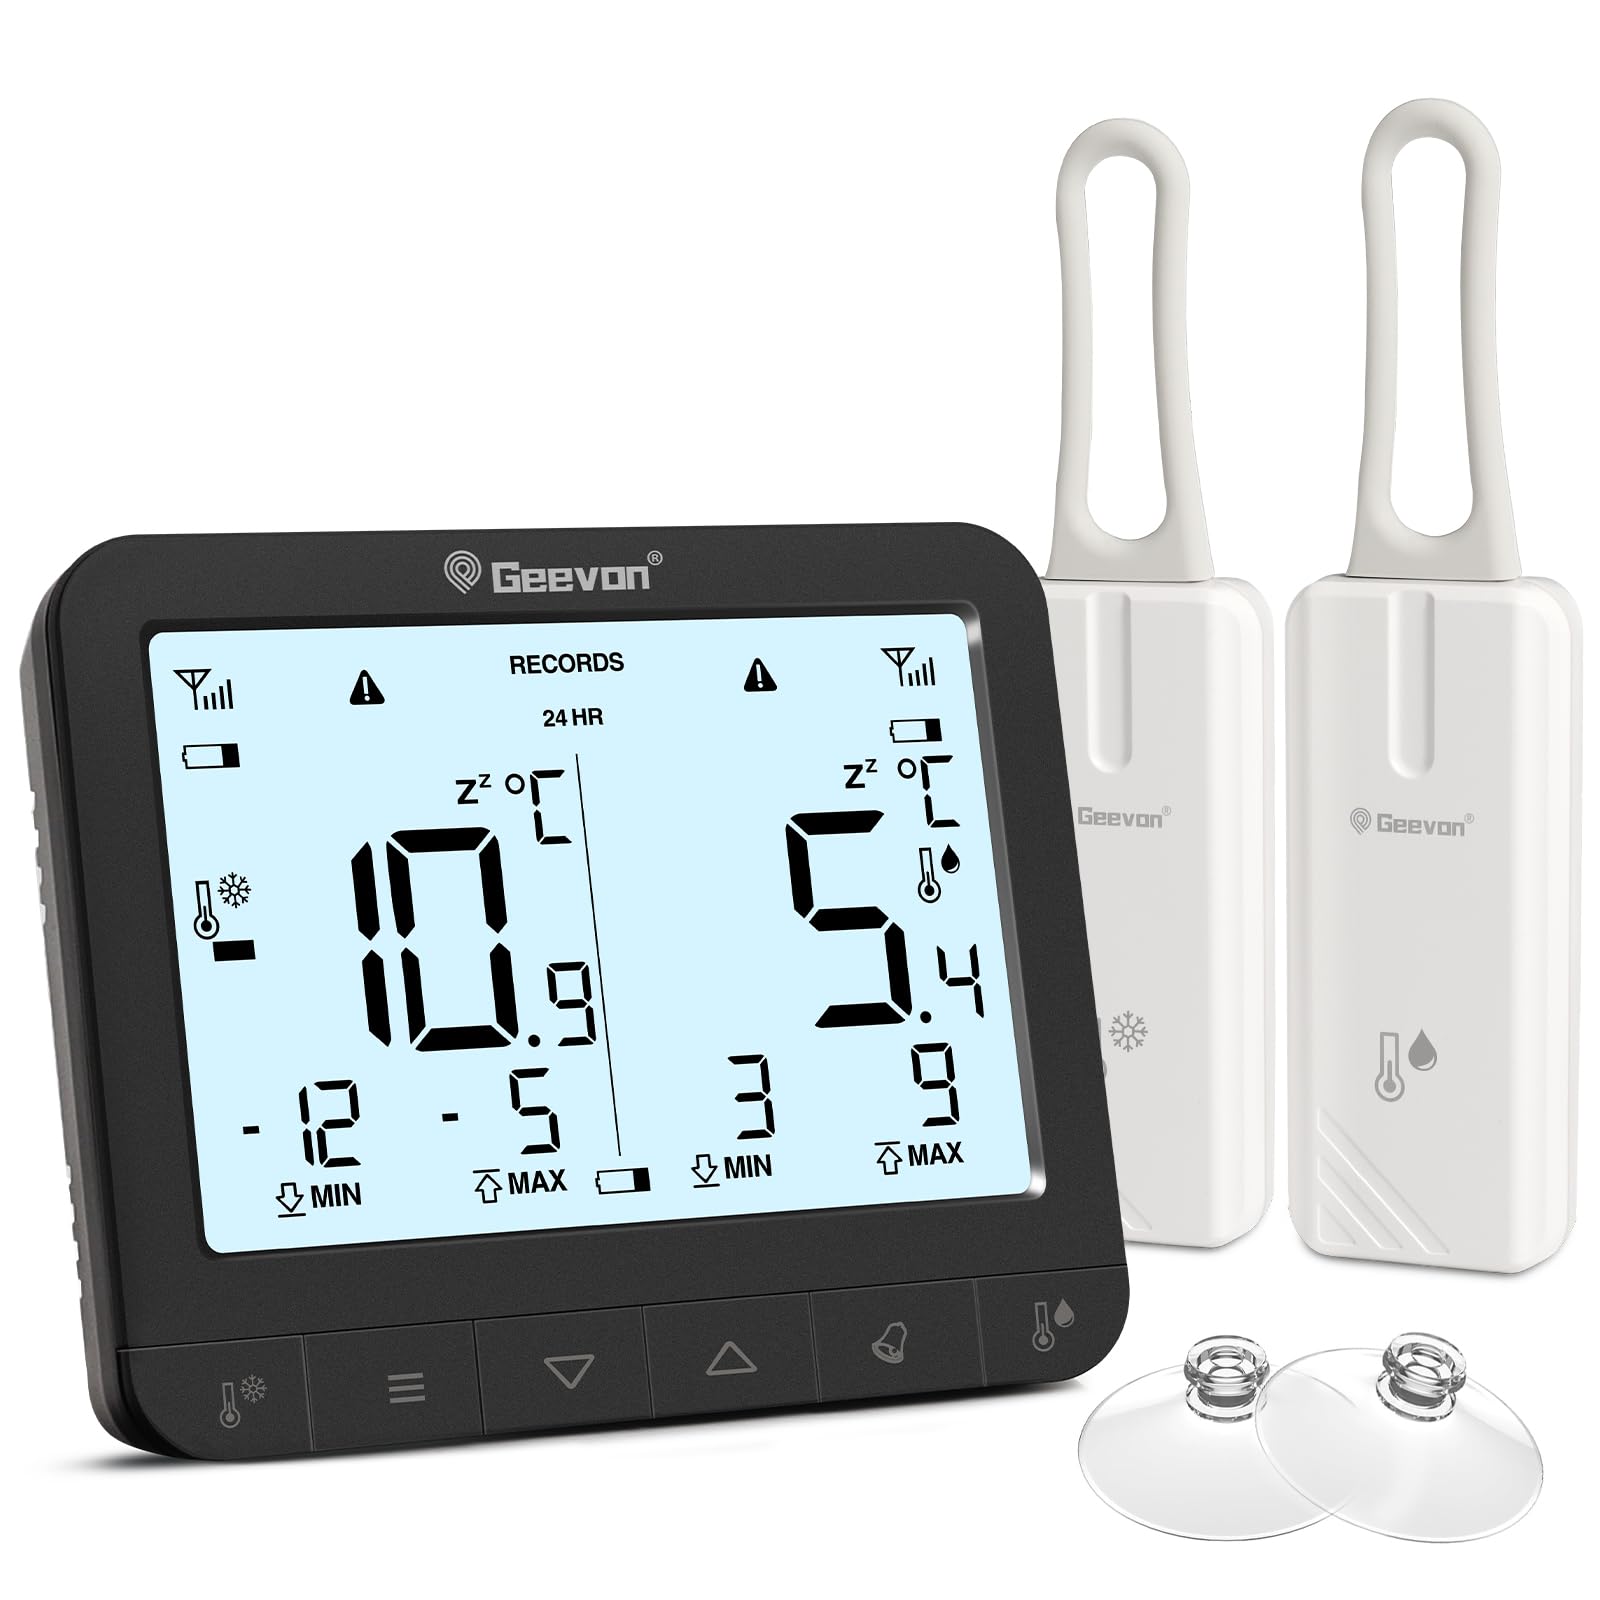
- 1 x Main Display Unit
- 2 x Wireless Sensors
- 6 x AAA Batteries (for main unit)
- 2 x CR2032 Batteries (pre-installed in sensors or included separately)
- 1 x Erabiltzailearen eskuliburua (dokumentu hau)
- 2 x Suction Cups (for sensor mounting)

The image displays the main unit, two sensors, and accessories including suction cups for installation.
Konfigurazio Argibideak
1. Bateriaren instalazioa
For the Main Display Unit:
- Kokatu bateriaren konpartimendua unitate nagusiaren atzealdean.
- Ireki bateriaren estalkia.
- Sartu 6 AAA pila, polaritate zuzena errespetatuz (+/-).
- Itxi bateriaren estalkia ongi.
For the Wireless Sensors:
- Locate the battery compartment on the back of each sensor.
- Ireki bateriaren estalkia.
- Insert 1 CR2032 battery into each sensor, observing the correct polarity (+/-).
- Itxi bateriaren estalkia ongi.
The image illustrates the battery compartments for both the main unit and the wireless sensors.
2. Sentsoreak jartzea
The wireless sensors can be placed inside your refrigerator, freezer, or any other area where temperature monitoring is desired. Ensure the sensors are not submerged in liquid and are placed in a location where they can transmit signals to the main unit.
- Zintzilik: Use the integrated loop to hang the sensor from a shelf or rack.
- Eranskin magnetikoa: The sensors have built-in magnets for attachment to metallic surfaces.
- Bentosak: Attach the provided suction cups to the sensor for mounting on smooth surfaces like glass or plastic.

This image demonstrates different ways to position the wireless sensors within a refrigerator or freezer.
The main display unit can be placed on a countertop using its integrated stand or mounted on a metallic surface using its rear magnets.
Funtzionamendu-argibideak
Erakutsiview

The main display unit shows current temperatures for two channels, along with max/min records and status icons.
The display shows temperatures for two channels (CH1 and CH2), along with their respective maximum (MAX) and minimum (MIN) recorded temperatures. Signal strength indicators for each sensor and battery level indicators are also present.
1. Temperature Unit Selection (℃/℉)
On the back of the main display unit, locate the small "C/F" button. Press this button to toggle between Celsius (℃) and Fahrenheit (℉) temperature units.

This image highlights the C/F switch on the back of the main unit and other key features.
2. Max/Min Temperature Records
The display shows the maximum and minimum temperatures recorded over a 24-hour period. To view historical max/min records (since the last reset or power cycle), briefly press the "UP" or "DOWN" buttons on the main unit. To reset the max/min records, press and hold the "CLEAR" button (usually indicated by a trash can icon or similar) for a few seconds.
3. 2-Channel Alarm Setting
The thermometer allows you to set high and low temperature alarms for each channel.
- Briefly press the channel button (e.g., "CH1" or "CH2" button, or a general "Channel" button) to enter alarm setting mode for that channel.
- Use the "UP" and "DOWN" buttons to adjust the desired high and low temperature thresholds.
- Press and hold the "Alarm" button (often indicated by a bell icon) to toggle the alarm function ON or OFF for the selected channel.
- An audible alarm will sound if the temperature exceeds the set high threshold or falls below the set low threshold.

This image illustrates the alarm function, showing how to set upper and lower temperature limits for alerts.
4. Atzeko argiztapen funtzioa
To illuminate the display for easier reading in low-light conditions, touch the light bulb icon on the top of the main unit. The backlight will activate for approximately 10 seconds.
Ezaugarri nagusiak
- Dual Wireless Sensors: Monitor two separate locations simultaneously.
- Tenperatura sorta zabala: Measures temperatures from -40°C to 37°C (-40°F to 98.6°F).
- Gehienezko/Gutxieneko Erregistroa: Tracks the highest and lowest temperatures recorded over 24 hours or historically.
- Alarma entzungarriak: Alerts you when temperatures exceed or fall below preset thresholds.
- Bateria baxuaren adierazlea: Displays icons for low battery on both the main unit and sensors.
- Atzeko argia: Provides temporary illumination for clear reading in dim environments.
- Kokapen polifazetikoa: Main unit features a stand and magnets; sensors can be hung, magnetically attached, or secured with suction cups.
The thermometer is suitable for various applications, including refrigerators, freezers, and wine coolers.
Mantentzea
- Garbiketa: Wipe the main unit and sensors with a soft, damp cloth. Do not use abrasive cleaners or immerse the devices in water.
- Bateria ordezkatzea: Replace batteries promptly when the low battery indicator appears on the display. Refer to the "Battery Installation" section for instructions.
- Biltegiratzea: If storing the device for an extended period, remove all batteries to prevent leakage. Store in a cool, dry place.
Bateria baxuaren adierazlea
The display unit features separate low battery indicators for the main unit and each sensor. When a battery icon appears, it indicates that the corresponding battery needs replacement.

This image highlights the low battery indicators for the sensors and the main display unit.
Arazoak konpontzea
| Arazoa | Kausa posiblea | Irtenbidea |
|---|---|---|
| Ez dago pantailarik unitate nagusian. | Pilak agortuta daude edo gaizki instalatuta daude. | Egiaztatu bateriaren polaritatea eta ordezkatu AAA bateria berriekin. |
| Sensor reading "---" or inaccurate. | Sensor batteries are dead, sensor is out of range, or interference. | Replace sensor CR2032 batteries. Move sensor closer to the main unit. Avoid placing near large metal objects or electronics that may cause interference. |
| Alarma ez da jotzen. | Alarm function is off or thresholds are set too wide. | Ensure the alarm is enabled for the desired channel. Adjust alarm thresholds to appropriate levels. |
| Atzeko argia ez dabil. | Main unit batteries are low or depleted. | Replace main unit AAA batteries. |
Zehaztapenak
| Marka | Geevon |
| Modelo zenbakia | 86218 |
| Produktuaren neurriak (unitate nagusia) | 16 x 4.8 x 17.5 cm (6.3 x 1.9 x 6.9 hazbete) |
| Pisua | 310 gramo (0.68 lb) |
| Unitate Nagusiaren Potentzia | 6 x AAA bateria (barne) |
| Sentsorearen potentzia | 1 x CR2032 Battery per sensor (included) |
| Tenperatura tartea | -40 °C eta 37 °C (-40 °F eta 98.6 °F) |
| Neurketaren Zehaztasuna | ± 0.1 ℉/℃ |
| Bistaratzeko mota | LCD digitala |
| Ezaugarri bereziak | Low Battery Indicator, Backlit Display, Max/Min Record, 2-Channel Alarm |
| Materiala | Akrilonitrilo Butadieno Estirenoa (ABS) |
Bermea eta Laguntza
Geevon is committed to providing high-quality products. For any questions, issues, or support needs regarding your Geevon Refrigerator Thermometer, please contact our customer service. We offer lifetime consultation service for our products.
Please refer to your purchase documentation or the official Geevon webwebgunean berme-baldintza zehatzak eta harremanetarako informazioa lortzeko.
Lineako laguntza: Contact Seller (GEEVON UK)


