1. Sarrera
The Daitsu Aral ADD-12XB Dehumidifier is designed to efficiently remove excess moisture from indoor environments, helping to prevent mold, mildew, and musty odors. This manual provides essential information for the safe and effective operation, maintenance, and troubleshooting of your dehumidifier. Please read it thoroughly before first use and retain it for future reference.
2. Segurtasun-argibideak
Funtzionamendu segurua bermatzeko, jarraitu beti neurri hauek:
- Ziurtatu elikadura hornidura bolumenarekin bat datorrelatagUnitatearen balorazio-etiketan zehaztuta dago.
- Ez erabili hezetasun-kentzailea kablea edo entxufea hondatuta badago.
- Mantendu unitatea zutik garraioan eta funtzionamenduan zehar.
- Maintain at least 20 cm (8 inches) of clearance around the unit for proper airflow.
- Ez sartu objekturik airearen sarreran edo irteeran.
- Deskonektatu unitatea garbitu edo mantentze-lanak egin aurretik.
- Ez erabili hezetasun-kentzailea gas edo likido sukoiak gordetzen diren lekuetan.
- Tresna hau ez da gaitasun fisiko, sentsorial edo mental murriztua duten edo esperientzia eta ezagutza falta duten pertsonek (haurrak barne) erabiltzeko, baldin eta haien segurtasunaz arduratzen den pertsona batek gailuaren erabilerari buruz gainbegiratu edo jarraibiderik eman ez badu.
3. Produktua amaitu daview
Familiarize yourself with the main components of your Daitsu Aral ADD-12XB Dehumidifier.
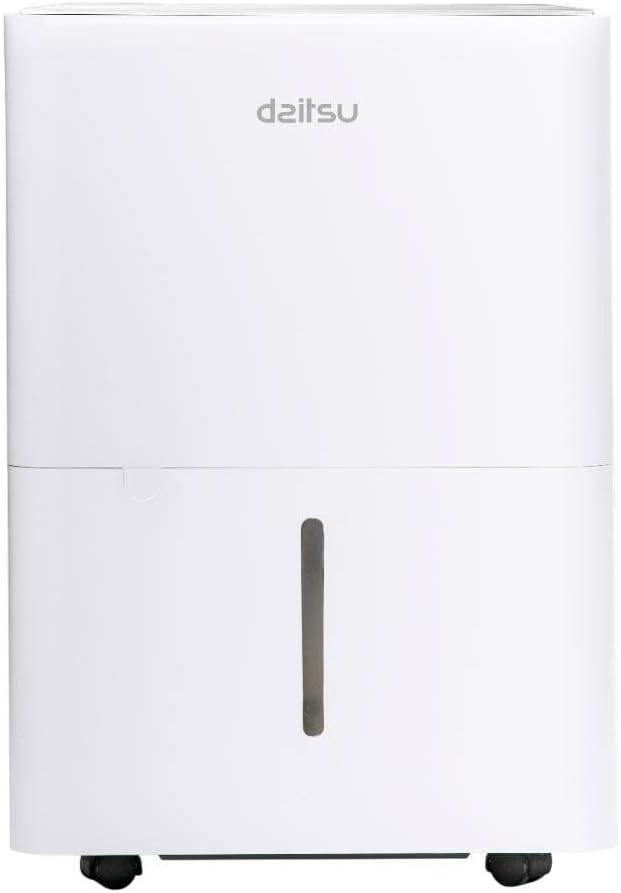
1. irudia: Aurrealdea view of the Daitsu Aral ADD-12XB Dehumidifier. This image displays the front of the Daitsu Aral ADD-12XB Dehumidifier, featuring its clean white design and the visible water level indicator on the collection tank.

2. irudia: Atzekoa view of the Daitsu Aral ADD-12XB Dehumidifier. The rear view of the dehumidifier shows the removable air filter cover for maintenance and the continuous drainage outlet, typically used for connecting a hose for extended operation.

3. irudia: Control panel of the Daitsu Aral ADD-12XB Dehumidifier. This close-up image shows the top control panel of the dehumidifier, featuring intuitive buttons for power, mode selection (Continuous, Dry, Turbo, Comfort), and timer settings, along with indicator lights.
4. Konfigurazioa
4.1 Paketatzea
- Kontu handiz atera hezetasun-kentzailea bere paketetik.
- Kendu ontziratzeko material guztiak, zinta itsasgarria edo babes-filmak barne.
- Egiaztatu unitatea kalterik dagoen. Kaltetuta badago, ez erabili eta jarri harremanetan bezeroarentzako arreta-zerbitzuarekin.
4.2 Jartzea
- Place the dehumidifier on a firm, level surface to minimize vibration and noise.
- Ensure there is at least 20 cm (8 inches) of clear space around the air inlet and outlet to allow for efficient airflow.
- Saihestu unitatea bero-iturrien ondoan edo eguzki-argiaren eraginpean jartzea.
- Errendimendu optimoa lortzeko, jarri unitatea gelaren erdian, deshezetzea gehien behar den lekuan.
4.3 Energia-konexioa
Entxufatu elikatze-kablea lurrera konektatutako entxufe elektriko batera. Ziurtatu entxufeak unitatearen etiketa elektrikoan zehaztutako baldintza elektrikoak betetzen dituela.
5. Funtzionamendu-argibideak
5.1 Kontrol panelaren funtzioak
Refer to Figure 3 for the layout of the control panel.
- Pizteko botoia: Sakatu unitatea pizteko edo itzaltzeko.
- Modu botoia: Press to cycle through available operating modes:
- Cont. (Continuous): The unit operates continuously regardless of the ambient humidity level.
- Lehorra: Designed for drying clothes or in very humid conditions.
- Turbo: Operates at maximum fan speed for rapid dehumidification.
- Erosotasuna: Maintains a comfortable humidity level automatically.
- Tenporizadorearen botoia: Press to set the auto-on or auto-off timer (e.g., 24-hour timer).
- Depositu betearen adierazlea: Illuminates when the water tank is full and needs to be emptied. The unit will automatically stop operating.
5.2 Ur depositua hustea
When the 'Tank Full' indicator lights up, the unit will stop operating. To empty the tank:
- Astiro-astiro atera ur-depositua unitatearen aurrealdetik.
- Kontu handiz eraman depositua konketa edo hustubide batera.
- Bota bildutako ura.
- Sartu depositu hutsa berriro unitatean klik egin arte. Unitateak berriro funtzionatzen hasiko da.
5.3 Drainatze Jarraitua (Aukerakoa)
For extended operation without needing to empty the water tank, you can set up continuous drainage:
- Locate the continuous drainage outlet at the back of the unit (refer to Figure 2).
- Remove the rubber stopper from the outlet.
- Connect a suitable drain hose (not included) to the outlet. Ensure the connection is secure to prevent leaks.
- Direct the other end of the hose to a floor drain or a large container, ensuring the hose is sloped downwards for gravity drainage.
- The unit will now drain water continuously, bypassing the internal water tank.
6. Mantentzea
Mantentze-lan erregularrak zure deshezegailuaren errendimendu optimoa bermatzen du eta bizitza luzatzen du.
6.1 Aire-iragazkia garbitzea
Aire-iragazkia bi astean behin garbitu behar da, edo maizago, erabileraren eta airearen kalitatearen arabera.
- Itzali hezetasun-kentzailea eta deskonektatu korronte-hartunetik.
- Locate the air filter cover on the back of the unit (refer to Figure 2).
- Kendu iragazkiaren estalkia eta kontu handiz atera aire-iragazkia.
- Clean the filter using a vacuum cleaner to remove dust and debris. For heavy dirt, wash the filter with lukewarm water and a mild detergent.
- Garbitu ondo iragazkia eta utzi airean guztiz lehortzen berriro sartu aurretik.
- Place the dry filter back into the unit and close the cover.
6.2 Ur depositua garbitzea
Garbitu ur-depositua aldizka lizunaren eta bakterioen hazkuntza saihesteko.
- Kendu eta hustu ur depositua.
- Garbitu depositua ur epelarekin eta detergente leun batekin.
- Ondo garbitu eta lehortu berriro unitatean sartu aurretik.
6.3 Kanpoko garbiketa
Garbitu unitatearen kanpoaldea leun batekin, damp cloth. Do not use harsh chemicals, abrasives, or solvents, as these can damage the surface.
6.4 Biltegiratzea
Unitatea denbora luzez erabiliko ez bada:
- Empty and clean the water tank and air filter.
- Deskonektatu unitatea eta bildu kablea txukun-txukun.
- Estali unitatea plastikozko poltsa edo oihal batekin hautsetik babesteko.
- Gorde hezegailu-sistema zutik leku fresko eta lehor batean.
7. Arazoak
Bezeroarentzako arreta-zerbitzuarekin harremanetan jarri aurretik, mesedez, kontsultatu arazo eta irtenbide ohikoenak:
| Arazoa | Kausa posiblea | Irtenbidea |
|---|---|---|
| Unitatea ez da pizten | Ez dago elikadura hornidurarik Elikatze-kablea ez da behar bezala konektatuta Ur depositua beteta | Egiaztatu korronte-hartunea Ziurtatu kablea ondo konektatuta dagoela Hustu ur depositua |
| Ez da urik bildu | Gelako hezetasuna baxuegia Aire-iragazkia beteta Tenperatura baxuegia Unit in continuous drainage mode | Dehumidification may not be needed Garbitu aire-iragazkia Unit may not operate efficiently below 5°C (41°F) Check if continuous drainage hose is connected and draining |
| Unitatea zaratatsua da | Unitatea ez dago gainazal mailakatu batean Aire-iragazkia beteta | Jarri unitatea gainazal lau eta egonkor batean Garbitu aire-iragazkia |
| Deshumidifikazio eskasa | Doors/windows open Aire-iragazkia beteta Gelaren tamaina handiegia da | Itxi ate eta leiho guztiak Garbitu aire-iragazkia Ensure unit capacity matches room size |
8. Zehaztapenak
Technical specifications for the Daitsu Aral ADD-12XB Dehumidifier:
| Ezaugarri | Zehaztapena |
|---|---|
| Ereduaren izena | ADD-12XB |
| Marka | Daitsu |
| Deshumidifikazio Ahalmena | 12 Liters/day (at specified conditions) |
| Ur deposituaren bolumena | 1.5 litro |
| Neurriak (H x W x D) | 38.6 x 28 x 19.5 cm (gutxi gorabehera 15.2 x 11 x 7.7 hazbete) |
| Produktuaren pisua | 23.5 kg (51.8 lb inguru) |
| liburukiatage | 230 Volt |
| Boterea | 2.5 kW (This value seems unusually high for a dehumidifier, typically it would be in Watts, e.g., 250W. Please verify with product label if possible.) |
| Zarata Maila | 54 dezibelio |
| Ezaugarri bereziak | Automatic Shut-off, Continuous Drainage, Timer |
| Kolorea | Zuria |
Oharra: Zehaztapenak alda daitezke abisurik gabe. Mesedez, kontsultatu produktuaren etiketa informazio zehatzena lortzeko.
9. Bermea eta Laguntza
9.1 Bermearen informazioa
This Daitsu product is covered by a manufacturer's warranty. The warranty period and terms may vary by region. Please retain your proof of purchase for warranty claims. For specific warranty details, refer to the warranty card included with your product or contact Daitsu customer service.
9.2 Bezeroarentzako laguntza
If you encounter any issues not covered in the troubleshooting section or require further assistance, please contact Daitsu customer support. Contact information can typically be found on the official Daitsu webgunean edo produktuaren ontzian.


