1. Sarrera
This manual provides essential information for the safe and efficient operation of your Anern 4200W Hybrid Solar Inverter. Please read this manual thoroughly before installation and use. Keep it for future reference.
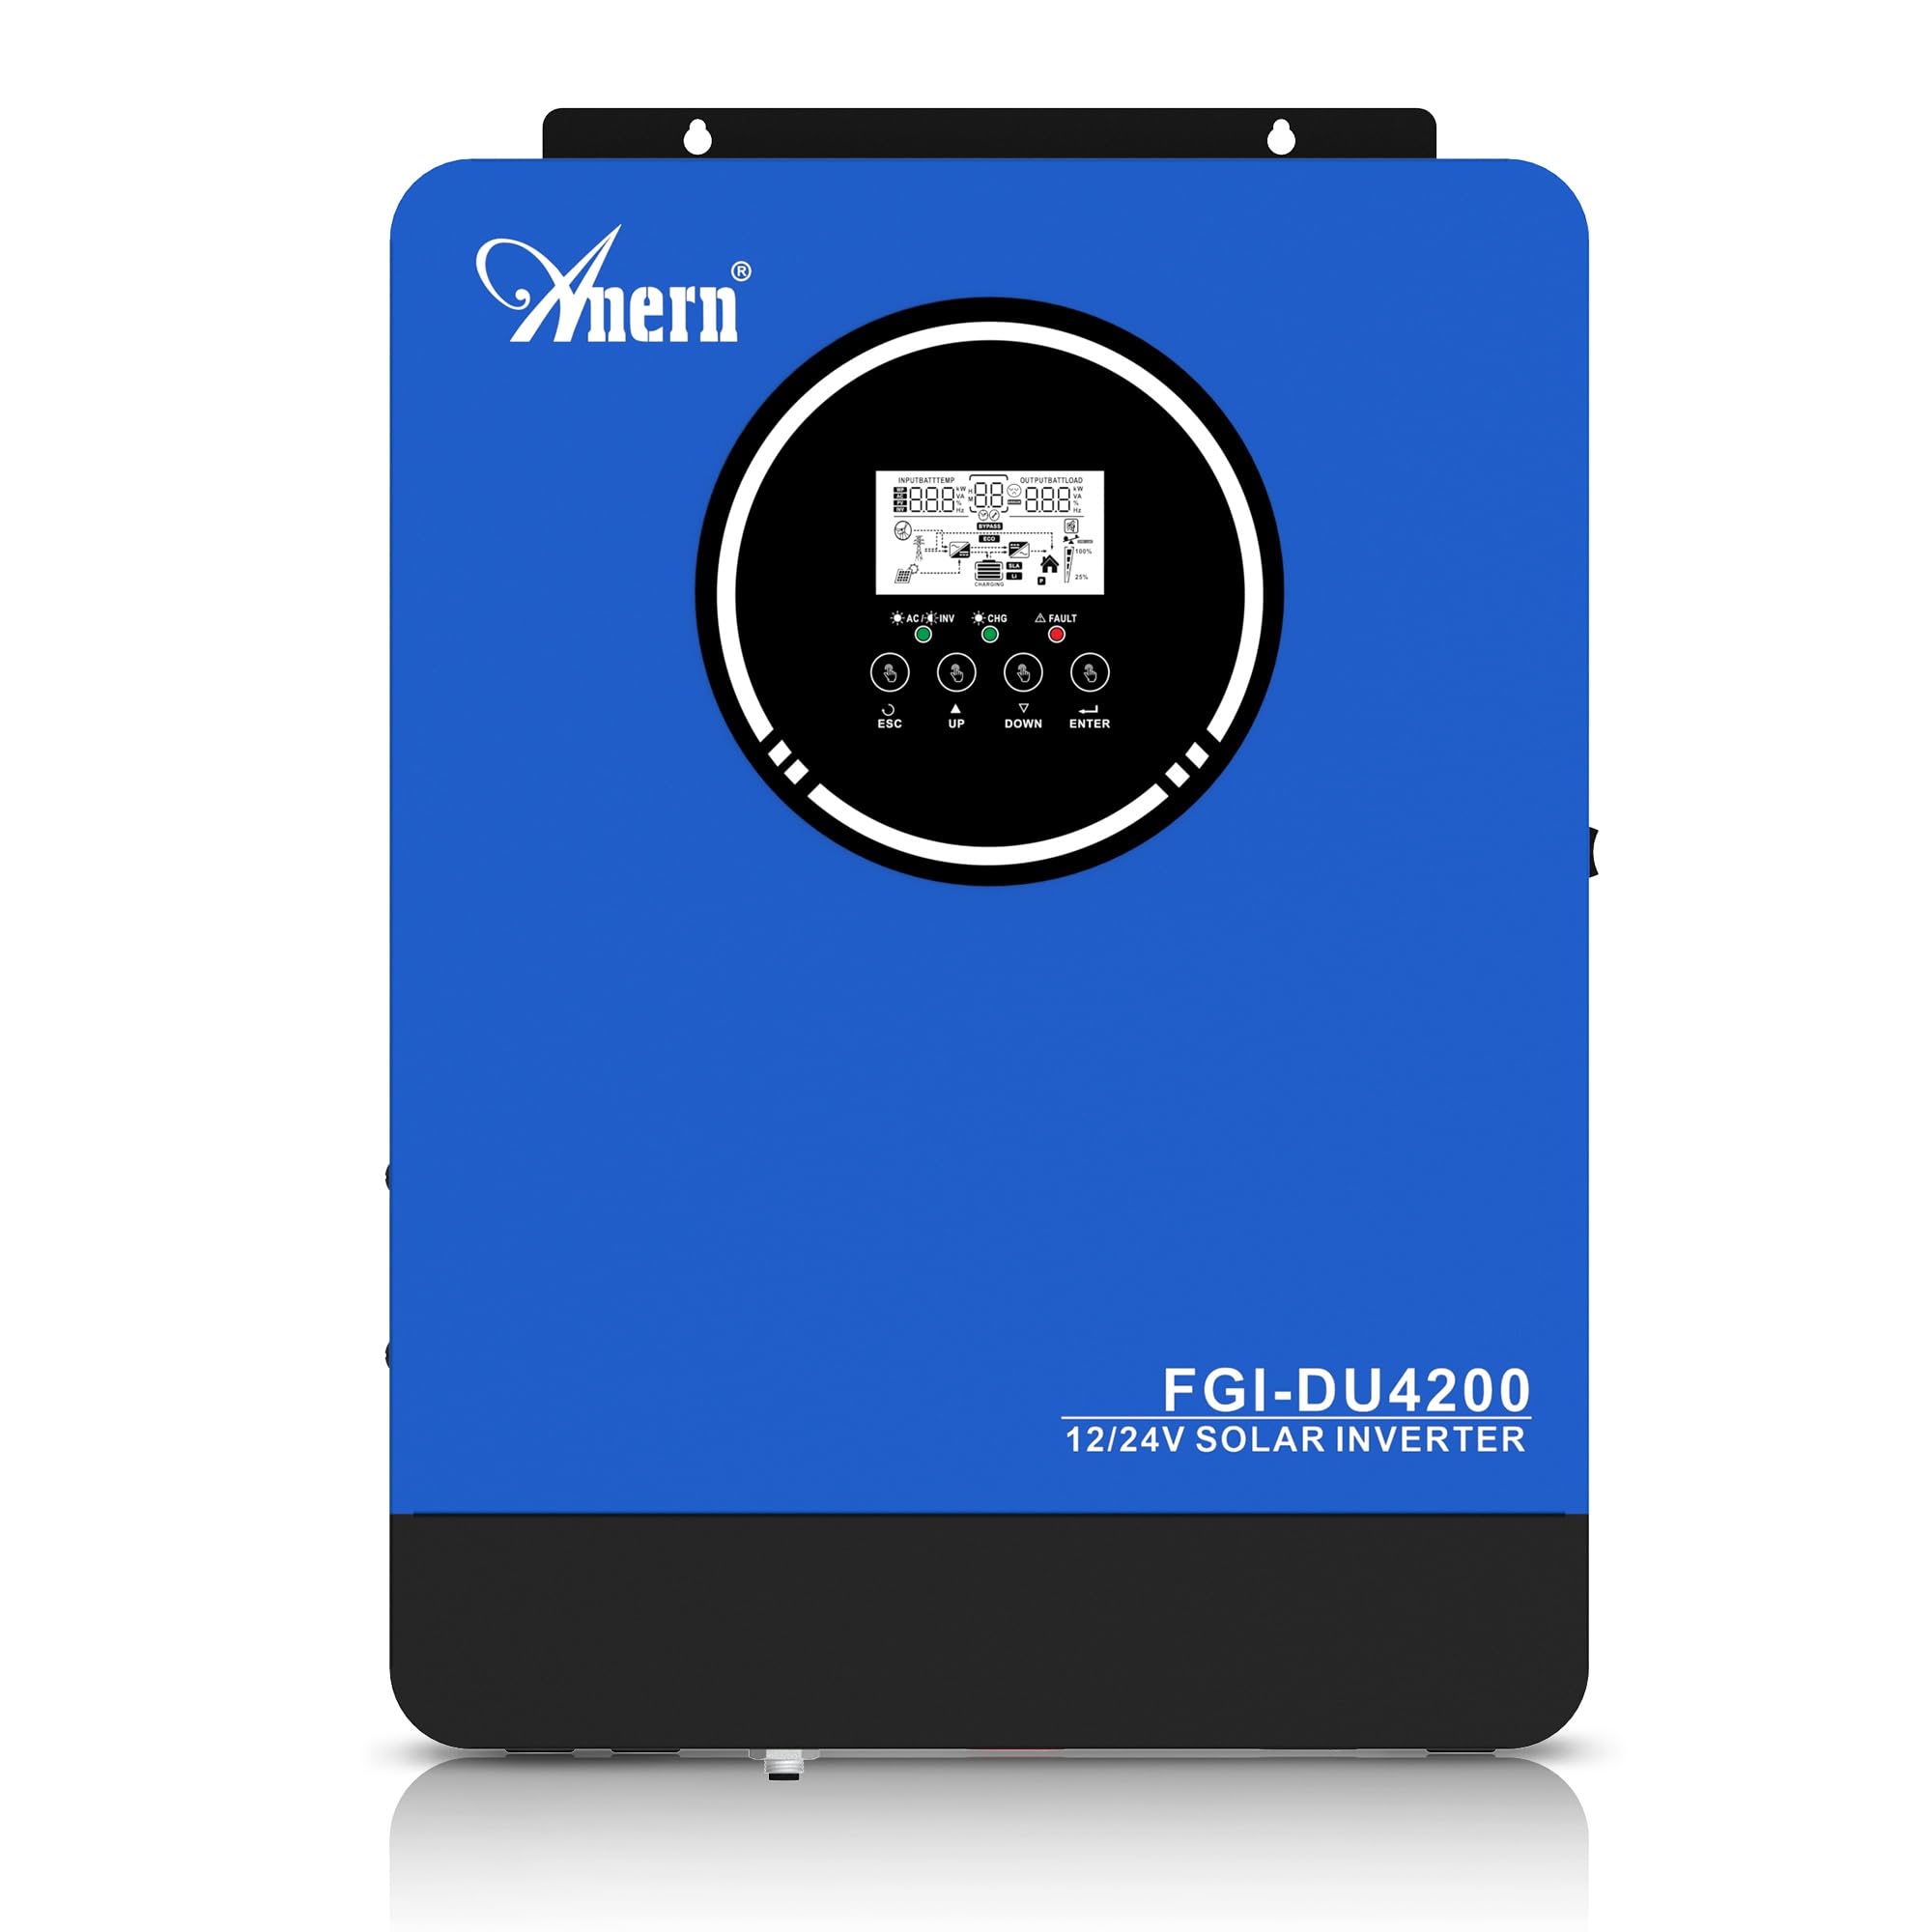
Figure 1: Anern 4200W Hybrid Solar Inverter. This image displays the main unit of the inverter, highlighting its key specifications such as 100A AC charging current, 4200W rated output power, and 500 VDC maximum PV array voltage.
2. Segurtasun-argibideak
Beti jarraitu segurtasun neurri hauek deskarga elektriko, sute edo lesio arriskua murrizteko:
- Instalazioa langile kualifikatuek egin behar dute.
- Ensure all wiring is correctly connected and equipped with appropriate protective switches.
- Ez desmuntatu inbertsore-makina. Barruan ez dago erabiltzaileak konpondu dezakeen piezarik.
- Saihestu inbertsoreari euri, elur, zipriztin edo beste edozein likido jartzea.
- Berotu gehiegi berotzea saihesteko, ziurtatu aireztapen egokia dagoela inbertsorearen inguruan.
- Disconnect all power sources (PV, battery, utility) before performing any maintenance or wiring.
3. Produktua amaitu daview
The Anern 4200W Hybrid Solar Inverter is designed to convert DC power from solar panels and batteries into AC power for household use. It features an integrated 100A MPPT solar charge controller and supports both 12V and 24V battery systems with automatic detection.
Ezaugarri nagusiak:
- 4200W Pure Sine Wave Output: Provides stable and clean power for sensitive electronics.
- 100A MPPT Solar Charge Controller: Maximizes power harvest from solar panels.
- 12V/24V Battery Auto-Detection: Automatically adjusts output based on connected battery voltage.
- BMS Interface: Supports communication with lithium batteries for enhanced monitoring and protection.
- Real-time LED Display: Shows system status, operating data, and error codes.
- Configurable Charging & Output Modes: Offers flexibility for various application needs.
- Optional WiFi/GPRS Monitoring: Remote monitoring capability (module sold separately).

Figure 2: Inverter Display and Controls. This image illustrates the inverter's LCD display, function buttons for configuration, and the optional WiFi module for remote monitoring.
4. Konfigurazioa eta instalazioa
4.1 Kableatu-diagrama
Refer to the electrical schematic for proper system wiring. Ensure all connections are secure and correctly polarized.

Figure 3: Electrical Schematic. This diagram shows the complete wiring for a solar inverter system, including solar panels, combiner box, DC/AC breakers, inverter, utility grid connection, and loads.
4.2 Bateriaren konexioa
The inverter supports 12V and 24V battery configurations. It automatically detects the battery voltage and adjusts its output accordingly (2300W for 12V, 4200W for 24V). For 24V systems, connect two 12V batteries in series. For 12V systems, connect batteries in parallel if increasing-ko edukiera.

Figure 4: Battery Connection Options. This image illustrates how to connect batteries for 12V (parallel connection for 2300W output) and 24V (series connection for 4200W output) systems.
The inverter also supports lithium batteries and includes a BMS (Battery Management System) interface for monitoring and protection. Ensure the BMS is properly connected if using lithium batteries.

Figure 5: Communication Interfaces. This image highlights the dual communication interfaces for BMS (Battery Management System) and optional WiFi module, enabling remote monitoring and battery communication.
4.3 Startup and Shutdown Sequence
Abiarazteko sekuentzia:
- Konektatu bateria.
- Piztu inbertsorea.
- Activate the protective switches for PV, Utility, and Loads.
Itzaltze sekuentzia:
- Deactivate the protective switches for Loads, Utility, and PV.
- Itzali inbertsorea.
- Deskonektatu bateria.
Important Note: Inductive loads (e.g., motors, refrigerators) may require up to 3 times their rated power for startup. Ensure the inverter's capacity is sufficient to handle these surge loads. Exceeding the inverter's surge capacity can cause damage.
5. Funtzionamendua
5.1 LCD pantaila eta ezarpenak
The inverter features an LED display that provides real-time system data and operating status. Use the function buttons below the display to navigate menus and configure settings. Settings include battery charging current, AC/solar charging priority, and charging current priority.
5.2 Kargatzeko moduak
The inverter offers four configurable charging modes:
- Eguzki-lehentasuna: Solar power is prioritized for charging.
- Eguzkia bakarrik: Only solar power is used for charging.
- Erabilgarritasun Lehentasuna: Utility grid power is prioritized for charging.
- Solar + Utility Hybrid: Combines solar and utility power for charging.
5.3 Irteera moduak
Three output modes are available to adapt to various application needs:
- Solar Priority (SUB): Solar power is prioritized for loads.
- Utility Priority (USB): Utility grid power is prioritized for loads.
- SBU: Solar, Battery, Utility priority.

Figure 6: Charging and Output Modes. This diagram visually explains the four available charging modes (Solar Charge, Utility Priority, Solar Priority, Hybrid Charge) and three load output modes (PV Priority, Utility Priority, SBU Priority).
5.4 Urruneko monitorizazioa
The inverter supports remote monitoring via an optional WiFi/GPRS module (sold separately). This allows users to monitor system performance and status from a distance.
6. Mantentzea
Mantentze-lan erregularrak zure inbertsorearen errendimendu optimoa eta iraupena bermatzen ditu:
- Mantendu inbertsore-makina garbi eta hautsik gabe. Erabili zapi lehor bat garbitzeko.
- Ziurtatu aireztapen-zuloak ez daudela blokeatuta.
- Aldian-aldian egiaztatu kableatu guztien konexioak estutasuna eta korrosio zantzurik dagoen ikusteko.
- Monitor the battery status, especially if using lithium batteries with the BMS interface, to prevent overcharge or deep discharge.
- Inspect solar panels for dirt or damage that could reduce efficiency.
7. Arazoak
The LED display will show error codes if issues arise. Refer to the inverter's display for specific error codes to diagnose and resolve problems. Common issues and their potential solutions include:
- Potentzia irteerarik ez: Check battery connections, DC/AC breakers, and inverter power switch.
- Bateria baxua Voltage: Ensure batteries are adequately charged. Check charging sources (solar, utility).
- Gainkargaren abisua: Reduce the connected load. Inductive loads may cause temporary overloads during startup.
- Gehiegizko berotzea: Ensure proper ventilation. Clean any dust from the inverter's vents.
- PV Input Error: Egiaztatu eguzki-panelen konexioak eta bolumenatage. Ensure PV array voltage zehaztutako tartean dago (55-500V DC).
For persistent issues or error codes not listed, contact customer support.
8. Zehaztapen Teknikoak
| Ezaugarri | Zehaztapena |
|---|---|
| Marka | Anern |
| Modelo zenbakia | AN-FGI-DU 4200 |
| Potentzia Elektrikoa | 4200 Watt |
| Irteera Potentzia | 4500 Watt |
| Max. Output Power (Watts) | 4200 |
| Irteerako uhin forma | Sine Wave Pure |
| Energia iturria | Eguzkiarekin, bateriarekin |
| Produktuaren erabilera gomendatuak | Hasiera |
| Dakarten osagaiak | Argibide eskuliburua |
| Betetzea | CE |
| Produktuaren neurriak | 30 x 10 x 40 cm; 8.86 kg |
9. Bermea eta Laguntza
For warranty information and technical support, please refer to the documentation provided with your purchase or contact Anern customer service. Keep your purchase receipt as proof of purchase.