1. Sarrera
The ASUS Prime AP202 ARGB White mATX case is designed for compact, high-performance PC builds. It features a fully curved tempered glass panel, supports graphics cards up to 420mm, 360mm radiators, and includes a patented slot vent, easy-detach rail system, and three pre-installed ARGB fans. This manual provides detailed instructions to help you set up, operate, and maintain your PC case.
2. Ezaugarri nagusiak
- Panoramic Curved Tempered Glass: A seamless curved tempered glass panel extends from the front to the side, offering an unobstructed view barne osagaien.
- Easy-Detach Rail System: Panels can be removed and reattached safely and simply, facilitating easy access for building and maintenance.
- Patented Slot Vent: An innovative design provides optimal cooling for graphics cards, enhancing thermal performance.
- Integrated ARGB Light Band: A light band near the bottom of the case offers spectacular lighting effects, compatible with Aura Sync for seamless adaptation to user scenarios.
- Pre-installed ARGB Fans: Three 120mm ARGB fans with extra-thick 28mm frames are included, providing optimal airflow and integrated with 20 addressable RGB LEDs for dual lighting.
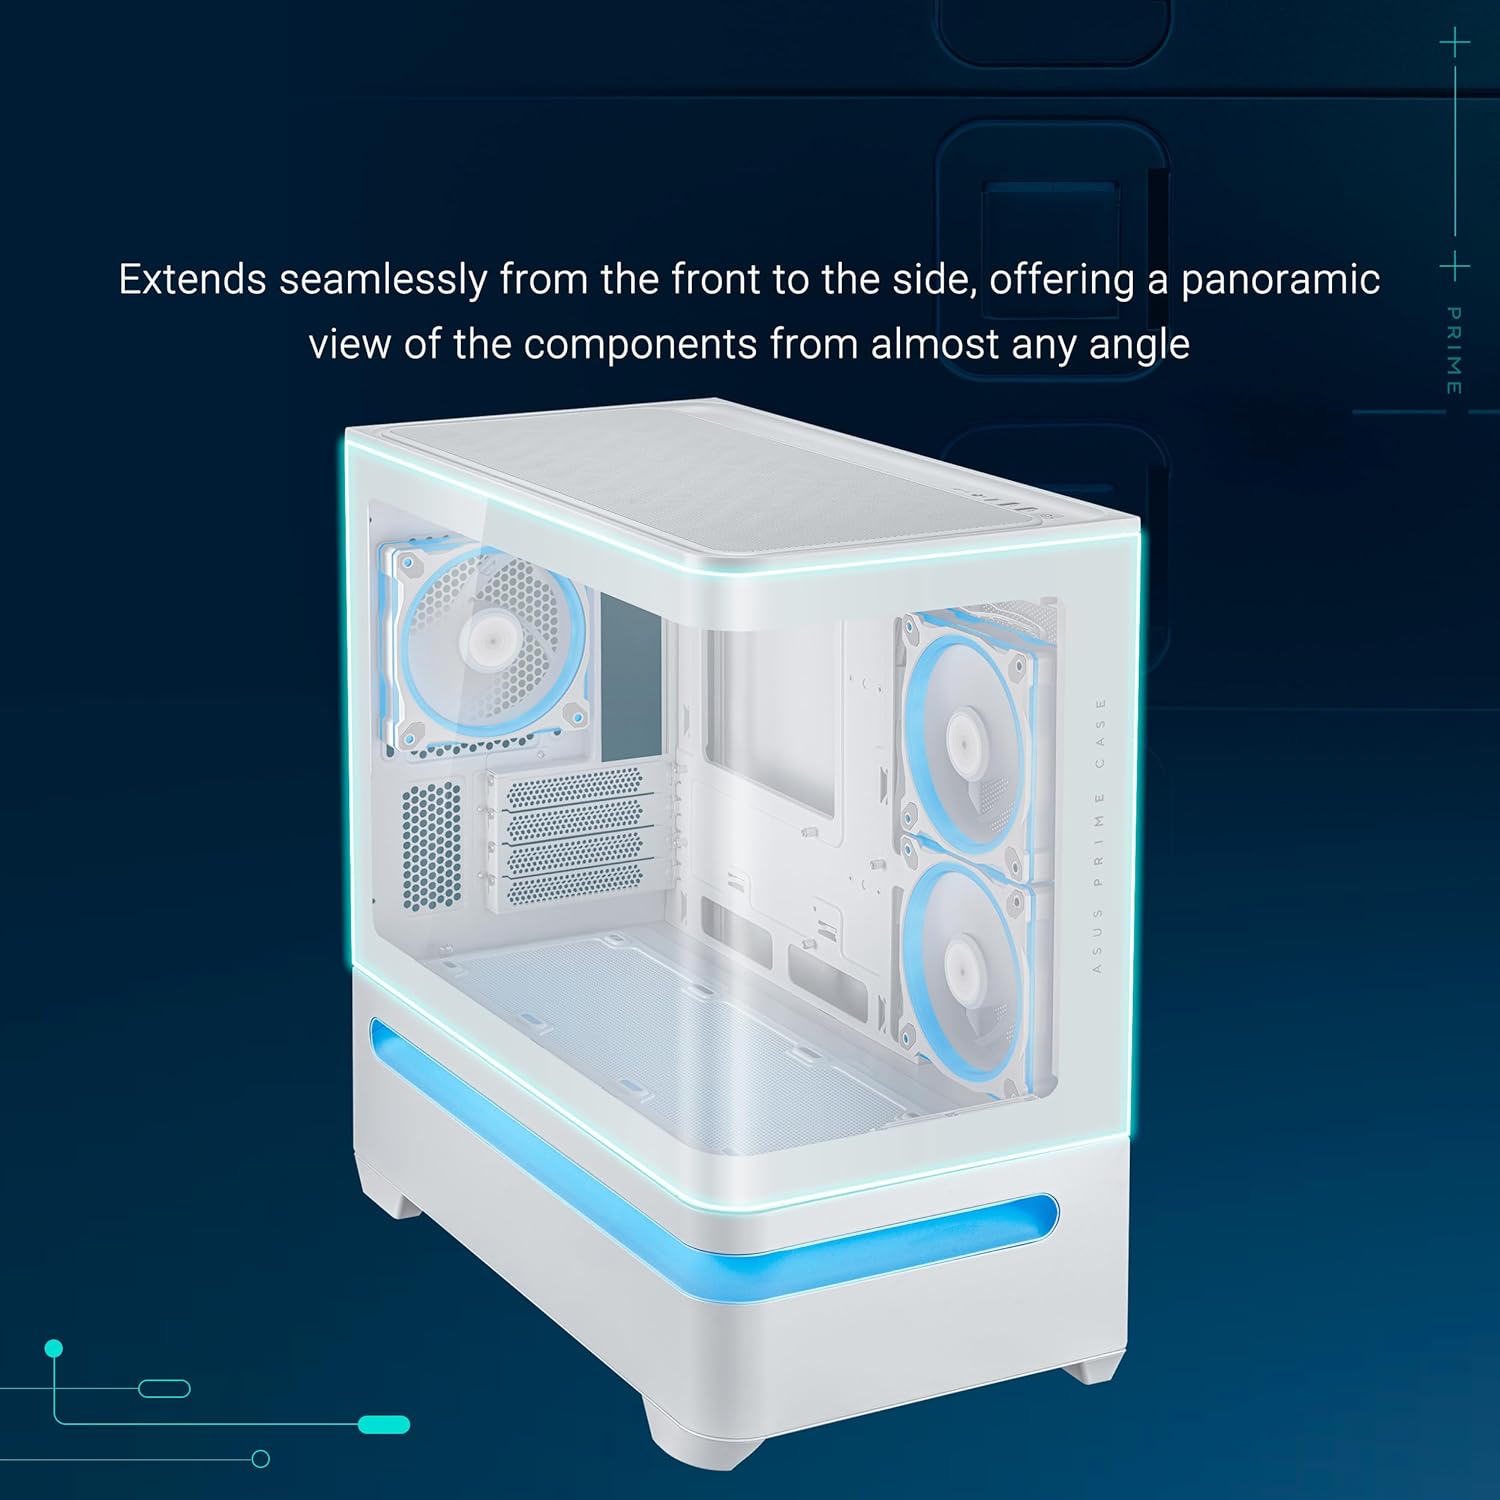
Figure 1: ASUS Prime AP202 ARGB White mATX PC Case with curved tempered glass and internal ARGB fans.
3. Konfigurazioa eta instalazioa
Follow these steps to assemble your PC components within the ASUS Prime AP202 ARGB White mATX PC case.
3.1. Panela kentzea
The case features an easy-detach rail system for safe and simple panel removal. Gently pull the panels to detach them, providing full access to the internal chassis for component installation.
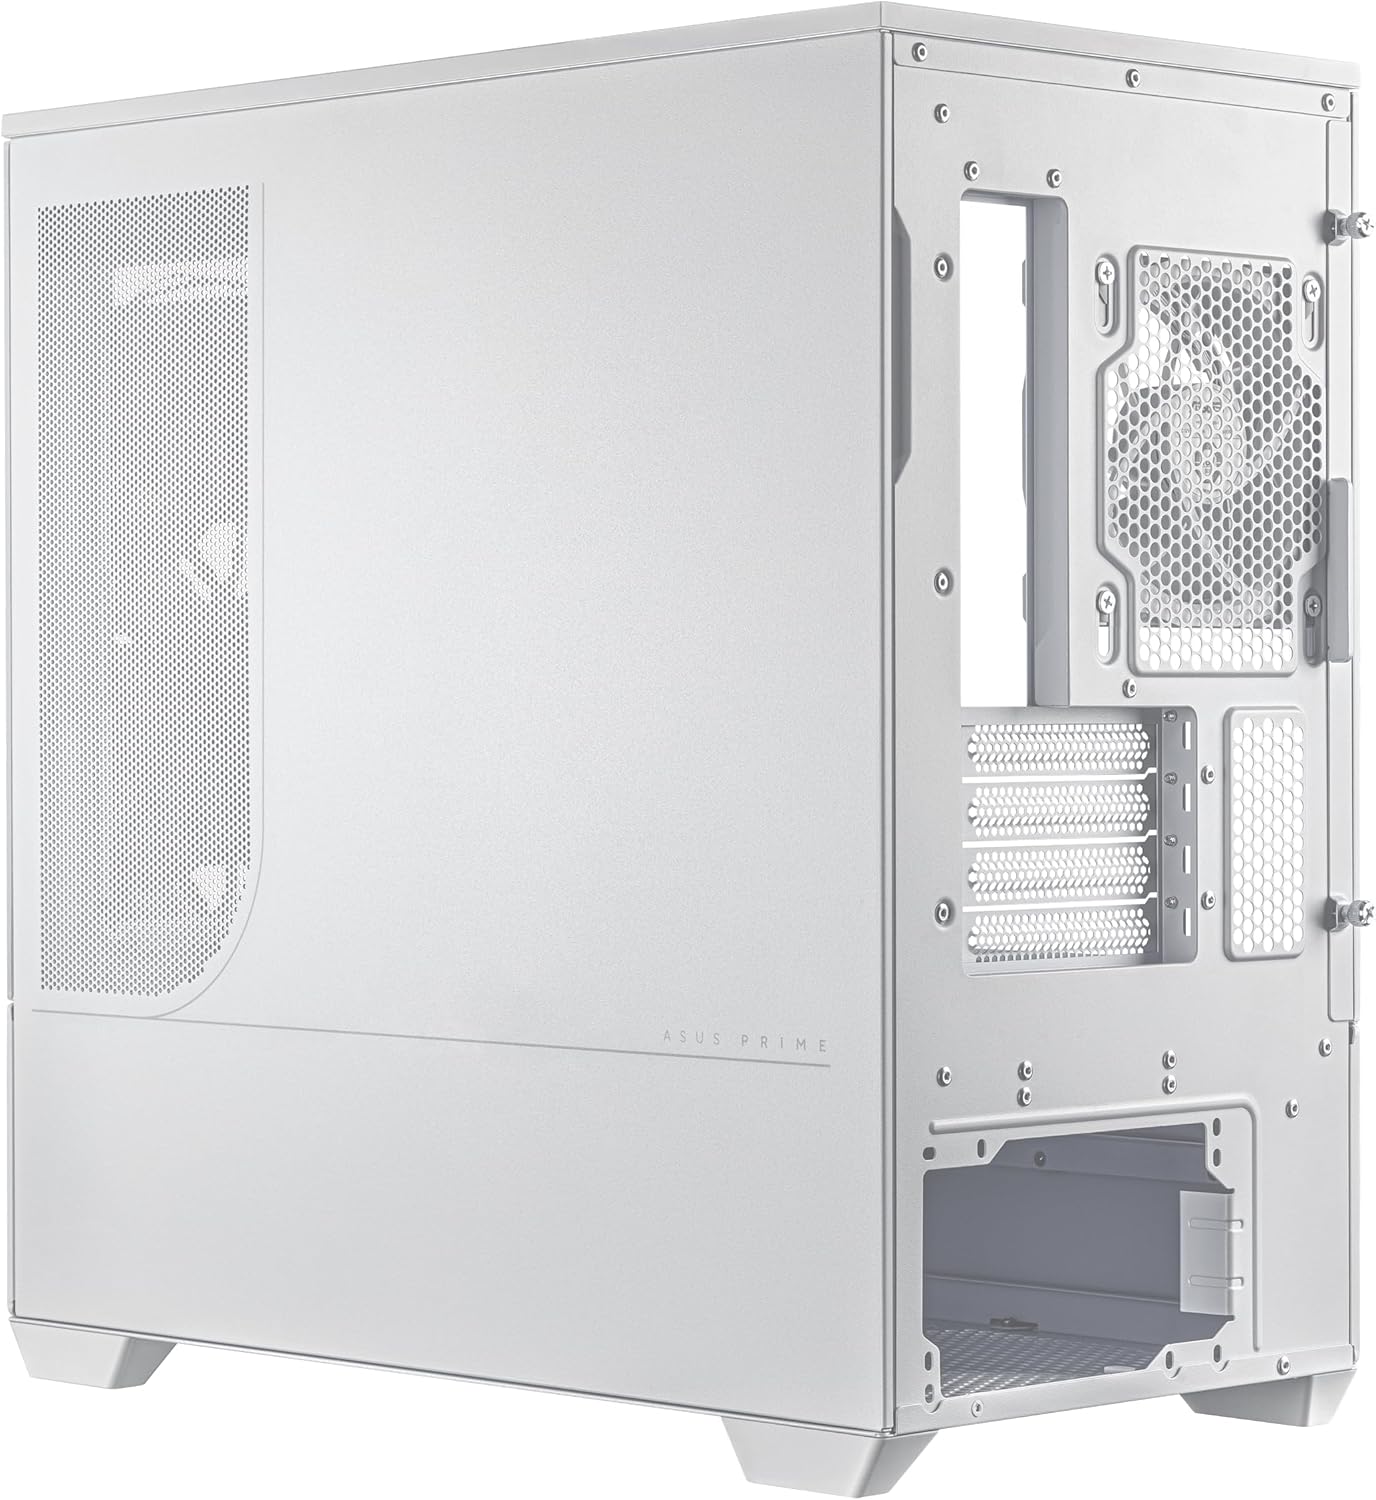
2. Irudia: Lehertuta view illustrating detachable panels and components for easy assembly.
3.2. Plaka amaren instalazioa
The ASUS Prime AP202 supports Micro-ATX and Mini-ITX motherboards. Secure your motherboard to the pre-installed standoffs using the provided screws.
3.3. Haizagailuaren eta erradiadorearen instalazioa
The case supports radiators up to 360mm long. Three 120mm ARGB fans are pre-installed. Additional fans can be mounted for enhanced airflow. Ensure proper airflow direction (intake/exhaust) for optimal cooling.

Figure 3: Patented slot vent design for optimal graphics card cooling.
3.4. Txartel grafikoen instalazioa
The case accommodates graphics cards up to 420mm in length. Install your graphics card into the appropriate PCIe slot on your motherboard and secure it with screws.
3.5. Elikatze-iturriaren (PSU) instalazioa
The case is compatible with PSUs up to 200mm in length. Install your PSU into its designated compartment, typically at the rear or bottom of the case, and secure it.
3.6. Kableen kudeaketa
Erabili ample space behind the motherboard tray and the included cable ties to route and secure cables, ensuring clean aesthetics and unobstructed airflow.

Figure 4: Organized cable management for a clean build.
4. Funtzionamendu-argibideak
4.1. Piztu/Itzali
Press the power button located on the front I/O panel to turn the system on or off. The power LED will illuminate when the system is active.
4.2. ARGB Argiztapenaren Kontrola
The integrated ARGB light band and pre-installed fans are compatible with ASUS Aura Sync. Use the motherboard's software to customize lighting effects and synchronize them with other compatible components.

Figure 5: Integrated ARGB light band for customizable lighting effects.
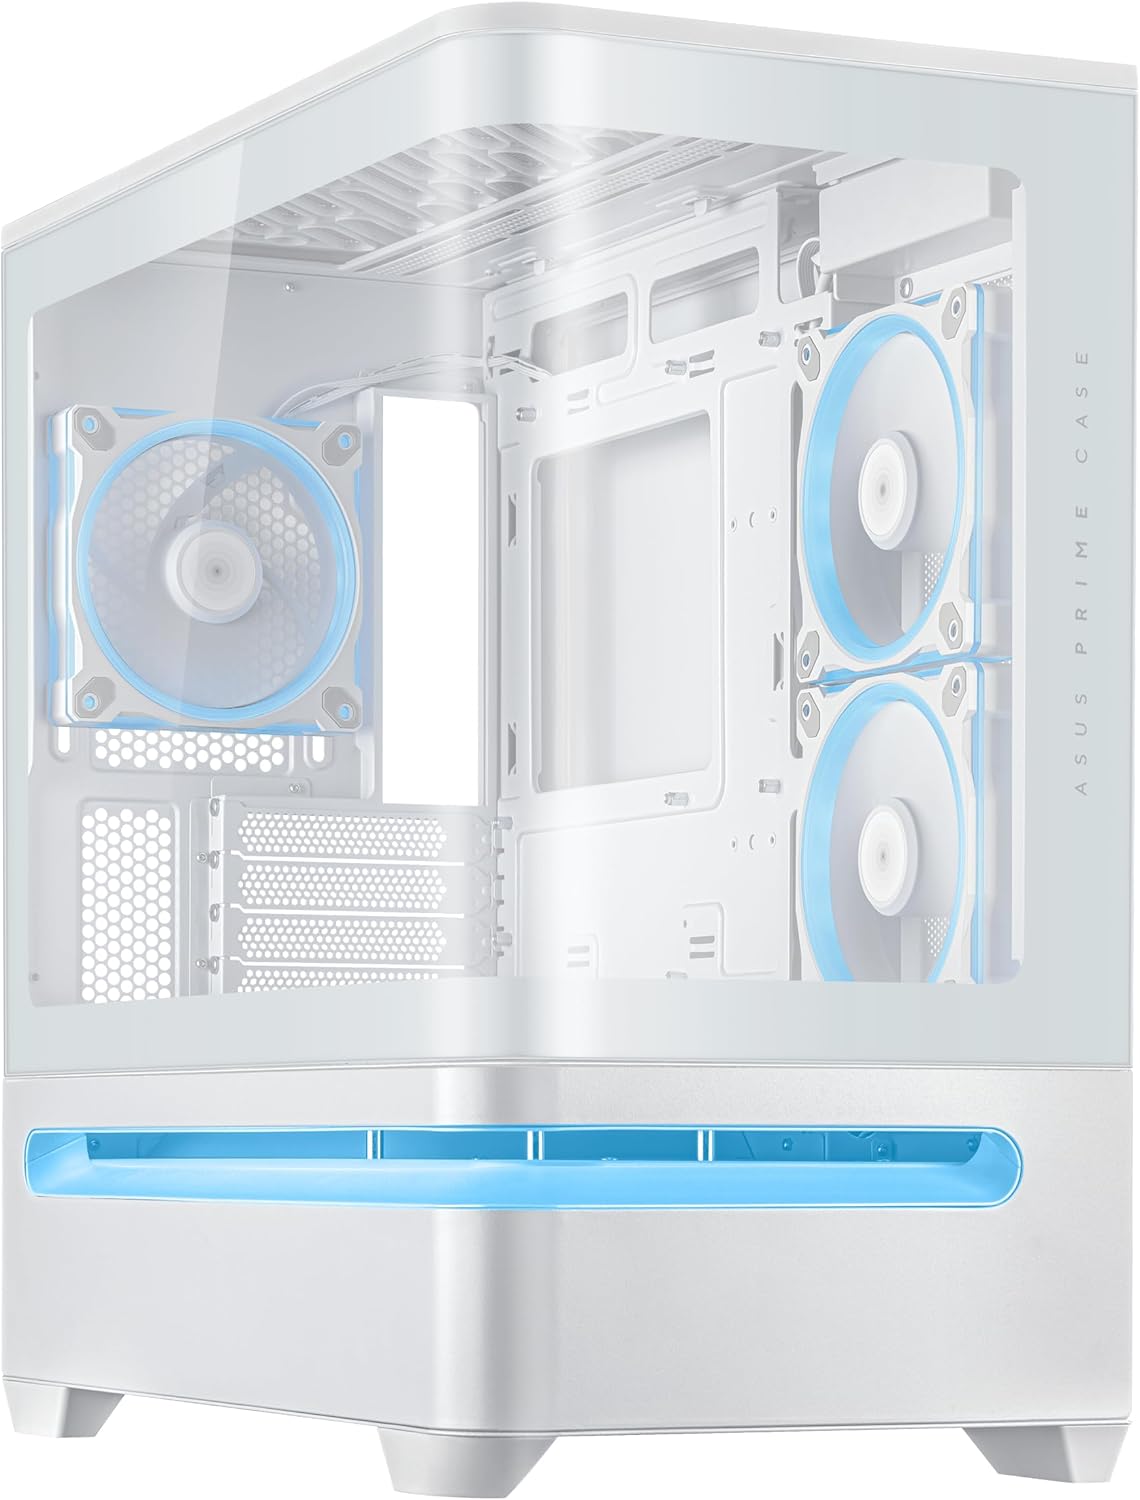
Figure 6: Front I/O panel with power button and USB ports.
5. Mantentzea
5.1. Hauts-iragazkiaren garbiketa
Regularly clean the dust filters to maintain optimal airflow and prevent dust buildup inside the case. The filters are easily removable for cleaning.
5.2. Garbiketa orokorra
Erabili zapi leun eta lehor bat kaxaren kanpoaldea garbitzeko. Beira tenplatuaren panelerako, erabili beira-garbitzaile bat eta mikrofibra-zapi bat marradurak saihesteko.
6. Arazoak
6.1. Botererik ez
- Ensure the power supply unit (PSU) is properly connected to the wall outlet and the power switch on the PSU is in the "ON" position.
- Verify all power cables from the PSU are securely connected to the motherboard and components.
- Egiaztatu aurrealdeko paneleko etengailuaren eta plaka basearen arteko konexioa.
6.2. Gehiegi berotzeko arazoak
- Ensure all case fans are spinning and properly oriented for optimal airflow (front/bottom for intake, rear/top for exhaust).
- Clean any dust buildup on fans, radiators, and dust filters.
- Verify CPU cooler and GPU fans are functioning correctly.
6.3. ARGB Lighting Not Working
- Check all ARGB cable connections from the fans and light band to the motherboard's ARGB headers or a dedicated controller.
- Ensure ASUS Aura Sync software (or equivalent motherboard software) is installed and configured correctly.
7. Zehaztapenak
| Ezaugarri | Xehetasuna |
|---|---|
| Marka | ASUS |
| Ereduaren izena | PRIME AP202 TG ARGB WHITE |
| Kasu mota | Mid dorrea |
| Kolorea | ZURIA |
| Produktuaren neurriak (LxWxH) | 9.3 x 17.4 x 18.1 hazbete |
| Elementuaren pisua | 20.1 kilo |
| Materiala | Aleaziozko altzairua, plastikoa, beira tenplatua |
| Plaka amaren bateragarritasuna | Mikro-ATX, Mini-ITX |
| Txartel Grafikoen euskarria | Up to 420mm long |
| Erradiadorearen euskarria | Up to 360mm long |
| Elikatze-iturriaren muntaketa mota | Compatible with PSUs up to 200mm length |
| Hozteko metodoa | Airea |
| USB 3.0 ataka kopurua | 1 |
8. Bermea eta Laguntza
For warranty information, technical support, or service inquiries, please visit the official ASUS support website or contact your local ASUS representative. Keep your purchase receipt for warranty validation.
ASUS laguntza Webgunea: https://www.asus.com/support/


