Sarrera
This manual provides instructions for the LAUNCH Original Charger, a 5.0V 3.0A DC power supply designed as a replacement for various LAUNCH X-431 CRP series diagnostic scanners. This charger ensures your device receives stable and efficient power for operation and charging.
Compatible models include: CRP123i, CRP123e, CRP123x, CRP129i, CRP129e, CRP129x, CRP909e, and CRP909x.
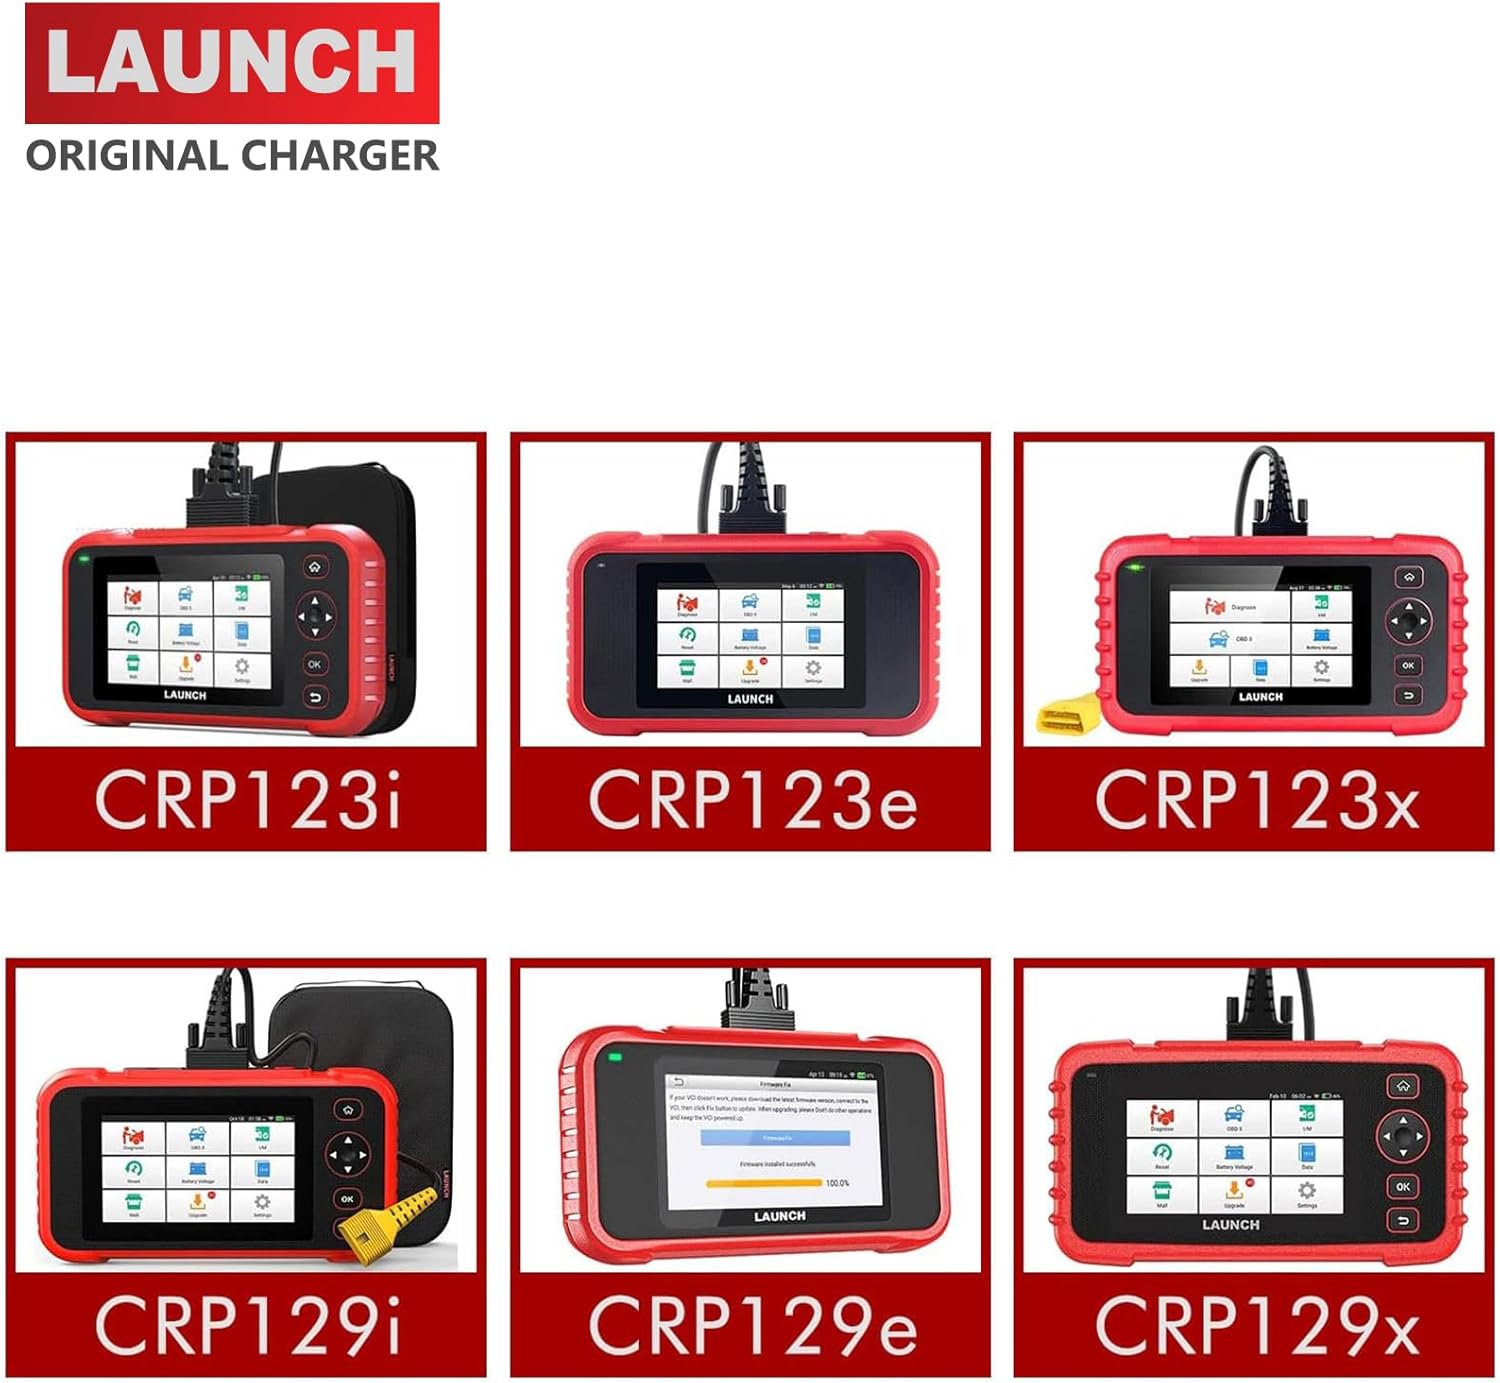
This image displays the LAUNCH Original Charger alongside various compatible LAUNCH X-431 CRP series diagnostic scanners, including CRP123i, CRP123e, CRP123x, CRP129i, CRP129e, and CRP129x, illustrating the range of devices it can power.
Konfigurazio Argibideak
Follow these steps to set up your LAUNCH Original Charger:
- Identify the charging port on your LAUNCH diagnostic scanner. This is typically a circular DC input port.
- Connect the DC barrel connector of the LAUNCH Original Charger to the charging port on your scanner. Ensure a firm and secure connection.
- Plug the AC power adapter into a standard 100-240V wall outlet.
- Verify that the scanner indicates it is receiving power or charging. This is usually shown by an LED indicator or on the scanner's display.

A close-up top view of a LAUNCH diagnostic scanner, highlighting the charging port located on the device's upper edge. This port is where the charger's DC barrel connector is inserted.

A side perspective of a LAUNCH diagnostic scanner, with a clear arrow indicating the charging port. This view helps users locate the correct connection point for the power supply.

This image shows the LAUNCH Original Charger's power adapter block and the DC barrel connector end of its cable, ready for connection to a diagnostic scanner.
Kargagailua funtzionatzea
Once connected, the charger will automatically begin supplying power to your LAUNCH diagnostic scanner. There are no additional controls or settings required for operation.
The charger provides a stable 5.0V output at 3.0A, ensuring efficient and safe charging or continuous power supply for your device during diagnostic sessions.
Monitor your scanner's display for charging status indicators to confirm proper power delivery.
Zainketa eta Mantentzea
To ensure the longevity and proper functioning of your LAUNCH Original Charger, please follow these care and maintenance guidelines:
- Mantendu lehorra: Always keep the charger and cable dry. Avoid exposure to moisture, rain, or any liquids, which can cause electrical damage.
- Tenperatura: Do not expose the charger to extreme temperatures, either hot or cold. Store it in a moderate environment.
- Handle Cable Gently: Handle the power cable gently. Avoid bending or twisting it sharply, especially near the connectors, as this can damage the internal wires.
- Deskonektatu erabiltzen ez denean: For extended periods of non-use, disconnect the charger from both the wall outlet and your diagnostic scanner.
- Garbiketa: Clean the charger with a soft, dry cloth if necessary. Do not use harsh chemicals, solvents, or abrasive cleaners.
Arazoak konpontzea
If you encounter issues with your LAUNCH Original Charger, refer to the following troubleshooting steps:
Scanner Not Charging or Powering On
- Egiaztatu korronte-hartunea: Ensure the wall outlet is functional by plugging in another known working device (e.g., a lamp or phone charger).
- Egiaztatu konexioak: Confirm that both the AC plug of the charger is securely inserted into the wall outlet and the DC barrel connector is firmly seated in the charging port of your LAUNCH scanner.
- Ikuskatu kablea: Carefully check the entire length of the charger cable for any visible damage, such as cuts, kinks, or frayed wires. A damaged cable can prevent proper power delivery.
- Berretsi bateragarritasuna: Double-check that your specific LAUNCH scanner model is listed as compatible with this charger (CRP123i, CRP123e, CRP123x, CRP129i, CRP129e, CRP129x, CRP909e, CRP909x).
If issues persist after performing these checks, please contact customer support for further assistance.
Produktuaren zehaztapenak
| Ezaugarri | Xehetasuna |
|---|---|
| Sarrera boltage | 100-240V AC, 50/60Hz, 0.5A |
| Irteera boltage | 5.0V DC |
| Irteera Korrontea | 3.0A |
| Wattage | 15.0W |
| Kablearen luzera | Gutxi gorabehera 51 hazbete (130 cm) |
| Konektore mota | DC upela |
| Gailu bateragarriak | LAUNCH X-431 diagnostic scanners (CRP123i, CRP123e, CRP123x, CRP129i, CRP129e, CRP129x, CRP909e, CRP909x) |
| Elementuaren pisua | 3.5 ontza |
| Paketearen neurriak | 3.9 x 2.4 x 1.6 hazbete |
| Fabrikatzailea | ATZERA |
Bermearen informazioa
This LAUNCH Original Charger comes with a 2 urteko bermea erosketa-datatik aurrera.
The warranty covers defects in materials and workmanship under normal use. It does not cover damage caused by misuse, accident, unauthorized modification, or external causes such as power surges or liquid damage.
For warranty claims, please retain your proof of purchase and contact LAUNCH customer support. Providing your product's serial number (if applicable) and purchase details will expedite the process.
Bezeroarentzako Arreta
If you have any questions, require assistance, or encounter issues not covered in this manual, please do not hesitate to contact LAUNCH customer support.
Contact information can typically be found on the official LAUNCH webgunea (www.launchtech.com) or through your product retailer. Please have your product model and purchase details ready when contacting support.


