1. Sarrera
Eskerrik asko erosketagatik.asing the Acctim Pale Green Silicone Digital Alarm Clock. This manual provides detailed instructions for setting up, operating, and maintaining your new alarm clock. Please read this manual thoroughly before use and retain it for future reference.
2. Segurtasun informazioa
- Keep the clock away from water and high humidity.
- Saihestu erlojua eguzki-argiaren edo tenperatura altuen eraginpean jartzea.
- Ez saiatu erlojua zeuk desmuntatzen edo konpontzen. Jarri harremanetan langile kualifikatuekin zerbitzua jasotzeko.
- Bota ezazu erabilitako bateriak arduraz tokiko araudiaren arabera.
- Mantendu bateriak haurren eskura.
3. Paketearen edukia
- Acctim Pale Green Silicone Digital Alarm Clock (1 unit)
- Argibide eskuliburua (dokumentu hau)
4. Produktua amaitu daview
The Acctim Digital Alarm Clock features an easy-to-read jumbo display, a soft silicone case, and Smartlite technology for automatic backlight adjustment.
Aurrealdea View
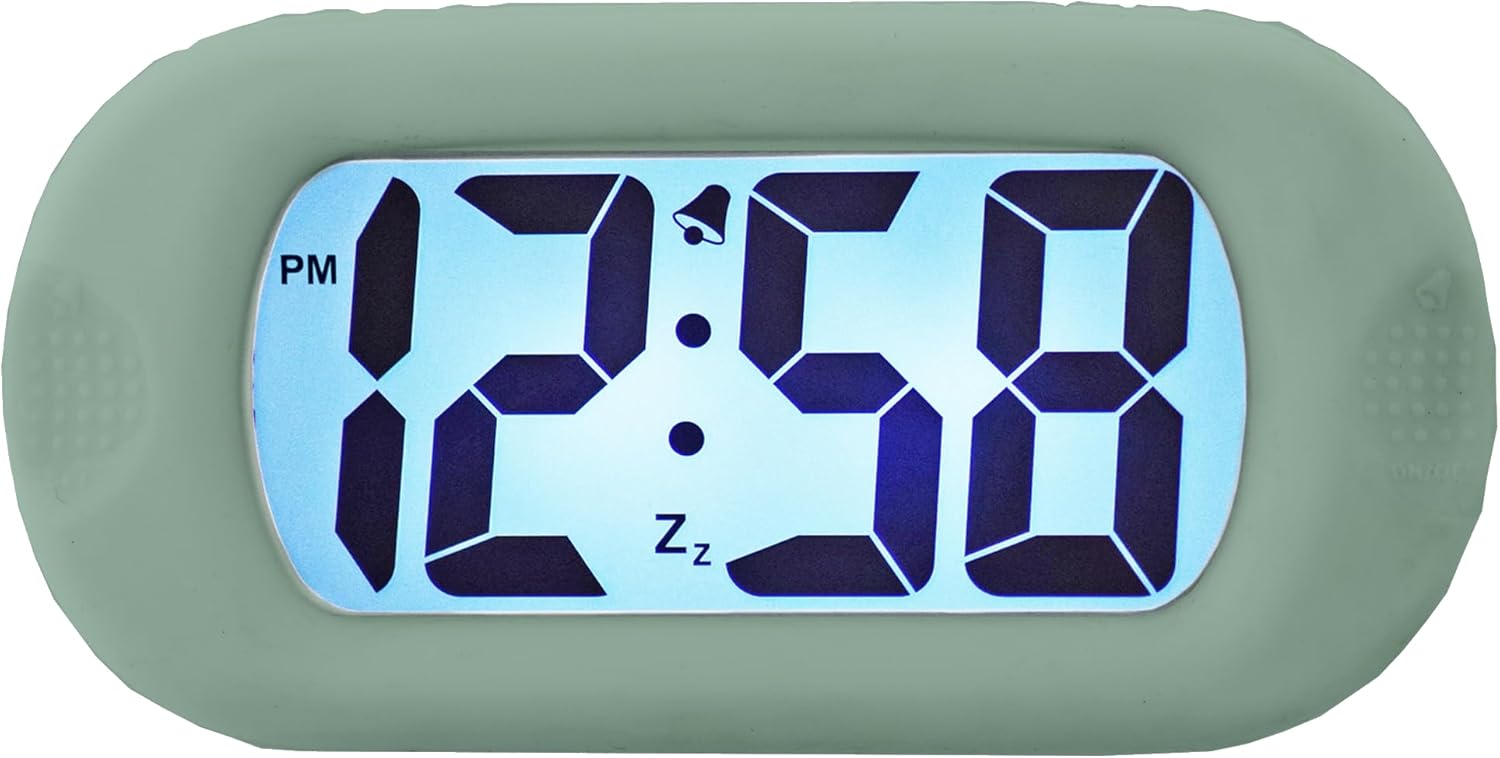
4.1. irudia: Aurrealdea view erlojuaren pantailaren.
This image shows the main display of the clock, featuring large, clear digital numbers. It indicates the time (e.g., 12:58 PM), an alarm icon (bell), and a snooze icon (Zz).
Alboko kontrolak

4.2. irudia: Aurrealdea view with side controls.
This image illustrates the clock's front, showing the 'SET' button on the left side and the 'ON/OFF' button on the right side, used for various settings and alarm control.
Itzuli View and Battery Compartment

4.3. irudia: Atzealdea view erlojuarena.
The back of the clock features the 'TIME SET' button and the battery compartment, which is where batteries are inserted to power the device.
Smartlite Feature (Backlight)

Figure 4.4: Backlit display in darkness.
This image shows the clock's display illuminated in a dark setting, demonstrating the Smartlite feature which provides an automatic backlight for visibility in low light conditions.
Neurriak

Figure 4.5: Clock dimensions.
This image provides the physical dimensions of the clock, showing a height of 6.9 cm and a width of 14 cm.
5. Konfigurazioa
5.1 Bateriaren instalazioa
- Locate the battery compartment cover on the back of the clock (refer to Figure 4.3).
- Irristatu edo askatu estalkia konpartimentua irekitzeko.
- Sartu beharrezko bateriak (ez daude barne) konpartimentuaren barruko polaritate adierazleen (+ eta -) arabera.
- Jarri bateriaren konpartimenduaren estalkia ongi.
5.2 Hasierako piztea
Once batteries are installed, the clock display should activate. If not, ensure batteries are correctly inserted and fully charged.
6. Funtzionamendu-argibideak
6.1 Ordua ezartzea
- Eduki sakatuta EZARTU button (left side) until the hour digits begin to flash.
- Erabili ORDUA button (back) to adjust the hour. Press repeatedly to advance the hour. Pay attention to the AM/PM indicator.
- Sakatu EZARTU botoia berriro sakatu minutuko digituetara joateko.
- Erabili ORDUA botoia minutuak doitzeko.
- Sakatu EZARTU button one more time to confirm the time and exit setting mode.
6.2 Alarma ezartzea
- Sakatu EZARTU button once (do not hold) to enter alarm setting mode. The alarm time will be displayed, and the alarm icon (bell) may flash.
- Eduki sakatuta EZARTU botoia sakatu alarmaren orduko digituak keinuka hasi arte.
- Erabili ORDUA button (back) to adjust the alarm hour.
- Sakatu EZARTU button again to move to the alarm minute digits.
- Erabili ORDUA botoia alarmaren minutuak doitzeko.
- Sakatu EZARTU button one more time to confirm the alarm time.
6.3 Alarma aktibatzea/desaktibatzea
To turn the alarm ON or OFF, press the ON/OFF button (right side). The alarm bell icon on the display indicates if the alarm is active.
6.4 Snooze funtzioa
When the alarm sounds, press any button (except ON/OFF) to activate the snooze function. The alarm will temporarily stop and sound again after a few minutes (typical snooze duration is 5-9 minutes, specific duration may vary). The 'Zz' icon on the display indicates snooze is active.
6.5 Smartlite Automatic Backlight
The clock features a Smartlite sensor that automatically adjusts the backlight intensity based on ambient light conditions. In low light, the display will gently illuminate for easy viewing without manual intervention.
7. Mantentzea
7.1 Garbiketa
Wipe the clock with a soft, dry cloth. Do not use abrasive cleaners or solvents, as they may damage the silicone case or display.
7.2 Bateria ordezkatzea
When the display becomes dim or the clock stops functioning, it is time to replace the batteries. Follow the battery installation steps in Section 5.1.
8. Arazoak
| Arazoa | Kausa posiblea | Irtenbidea |
|---|---|---|
| Pantaila hutsik edo ilun dago. | Bateriak gutxi edo agortuta. Bateriaren instalazio okerra. | Replace batteries with new ones. Ensure batteries are inserted with correct polarity. |
| Alarmak ez du jotzen. | Alarm is not activated. Alarm volume is too low (if adjustable). | Sakatu ON/OFF button to activate the alarm (bell icon should appear). Ensure alarm time is set correctly. |
| Ordua ez da zuzena. | Time was not set correctly. | Follow instructions in Section 6.1 to reset the time. |
9. Zehaztapenak
- Marka: Acctim
- Eredua: B0C2G496MT
- Kolorea: Berdea zurbila
- Bistaratzeko mota: Digitala
- Ezaugarri berezia: Luminous (Smartlite automatic backlight)
- Energia iturria: Bateriaren bidez
- Materiala: Silikona
- Bateriak barne: Ez
- Neurriak: Approximately 14 cm (Width) x 6.9 cm (Height)
10. Bermea eta Laguntza
For warranty information or technical support, please refer to the documentation provided with your purchase or contact Acctim customer service directly. Keep your proof of purchase for warranty claims.


